WB: Conversion Parts

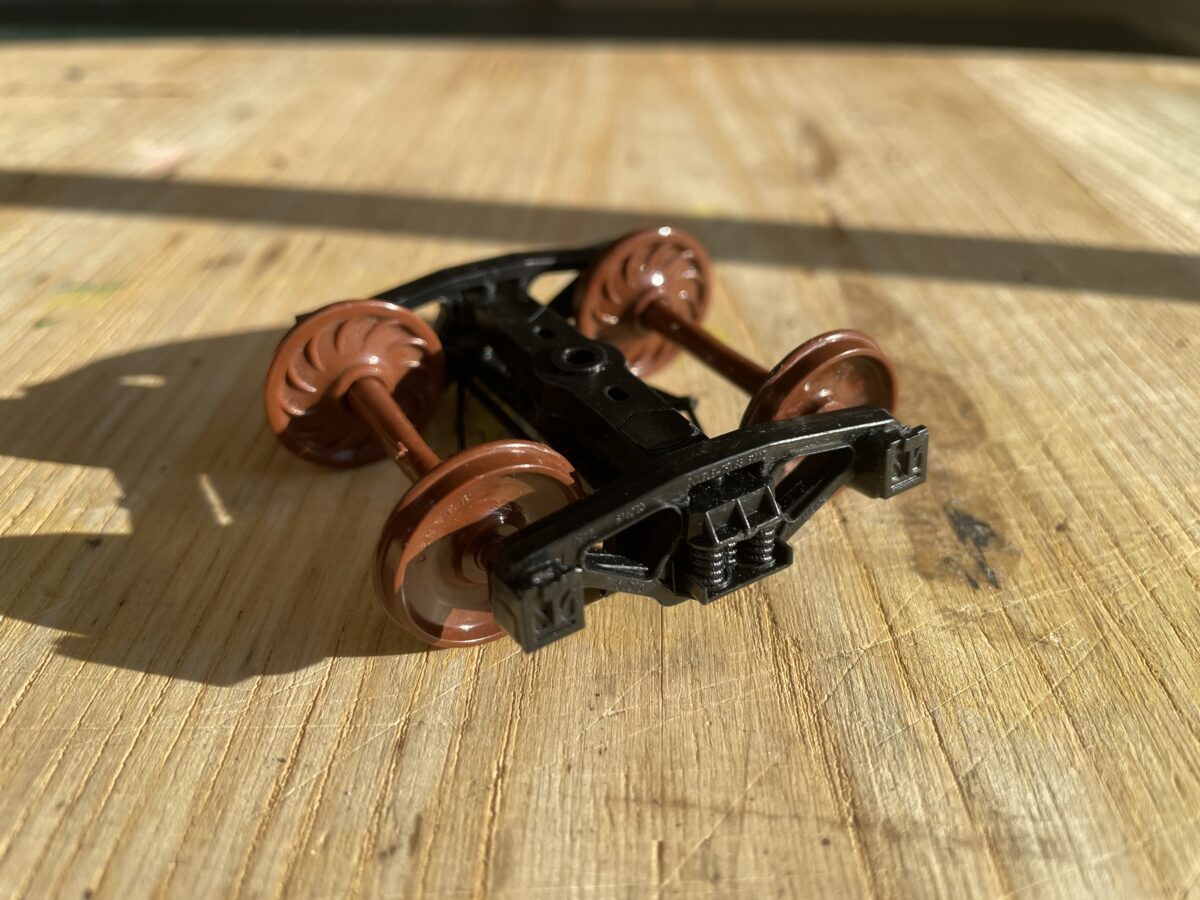
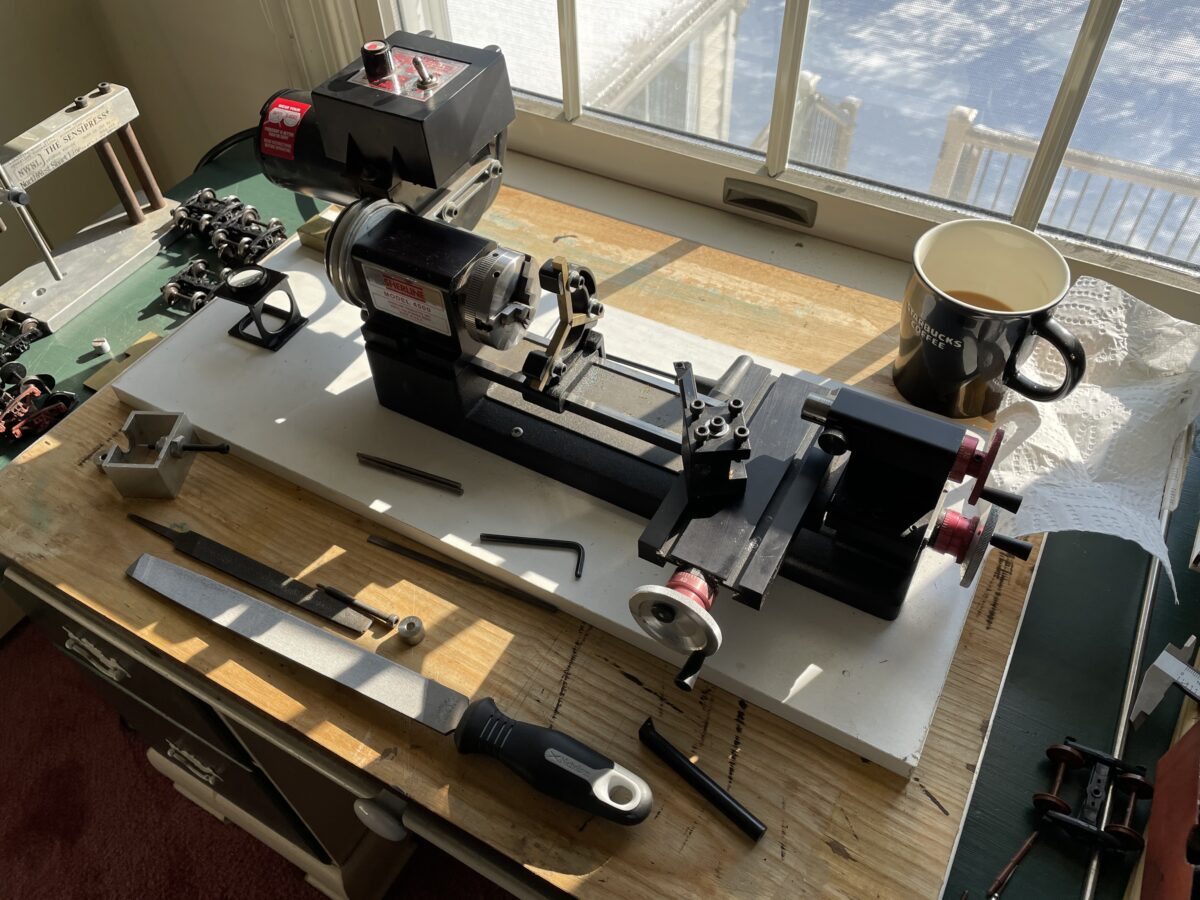
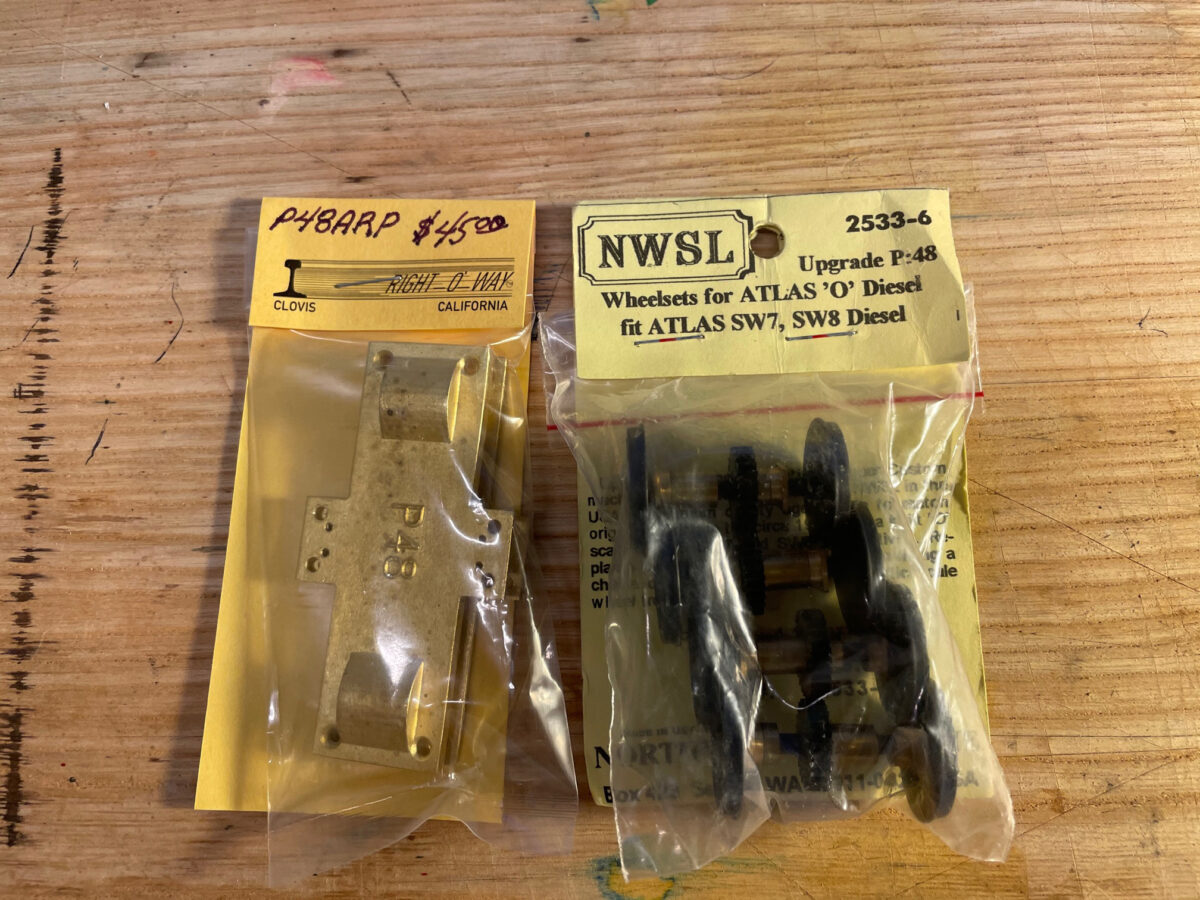
On the workbench this week, two upgrades for an Atlas “O” SW9, the Northwest Short Line P48 wheelsets for an Atlas “O” switcher and the P48 Retainer Plates from Right-O-Way.

I have two Atlas “O” switchers, I thought my one project drive had been converted already. But when I got a phone call from a friend asking about Atlas SW wheelsets, I checked the model and it did have an upgrade set of wheels but they were the .145 NMRA wheels.

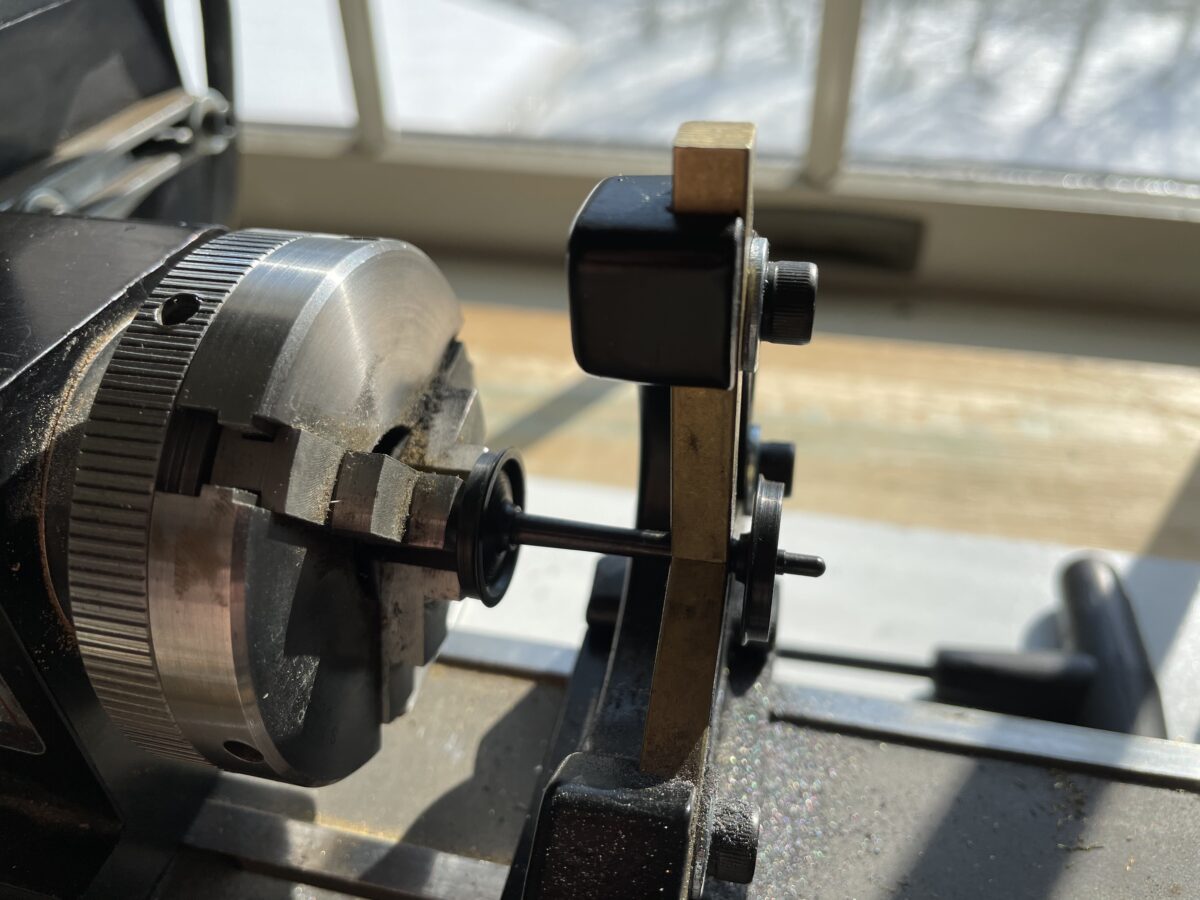
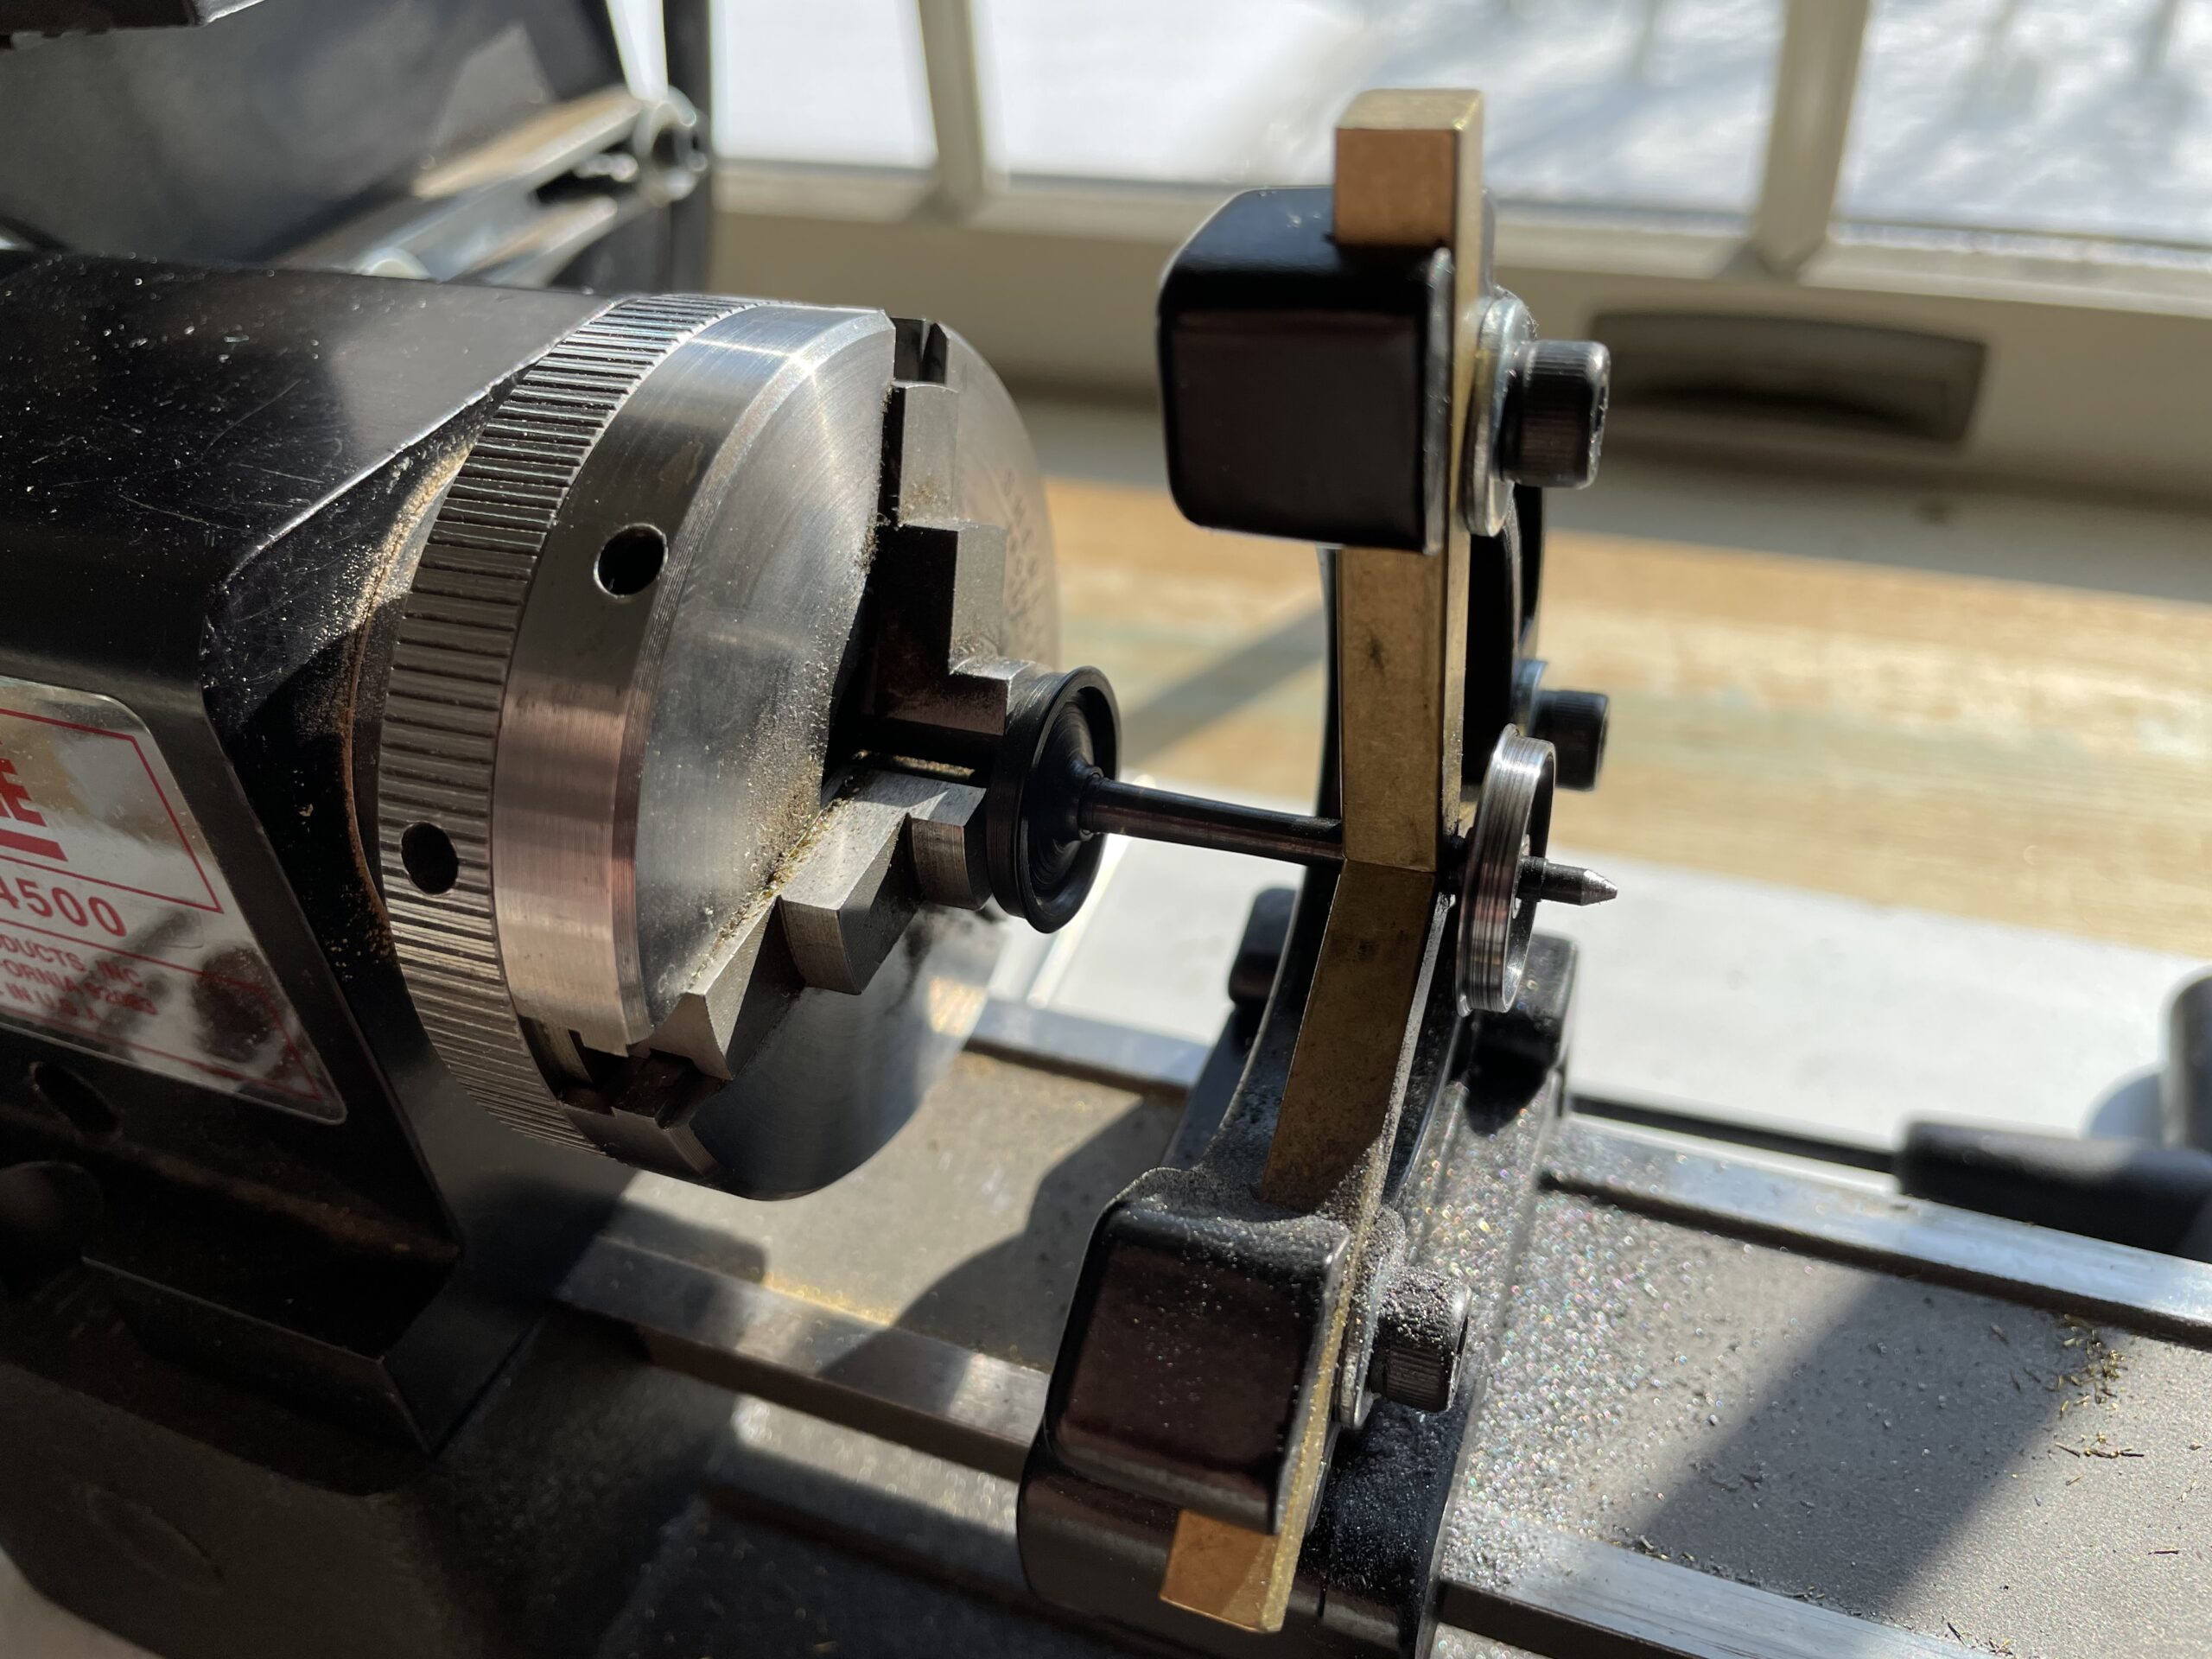
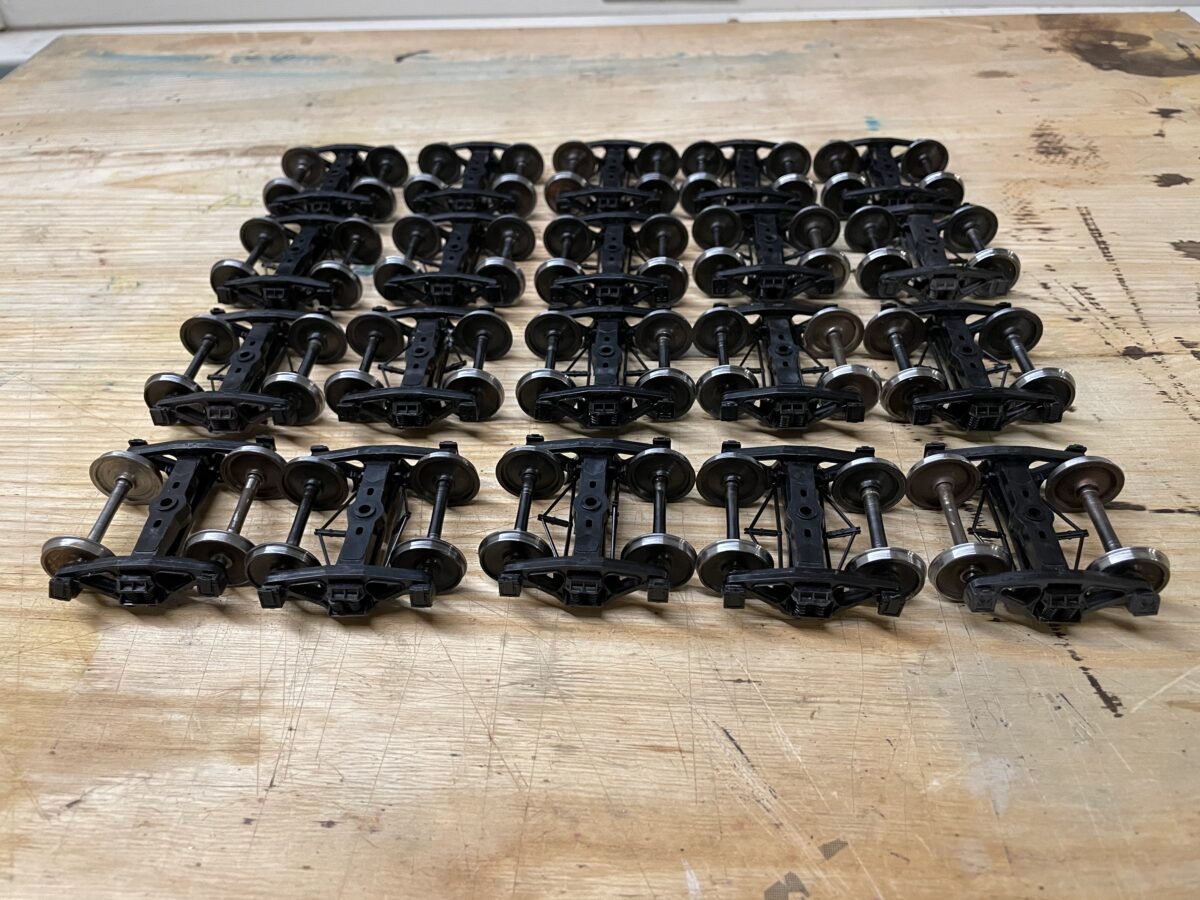
No problem, I had a set of P48 wheels on the shelf for a while (check out the old packaging), but the retainer plates I just got in a couple of weeks ago from Right-O-Way.

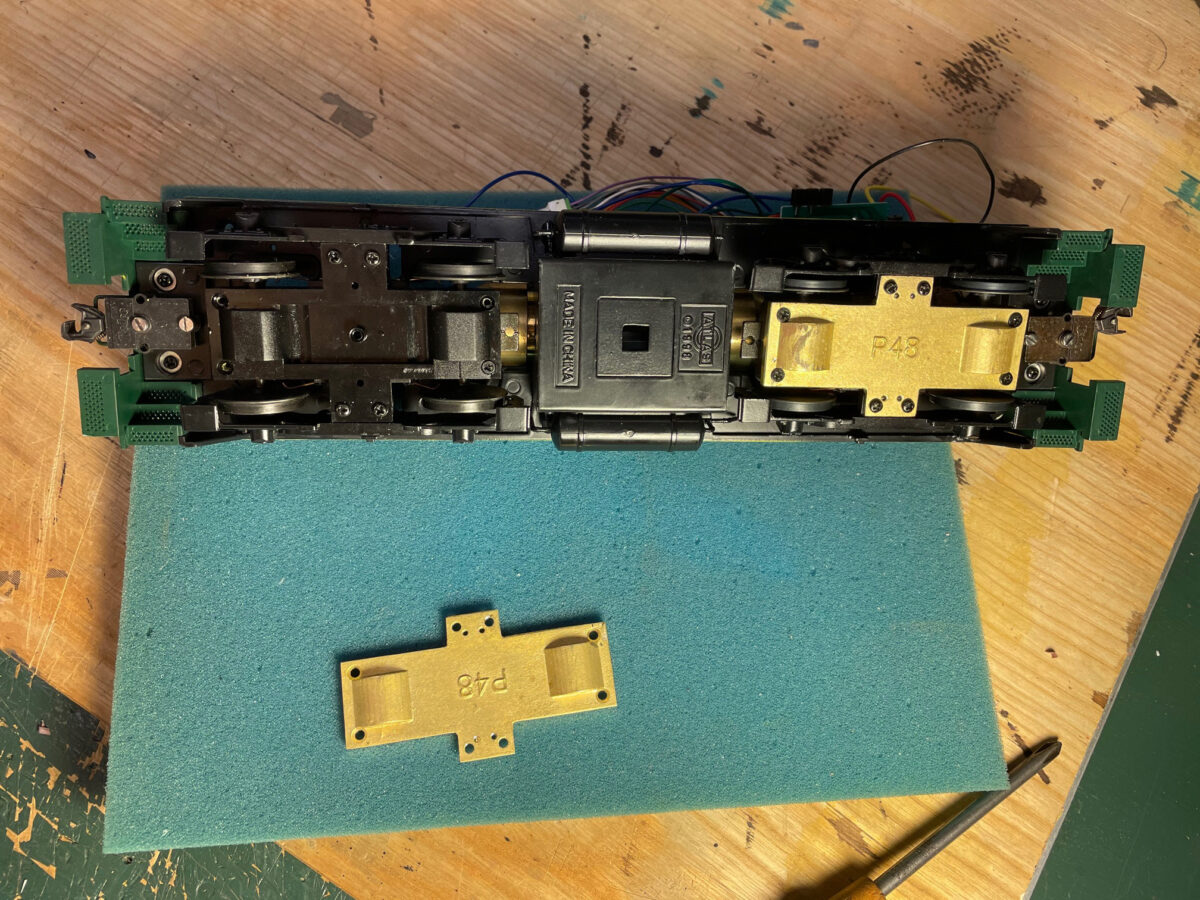
The retainer plate replace the original Atlas part. They are very simple to install, just unscrew the original plate and replace it with the new one.

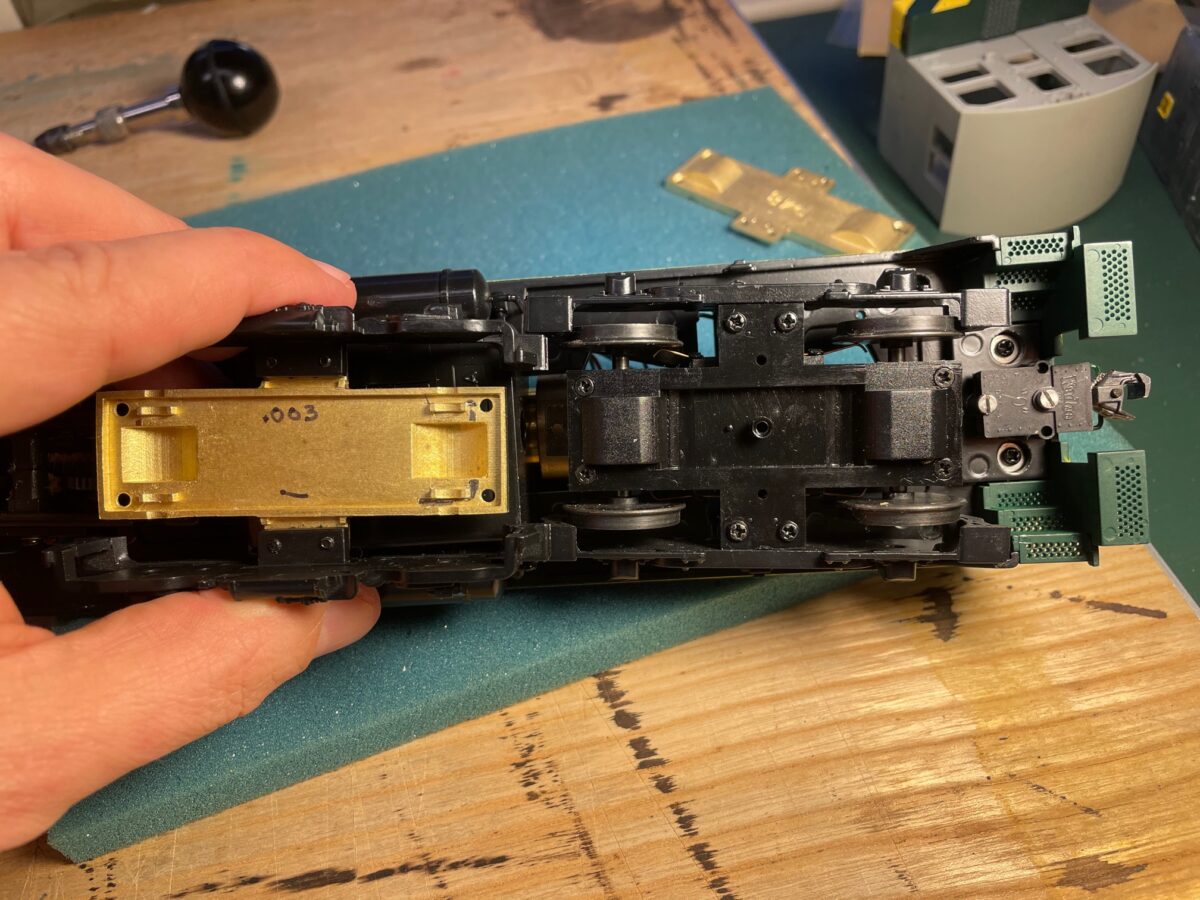
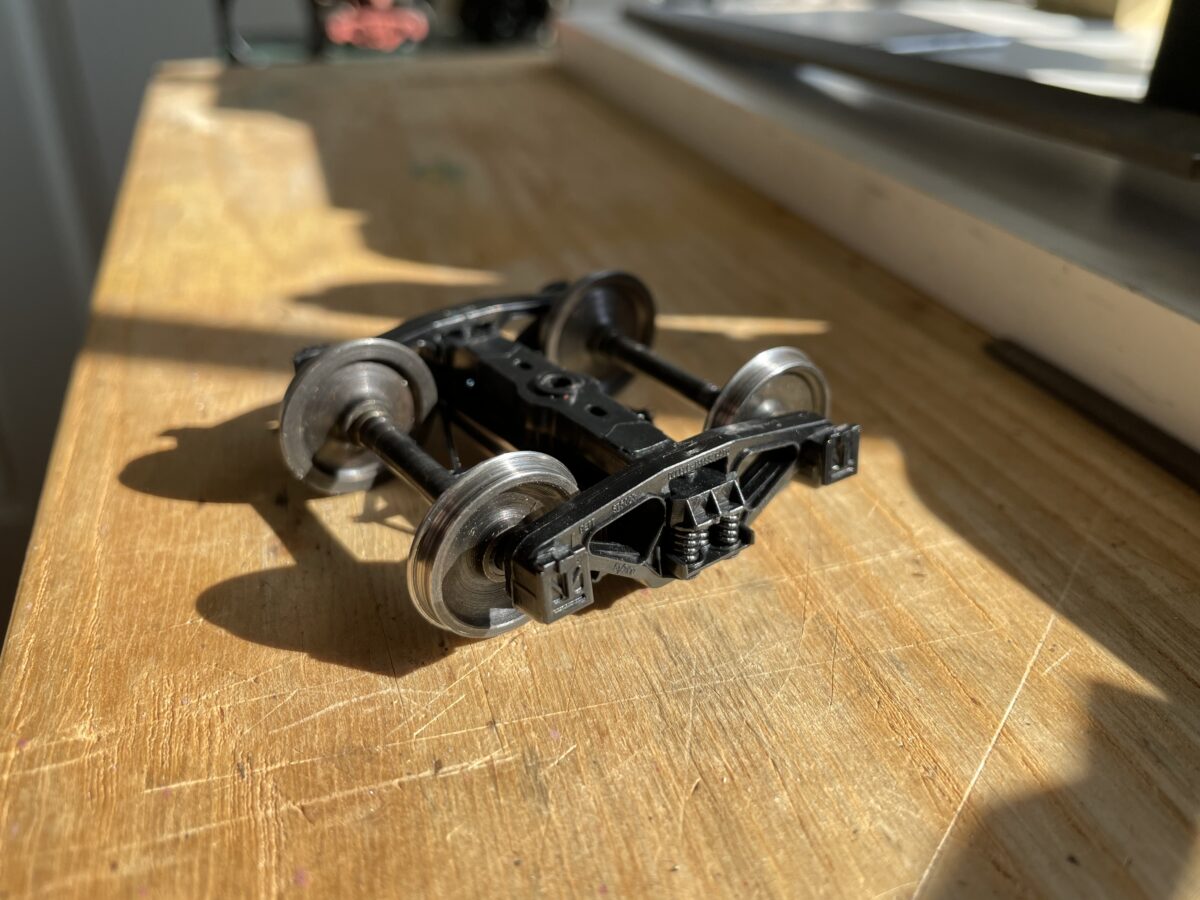
Here you can see how much the ROW retainer Plates pull in the truck side frames. It’s a very simple conversion, four screws remove the retainer plate and four more hold the side frames.

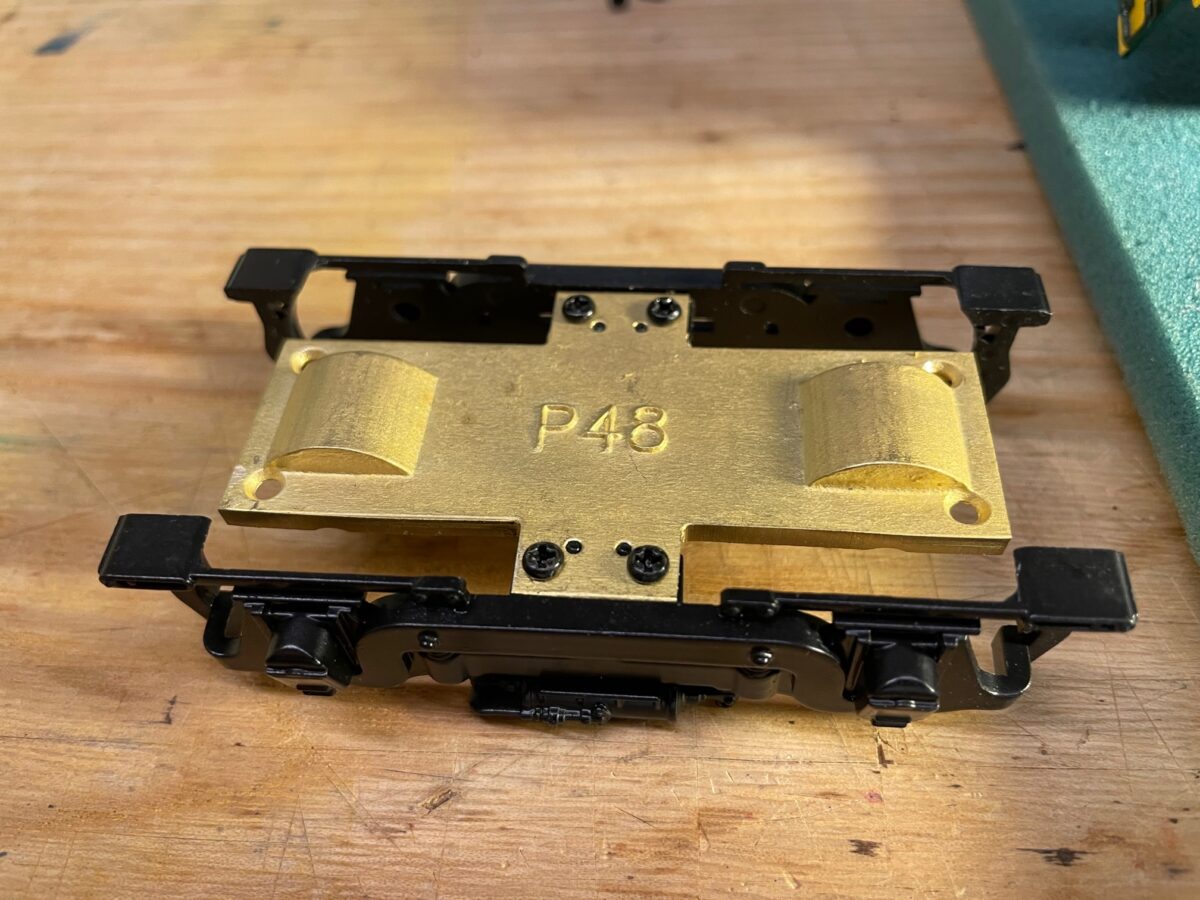
I really should have painted them BEFORE installing them. But my “mistake” allows you to see them more clearly.

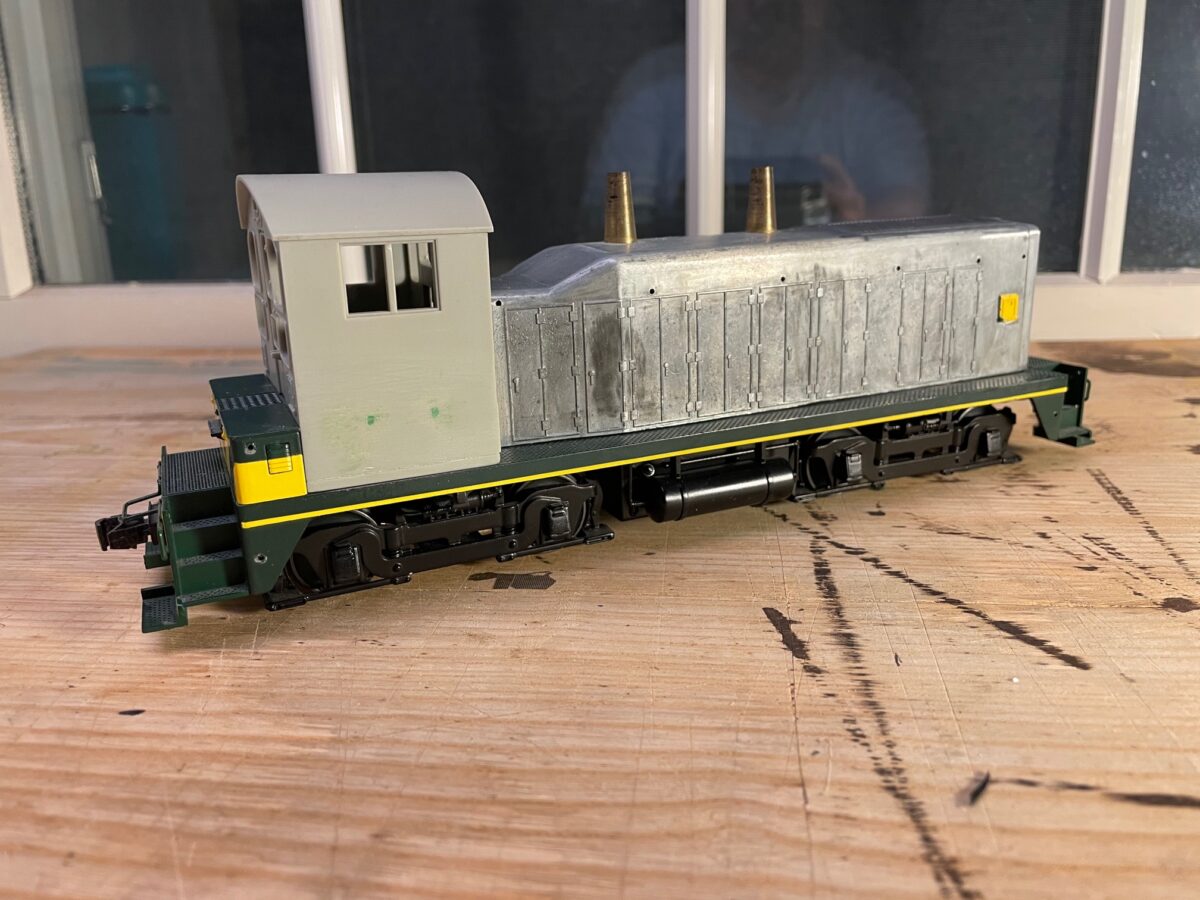
All done. My Frankenstein SW9/NW2 project back together. Still not sure this project will continue or be turned back into an SW9.

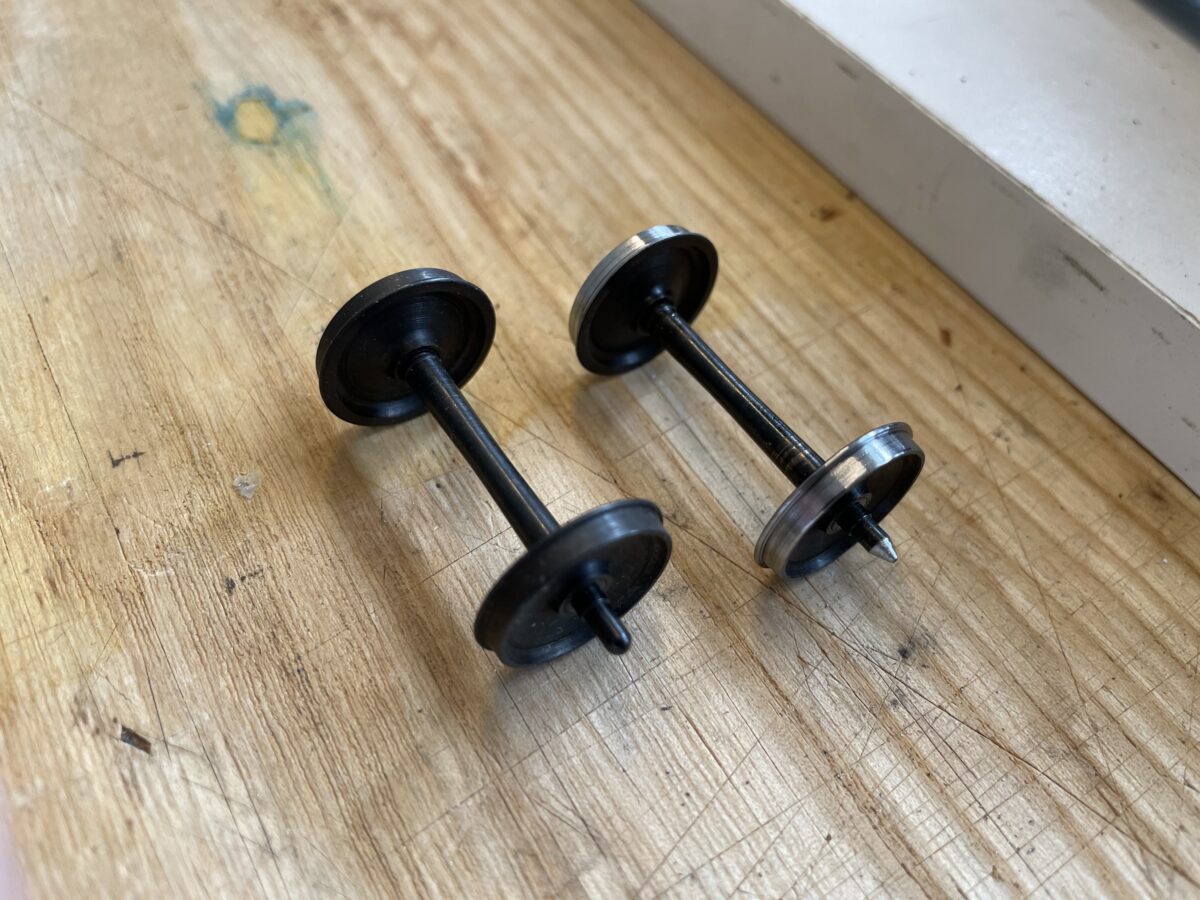
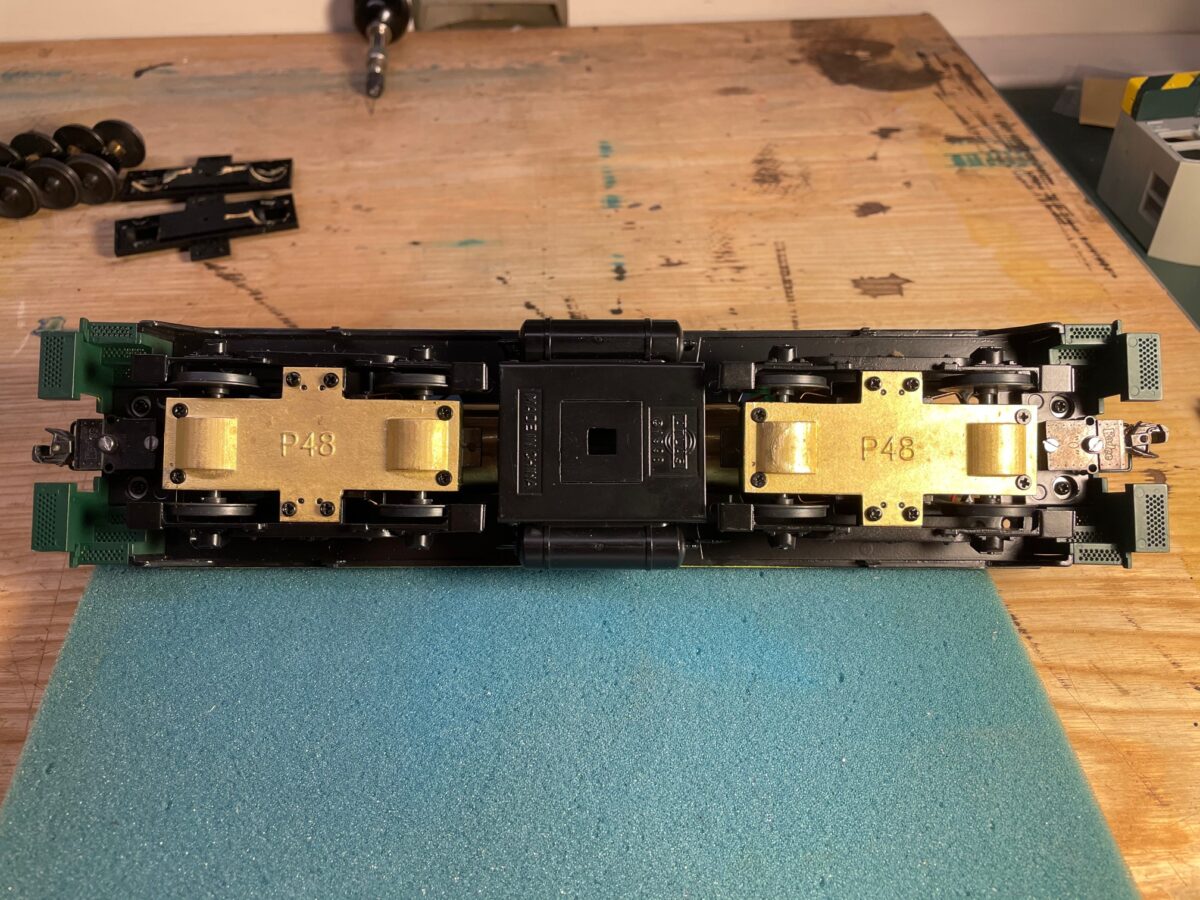
The Right-O-Way Proto48 Retainer Plates combined with the NWSL Proto48 Conversion Wheelsets really make this a simple and much improved looking conversion. I’ll time it next time, when I do the other switcher. It could not have taken more than a half hour to complete. The only tool required was a Phillips screwdriver.

Right-O-Way sells the retainer plates by themselves or with the conversion wheelsets. They really do make a big difference in the appearence of the trucks.

Right-O-Way website: http://right-o-way.us
Retainer Plates: P48 Retainer Plates

Northwest Short Line website: https://nwsl.com

WB: Intermountain Trucks Revisited

It’s funny how sometimes the simplest of things will lead you down a rabbit hole. I am continuing to clean the train room and put stuff away. I noticed an Intermountain truck I had assembled with San Juan plastic Proto48 wheelsets sitting in it. They fit perfectly and roll great. But they are plastic wheel sets so you can’t polish the wheel surface and plastic wheels tend to pick up a lot of dirt.

Having that truck in my hand and a having a clean workbench, led to pulling out a Protocraft wheelset to look at. Which led to measuring the wheelsets and then the next thing you know out comes the wheel puller and more mearuring to see if the wheels could be placed on the San Juan axels. Nope, they would need to be machined to fit properly, not a quick solution.

This led to thinking about adding a point to the ends of the Protocraft axels. Which meant the Shereline lathe came out onto the workbench. Which led to the question, how can I hold that tiny axel in the lathe?

I looked at trying to hold Protocraft axel in the chuck. Not the best of ideas because of all the erregular surfaces of the protocraft axel. Might have worked with a straight axle. Which led to should I make new axels? No, this is meant to be a simple solution. Which lead to finding my collets…. which lead to a whole other search. Turned out the collets were where they should be and I just looked right past them. That really wasn’t the best way (for my set up) to hold them either. Which led to thinking about a set up I’ve used to polish wheel treads using the chuck and a steady rest.

Now before the machinists in the crowd start rolling their eyes, I should remind you that I did not take metal shop in High School, I took art classes. And as a machinist, I turned out to be a good Graphic Designer.

Well it worked, but putting the wheels back on the axel turned out to be more to think about. They were is perfect gauge from the manufacturer and when the day started. A simpler solution was needed.

As you can see I found a simpler solution, leave the wheels mounted on the axels. The axel is held by the chuck, supported on the other end by the steady rest. The wheel treads get polished and a file is used to add the point on the axel.

Here is the before and after of the Protocraft axels. They now drop into the Intermountain truck and it rolls great.

I tried cutting the point but that put forces on the axel in this set up which caused it to move. If I had used a collet and just held the axel then that would have worked. But I didn’t need close tolerances on the point, I just needed a point on the end of the axel.

I also want to mention that I said in the last post that the workbench would not stay as clean as it was. It didn’t.

That worked so well, I built up ten pairs of trucks.

The imported trucks from Protocraft and RY Models are GREAT! I own more pairs of them than I want to admit. Sometimes, you just don’t want to put a $52 pair of trucks under a $20 freight car.

Putting away one Intermountain truck with San Juan plastic wheels led to this. But notice, I was good about putting away the lathe and I’m back to a clean workbench.

Now, what cars do I want to put these trucks under…..

Workbench Wednesday

I realize I haven’t posted much recently, it doesn’t mean I haven’t been working on anything. It really just means I haven’t had time to write about anything I’m working on.

Rather then just post images with no words, as some do very effectively. I thought I’d start a new on-going series about what’s on the workbench. I’ll try to write just a few words so there is a better chance of it getting me to post in a timely manor.

I’ll start this off with a simple image of the workbench today. It’s way too clean. I can guarantee it won’t stay this clean.

I have spent the last few days moving the desk, bookcases, drawing table and just about everything in my train room in an effort to make the space work better for me.

Just before I did start cleaning, I did manage to get some decals down on a PSC PRR H25. I had painted the car a long while back and it had sat on the shelf waiting to take the next step.

I used a set of Rich Yoder’s PRR H21a decals to letter the car. It still needs more work. The decals need to be over sprayed, air hoses attached and weathering done. But at least it’s no longer sitting with naked paint on the shelf. It most likely will be back here again as it progresses through the shop.