WB: Back to the GP7’s

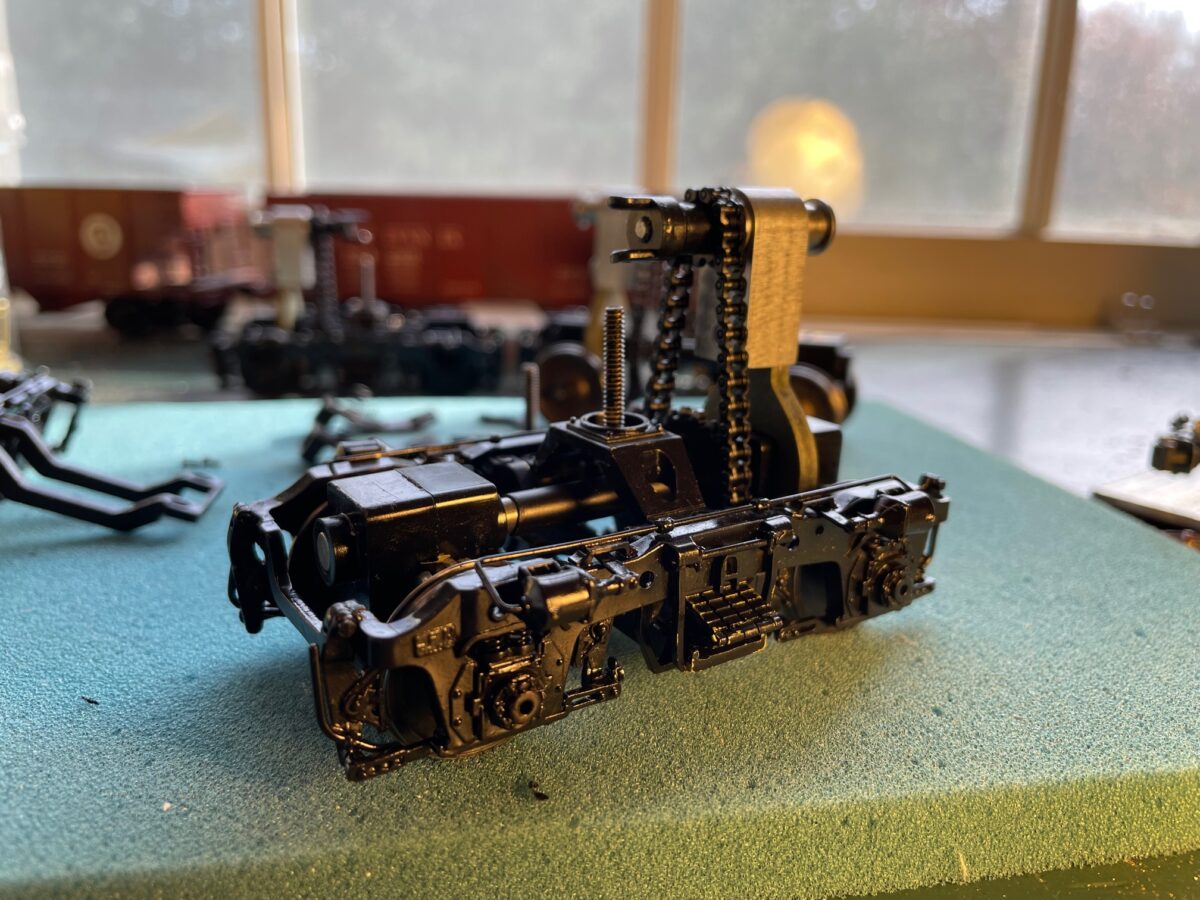
It’s took a while to get some paint of the trucks. Then it took a while longer to get them back in the work line. Some of those freight car projects just go so much faster that it feels like you have actually finished something.

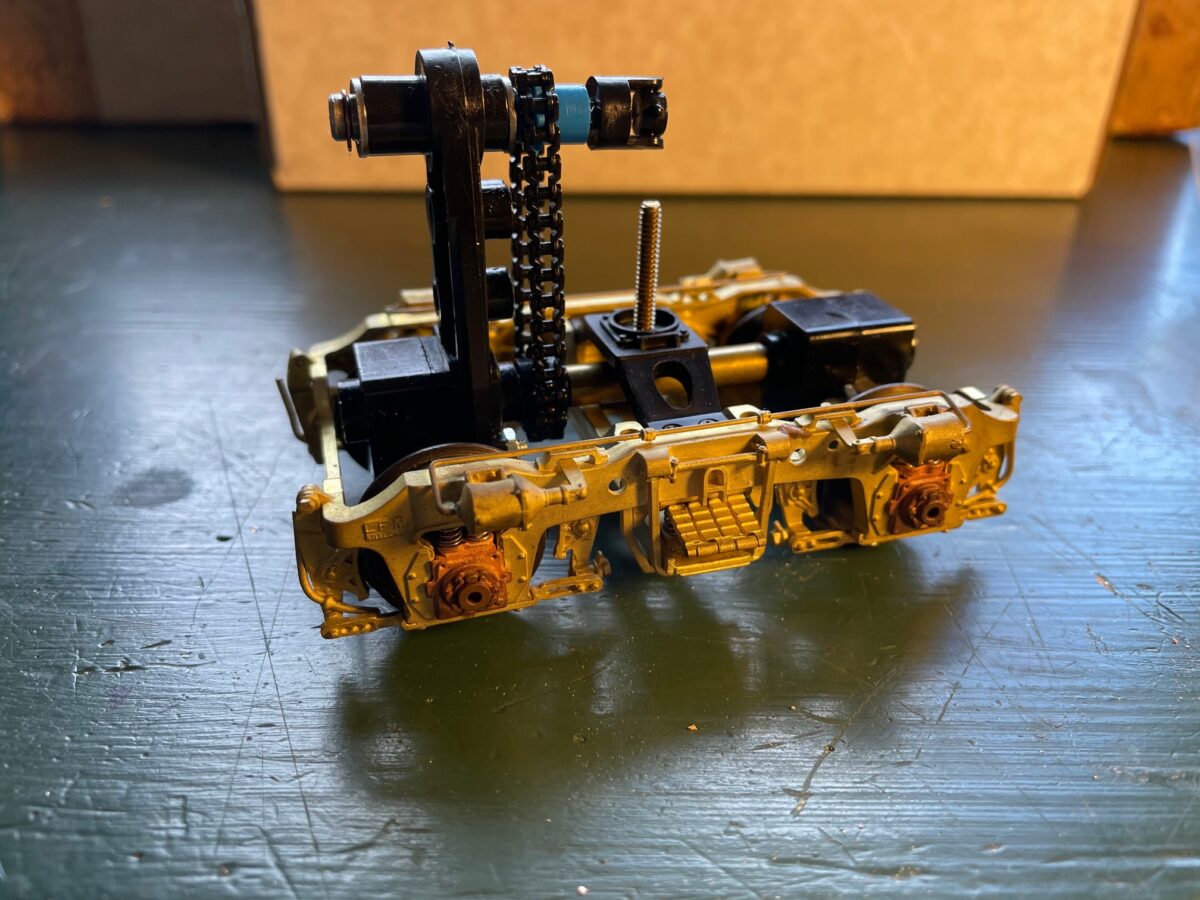
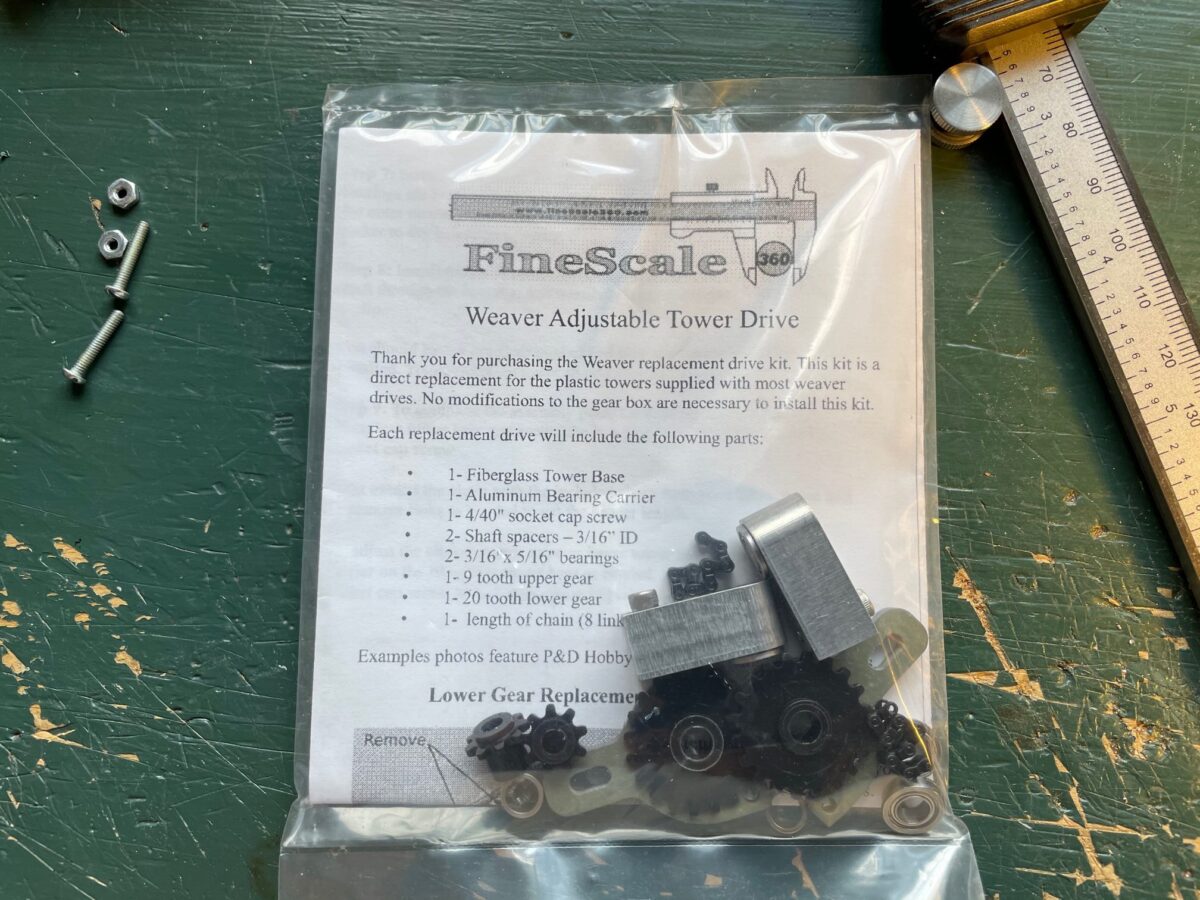
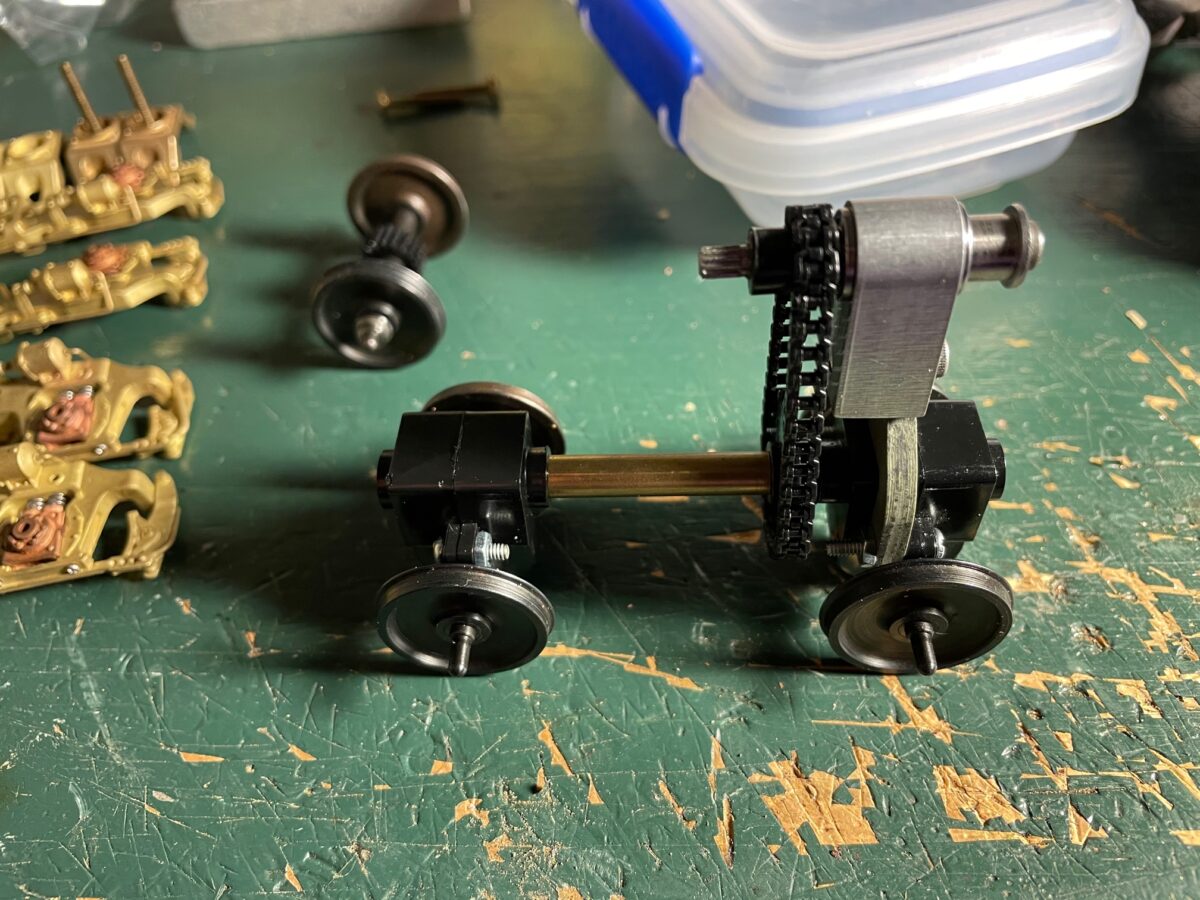
Anyway, these two pair of trucks have had new axels from Protocraft installed. Yes, they are now available from Right-O-Way but I’ve had mine on the shelf since they were a Protocraft product. I also installed ball bearing from Bearing Direct on the axels and also the FineScale 360 Weaver Chain Drive Replacement Kit.

I have to say that these are a pain in the ass to reassemble. Things seem to be moving in so many directions at the same time. It’s difficult to get them all to fit together without something moving. They are taking longer than I thought they would to reassemble.

And for anybody that might be questioning why I have a nice shinny black on the trucks instead of all kinds of weathered blacks/grays/rust. For my modeling period, the Summer of 1952, these units are less than a month old. I don’t think the railroad would have been happy if they had been delivered with well worn trucks.

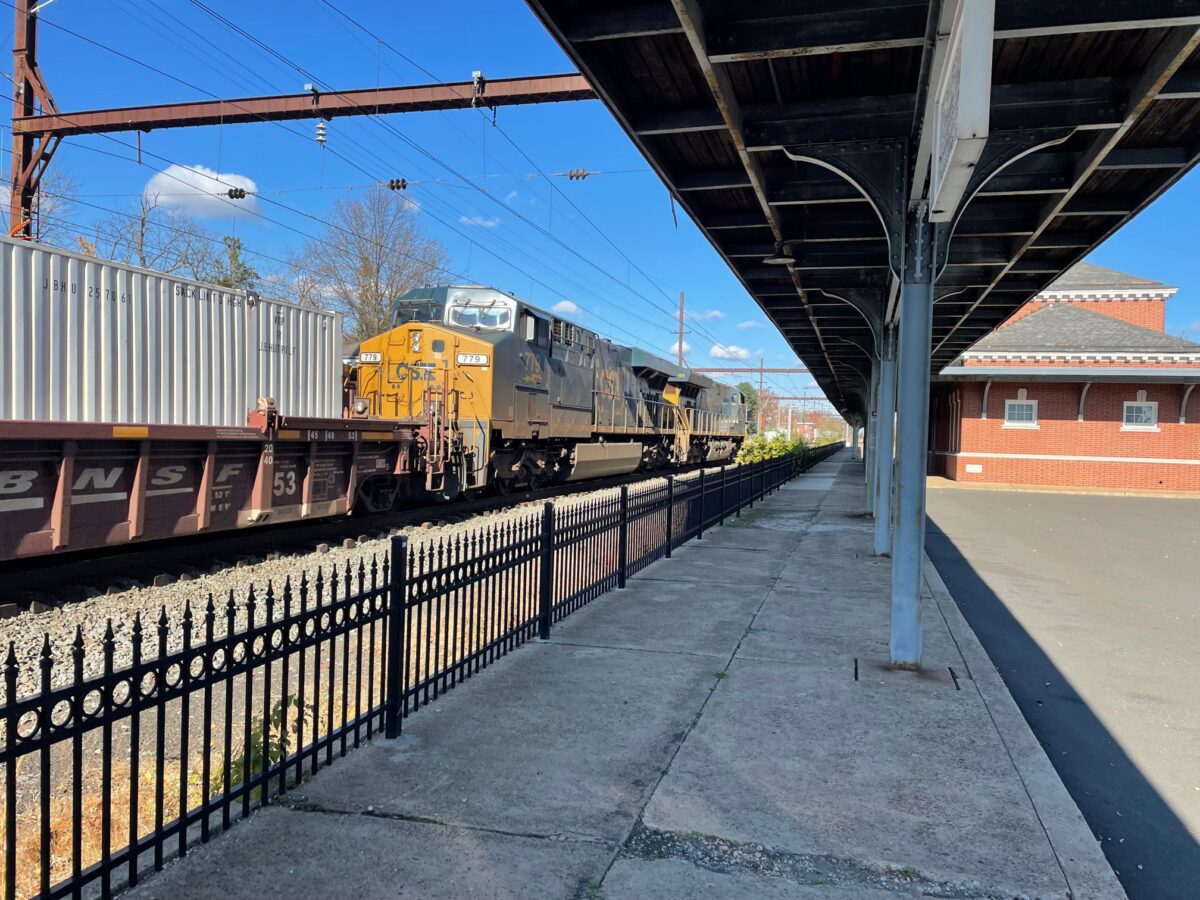
I am back at work a couple of days a week until the end of the month. This has meant getting out at lunchtime to West Trenton Station. This week I got to see a CSX stack train head North through the station.
WB: Something Old and New

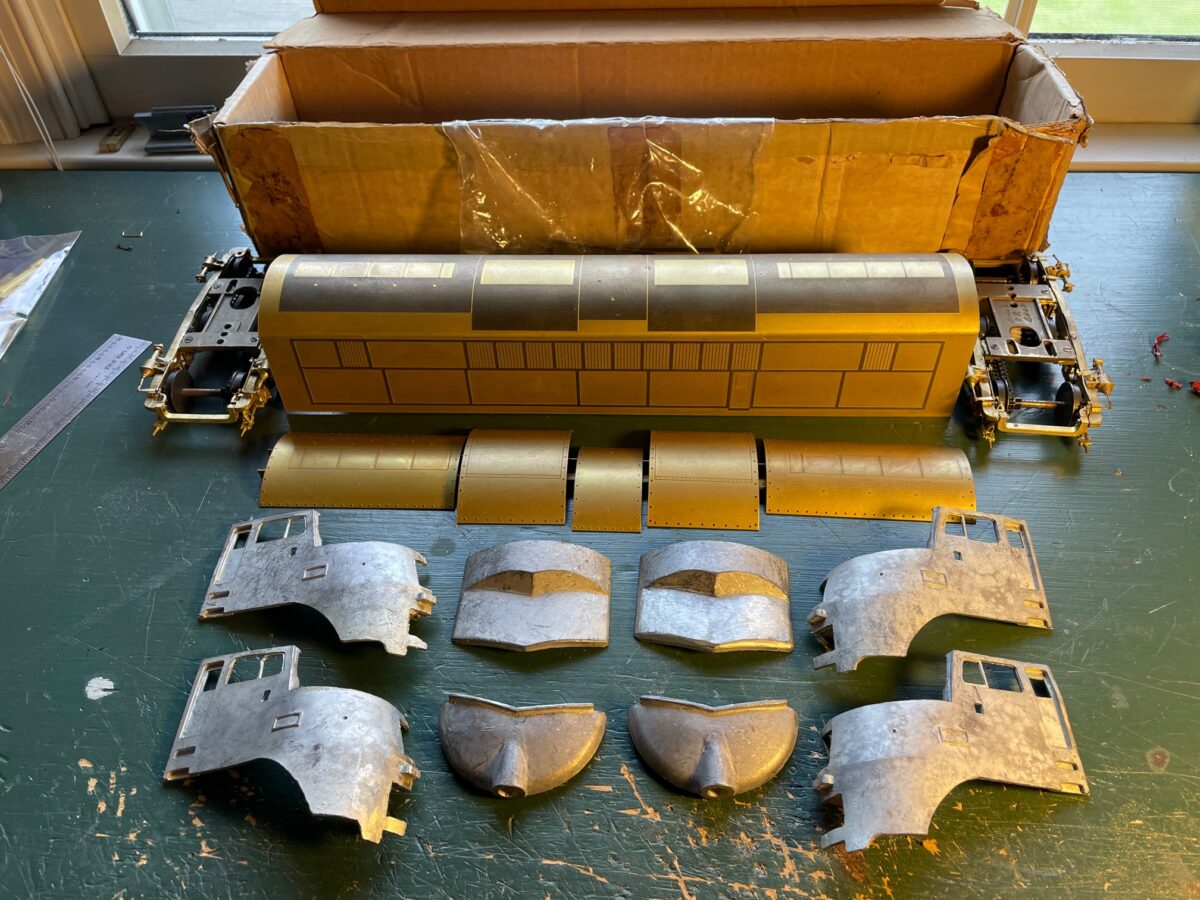
Well I got the Locomotive Workshop Baldwin kit home and took a good look at it. It is mostly complete. You can’t see the parts bag behind the body etching. The nose casting are softer then I remember from other kits. They will require some work to fit the four pieces together.

I’ve built other LWS kits in the past, to say they are basic is an understament. I had a friend refer to them once as a scratch building project disguised as a kit.

I’ve wanted to build the CNJ DR 4-4-1500 “Baby Faced Freighters” for a long time. This would give me the two nose castings I would need for the project. I could just use them as is and build the freight units, but I still think I want to build the double ended passenger unit. So I’m planning build one nose up and have resin castings made for the project. At any rate, it’s not at the top of the project list right now. Back into the box to wait a little while before starting that project.

I’ve been working on pair of GP7’s recently. I’ve managed to find a pair of the Atlas O GP7 shells. I am replacing the long hood assembly of a Red Caboose GP9 with the Atlas O GP7 long hood to build my GP7’s.

I am working on the drives first. I’ve been acquiring the parts for this build for a while now. Even before I bought the Atlas O shells.

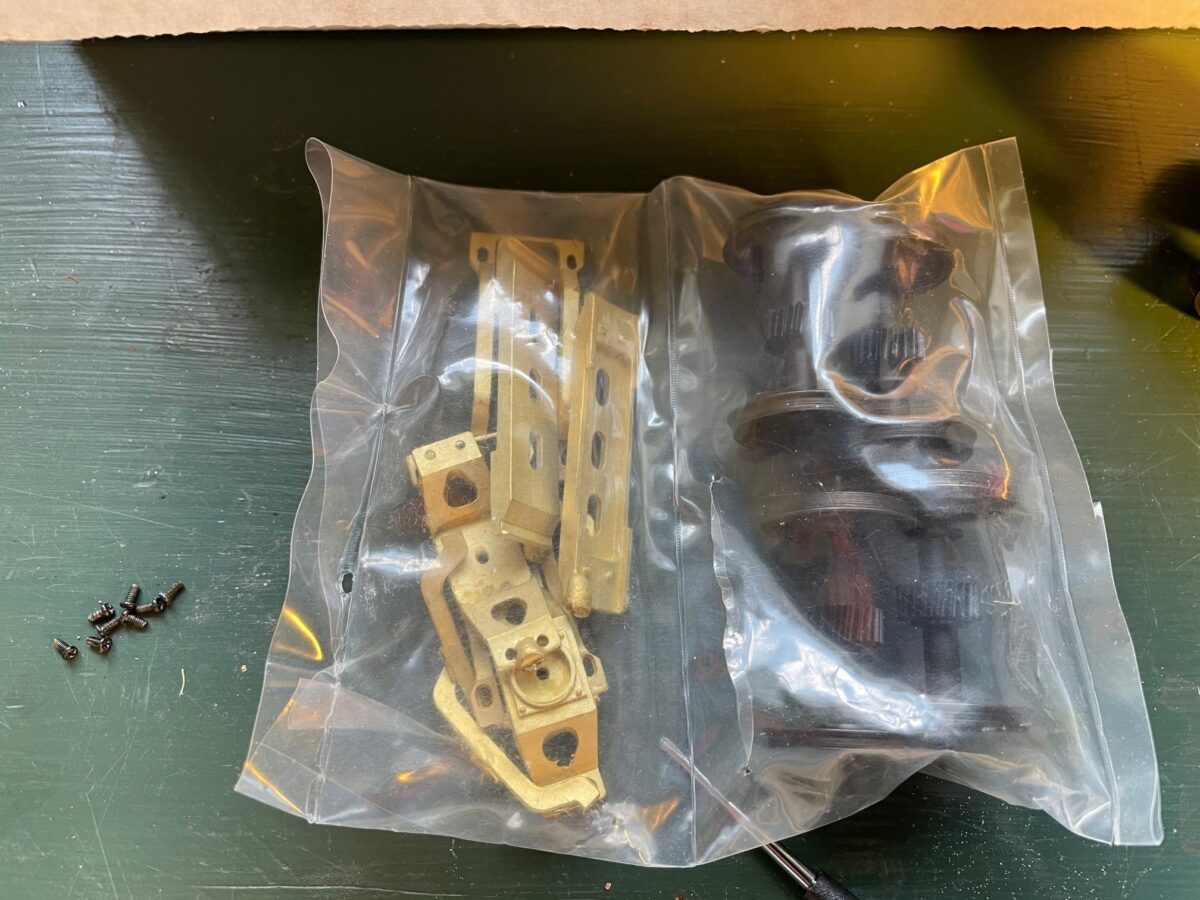
I started with the P&D replacement drives for the Red Caboose GP9. The two drives have been waiting their turn on the workbench for a while. Funny that when I examined the gear towers of the drives. The top gear of both towers in one drive had cracks. Not a problem as I had planned to replace the gear towers anyway.

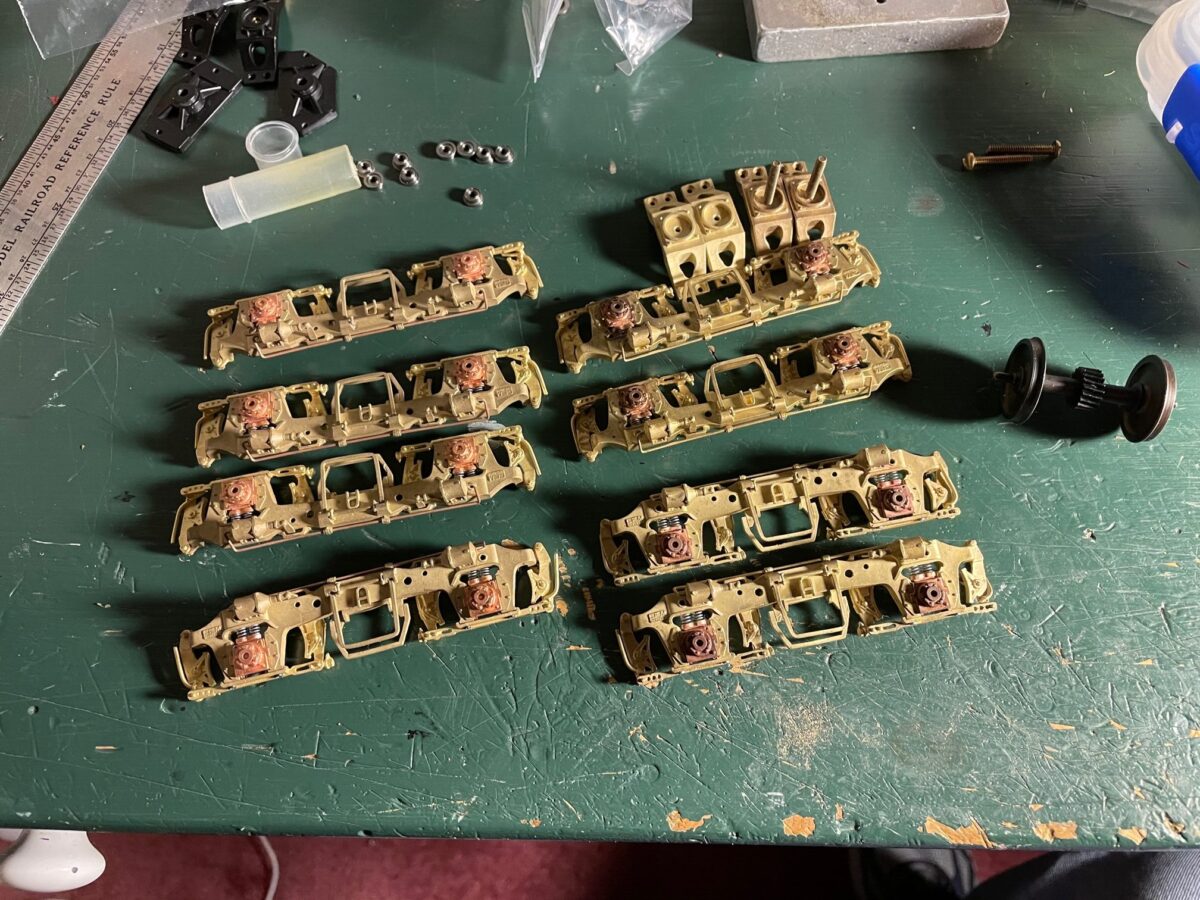
I am using the FineScale 360 Gear Tower and also a set of Right-O-Way conversion wheels and truck castings for the P&D EMD Blomberg truck. This conversion set might go back to when these parts were sold be Protocraft.

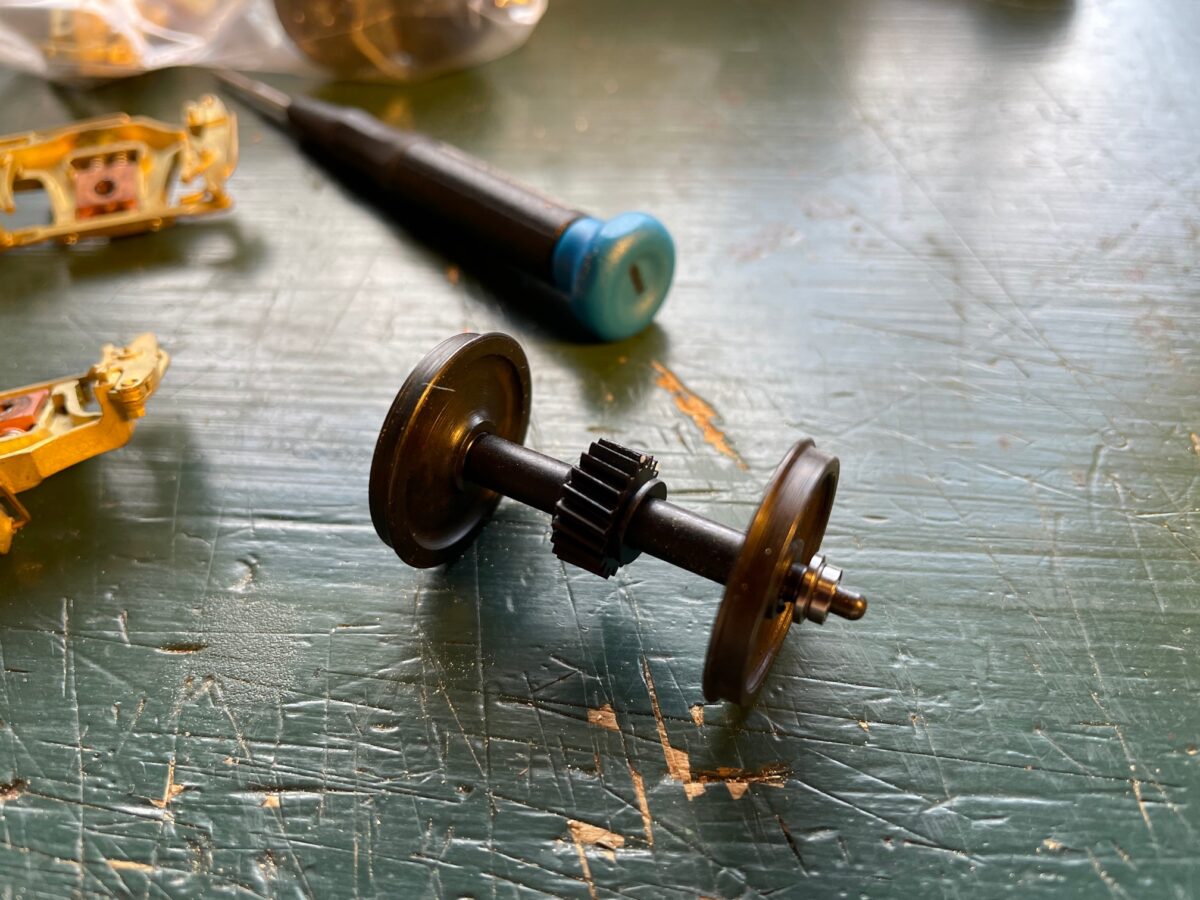
Since you have to disassemble the truck to install the conversion parts, I thought it would also be a good time to install ball bearing on the axels. You can see one of the ball bearings on the axel below. I’m using a FR133-ZZ Flange Mini Ball Bearing from Bearings Direct.

The model’s bearing in side frame have been modified to fit the new ball bearings on the axel ends. Next step is to paint and reassemble the trucks.