WB: LNE Hopper Cars Update

Well, the thing that dominated this past week was getting my second shot of the Covid vaccine. It had me moving a little slow this past week.

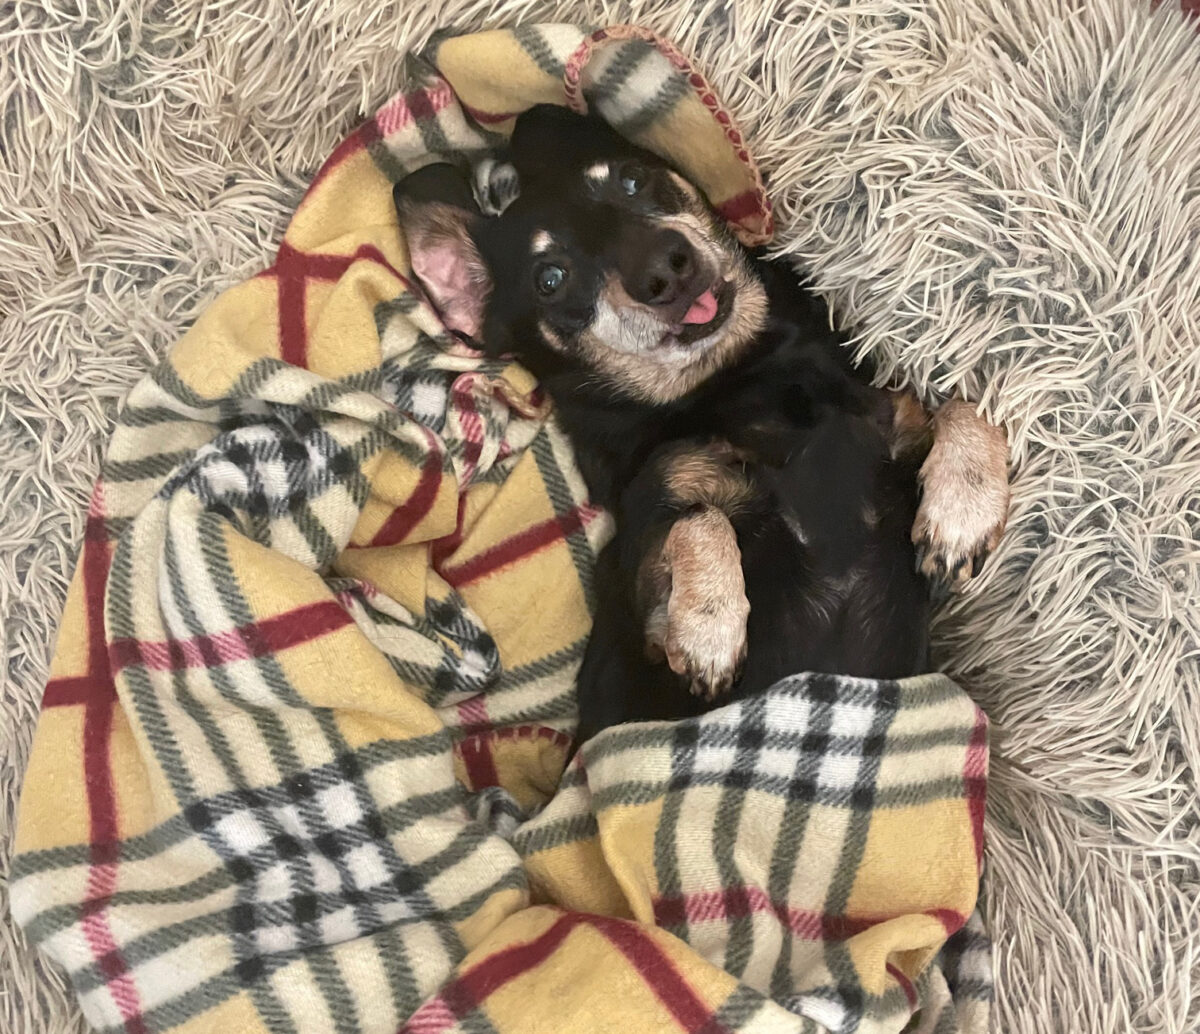
My Pearl kept me company. She stayed with me as I moved from room to room looking kind of silly at times.

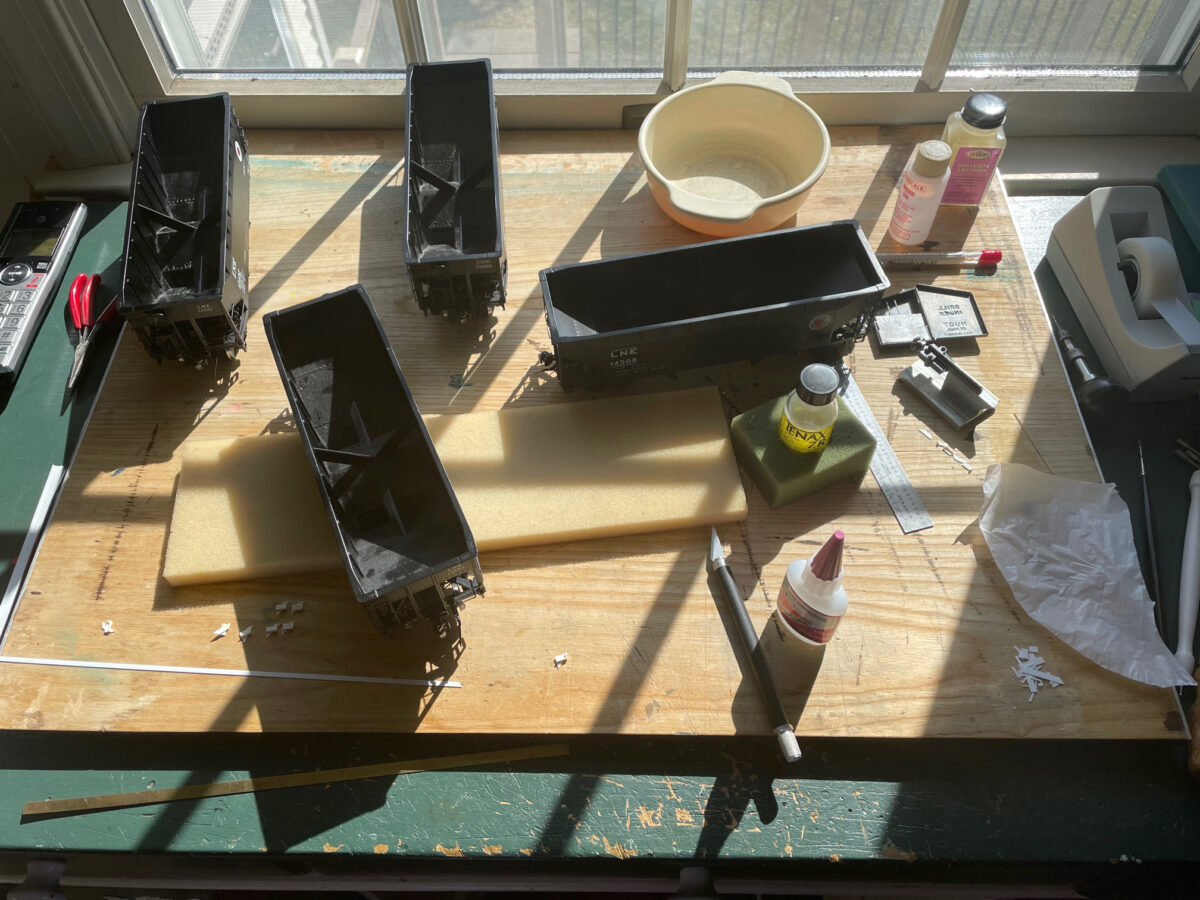
The LNE offset twin hoppers were still on the bench. I was hoping to get them through the weathering stage this week. That didn’t get as far along as I had hoped.

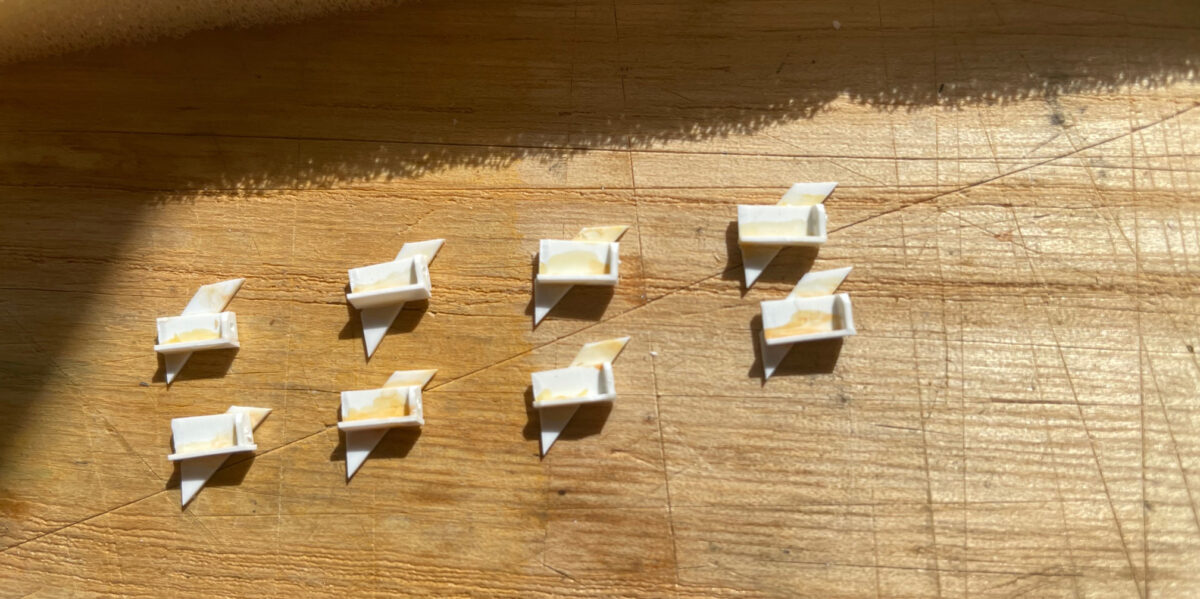
Before that could happen, I needed to add the coupler cut levers to the cars. After examining some photos, I was able to determine that the bracket that held the coupler lever was mounted to a diagonal plate running from the step to the end sill.

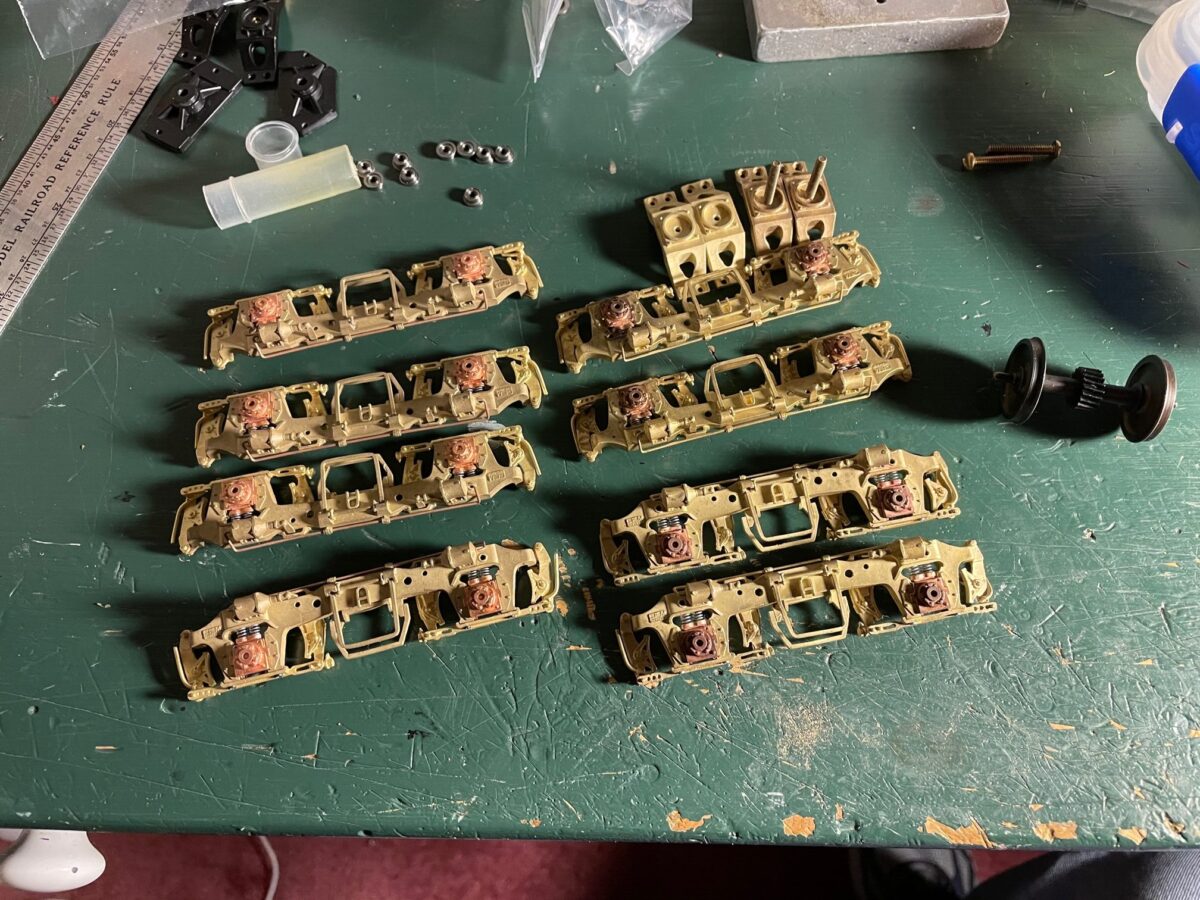
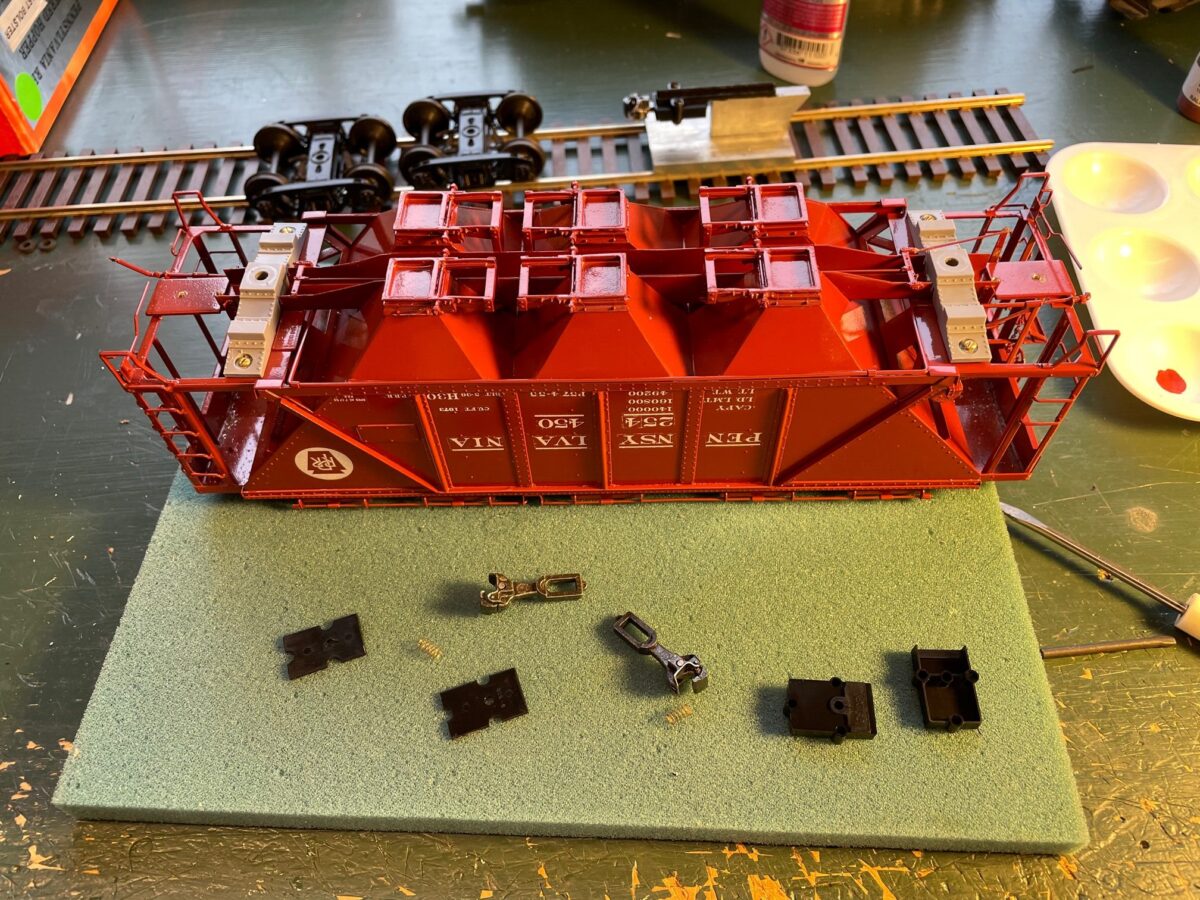
Here are four sets of the brackets I built up. I should have paid more attention to the brush I grabbed to apply the solvent. Apparently, there was still some paint residue on the brush. The set on the left got swapped out for some of the extras, but some how it made it into the photo. Don’t know why I didn’t photograph it again.

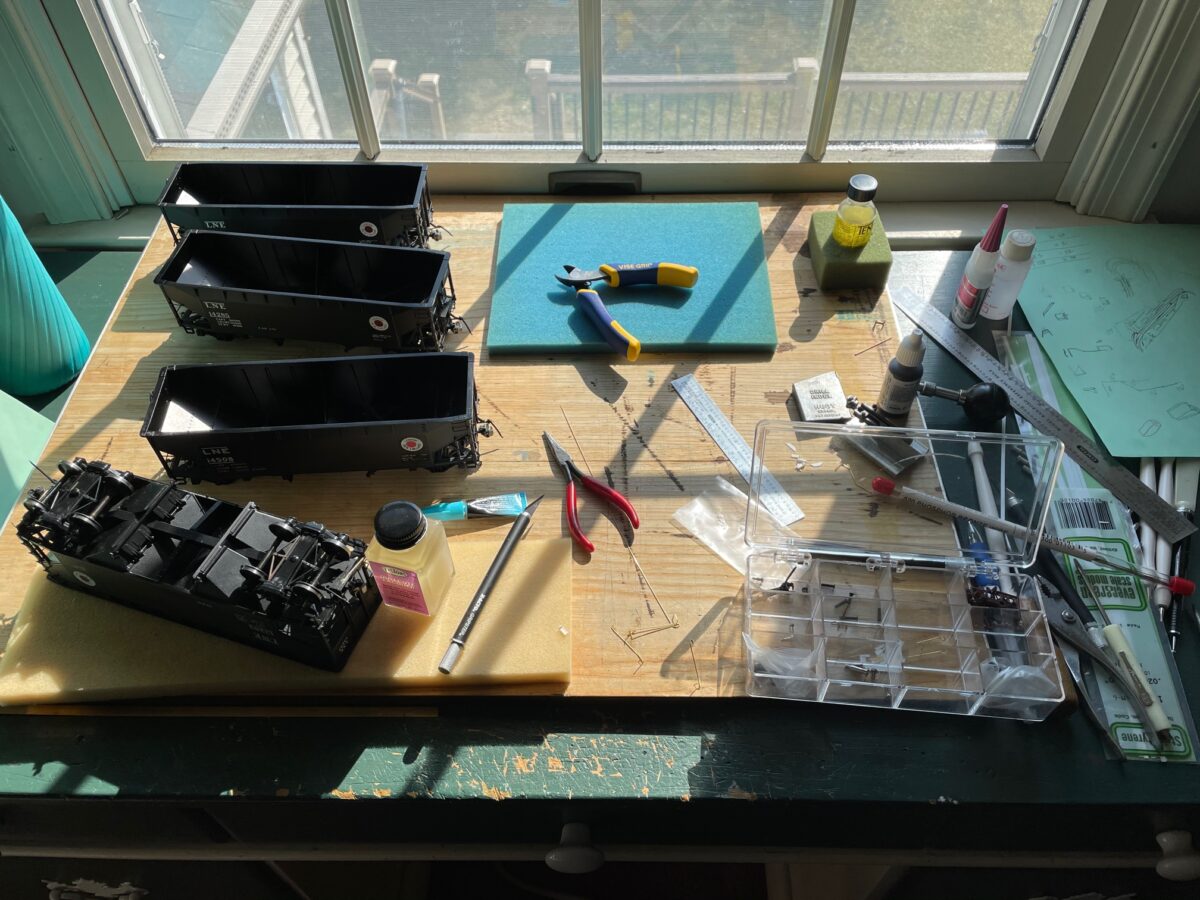
Then it was time to bend the levers and attach them to the cars. Here I’m attaching the cut lever. I secured the one end with a tiny amount of ACC to the coupler box. You can see the bottle of Dull Coating used to hold the lever in place while I glued it up.

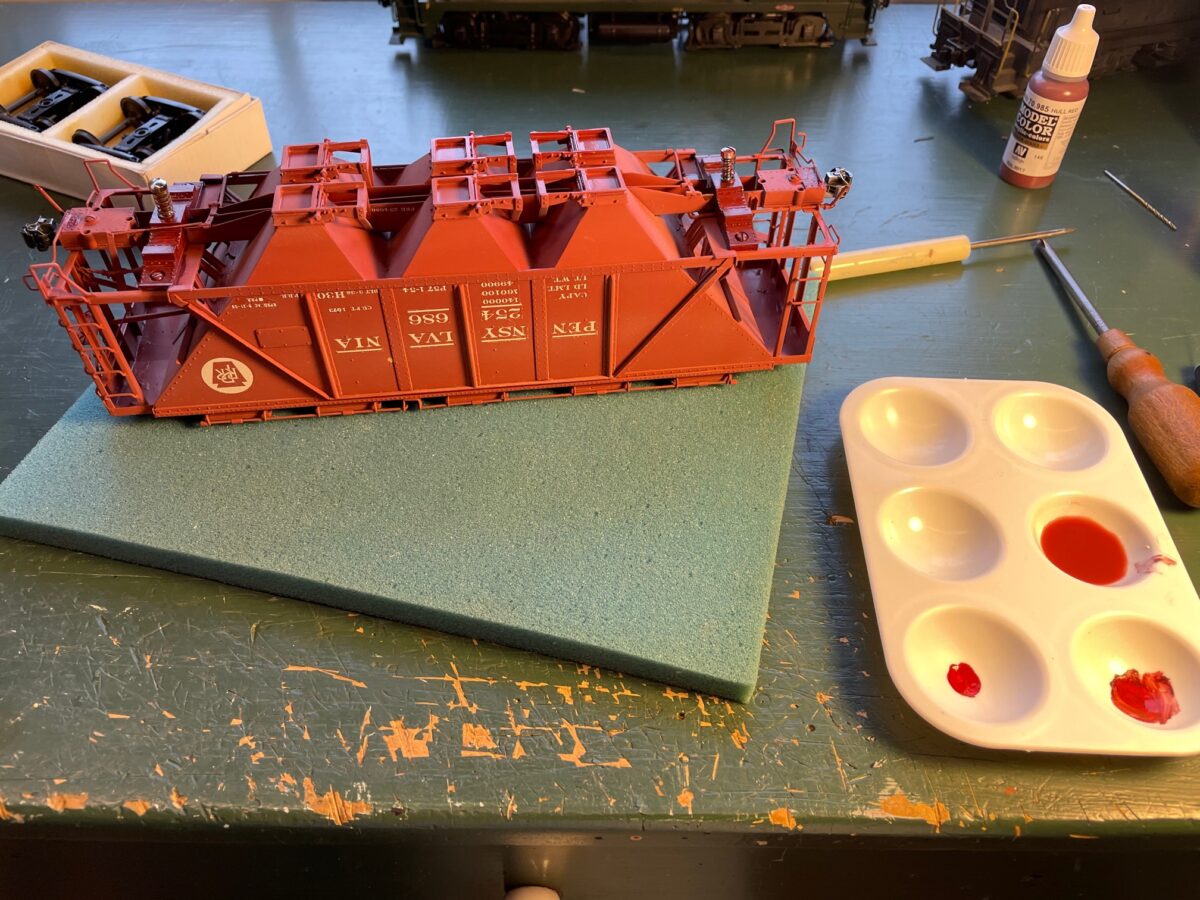
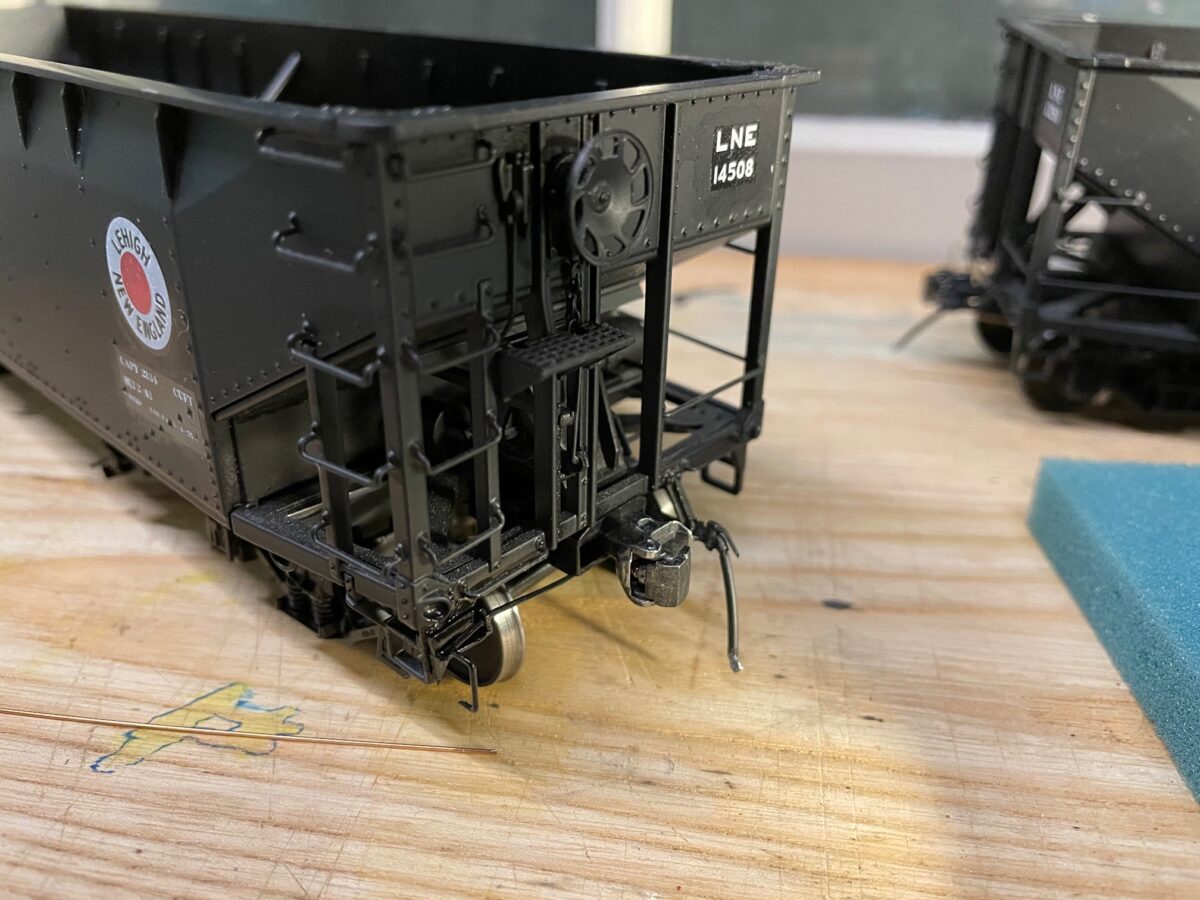
A little touch of black paint and it looks like it was always been there. It is amazing, you take the time to install these details and when the black goes on, it’s like they disappear.

Not looking bad for Lionel cars. Next up, DullCoat and weathering. I hope.

WB: Models For Last Week’s IM Trucks

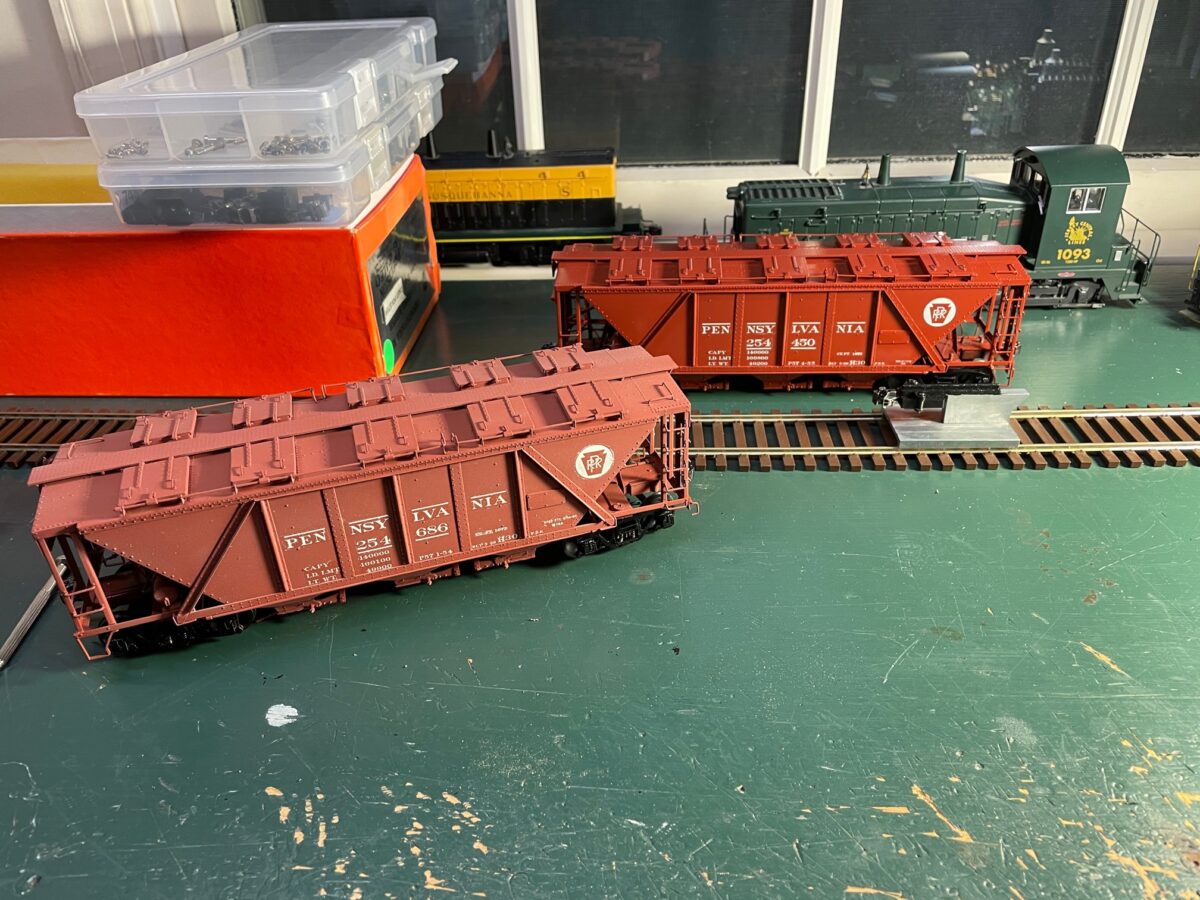
Last week, I finished up ten pairs of Intermountain Trucks with Protocraft Wheelsets installed. Well, I had to find some models to place them under. So, I dug out some Lionel offset twins I’ve been working on.

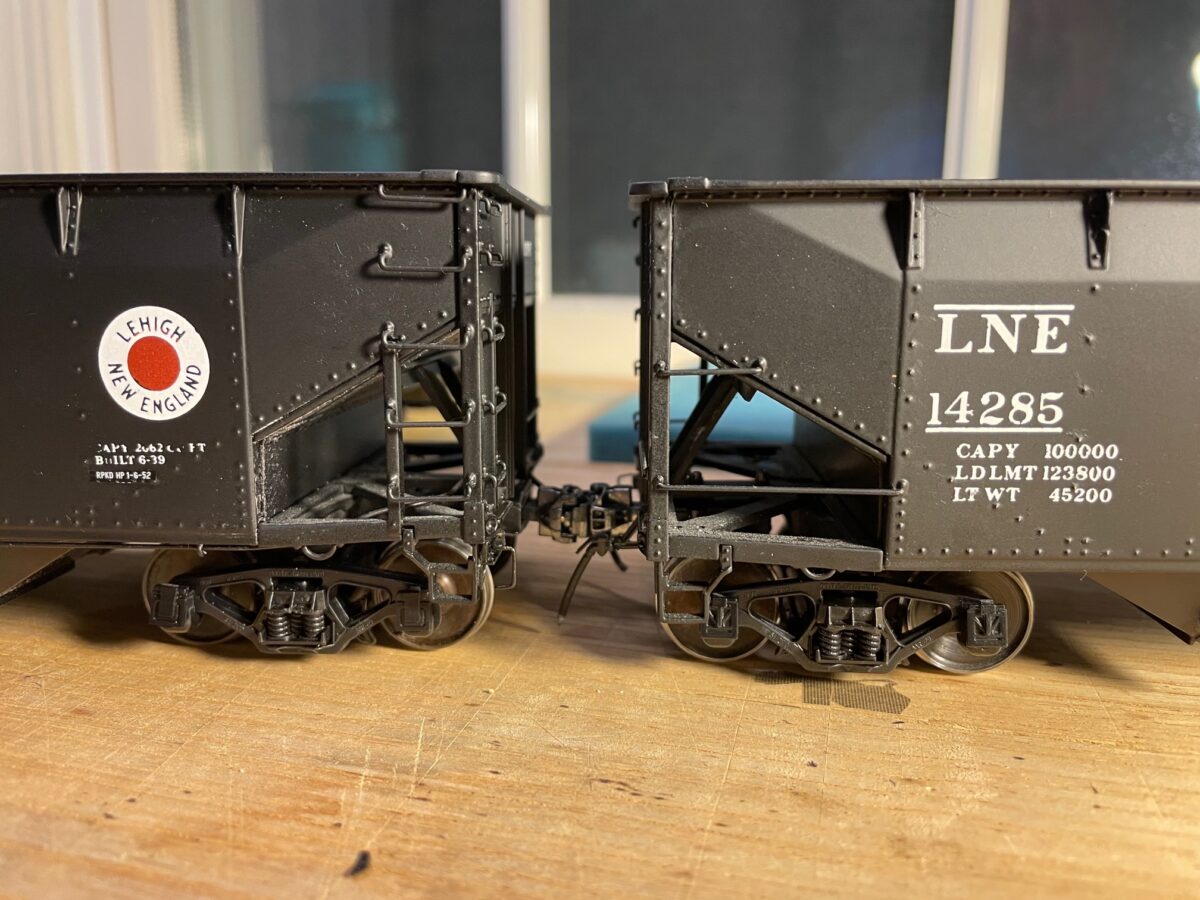
I had four of the twins that I had mounted couplers and installed PSC bolsters on a number of years ago. I forget what they were decorated from the factory, that lettering was removed long ago and they were painted black on their way to become something new. About a month ago, I used CDS dry transfers to decorate three of the cars for Leigh & New England. This fourth car was still waiting.

You can see from this view. These were not extensivly rebuilt from their 3-rail origins. The center sill is drilled and tapped so that a Kadee coupler could be installed. The 3-rail bolster was ground flat and a Precision Scale bolster glued onto the car. I’ve done about a dozen cars in this way, but I’m looking into doing a different type of conversion the next time. One which rebuilds the bolster sheet into something a little more prototypically accurate.

I was going to just mount the trucks on the cars, but the couplers needed to be changed out and checked against the gauge.

Like my gauge? It started out as a Kadee #812 O Multi-Purpose Coupler Height Gauge. I did a little machining to it, and now it works with my Proto48 rails.

I was thinking of just using the last set of transfers I had for the LNE on this car but I do have a love/hate relationship with dry transfers. I love they way they look on a car. We won’t talk about applying transfers to ribbed cars. That is one experience I can live without ever again.

I really wasn’t looking forward to doing another car with the CDS set. The transfers are getting old and one of the sets I used wasn’t sealed properly. It really gave me a hard time applying them to the car.

As I looked closer on the cars I thought were done, I still had the ends to do on two of the cars. So they still needed a little work in addition to the truck installation.

I had picked up a set of decals from K4 Decals with the thoughts that I might be able to use some of the little bits to complete the cars lettered with the transfers. I thought it might be a good time to try out to letter the fourth car.

I started applying the decals and I really wasn’t happy. The logo was thin and oversize compared to the car lettered with the CDS transfers on top. The reporting marks were a different font even though they were the same scheme. It reminded me of using a set of Champ decals.

Nope, they had to go. Back to the black car.

I thought about using the last set of CDS transfers I had on the car. Instead, I decided to used a set of decals from the same company for the San Serif scheme. The logo was smaller than the first set, closer in size to the CDS logo. And since the other three are done in the Roman scheme any problem with the decal lettering won’t stand out as much.

That looks better.

I finished up the lettering on the ends of the other cars also. I needed to change the numbers around and it’s a struggle to do that while looking through the transfer sheet.

I burnished the numbers onto a blank section of the decals. Then I could just apply them like decals on the ends of the cars and change the number sequence as I needed to.

Since the cars were sitting on the workbench and my order for the air hoses from Hi-tech Details came in. I thought I’d instal them next.

They are very simple to install. The bracket mounts onto the end sill and the air line feeds through the opening on the bracket. I usually just tie the air line into the cars air line by just glueing them onto the side of the existing air line.

Two cars completed, two more to go.

Here are the four car with the air hoses installed. They have been touch-up with a little bit of Vallejo Model Color Glossy Black 70.861. Their lettering is a combination of decals and transfers. Next up for these cars is to install the uncoupling levers, overspray the decals with Dull Coat and then it’s time to weather the cars.

WB: Intermountain Trucks Revisited

It’s funny how sometimes the simplest of things will lead you down a rabbit hole. I am continuing to clean the train room and put stuff away. I noticed an Intermountain truck I had assembled with San Juan plastic Proto48 wheelsets sitting in it. They fit perfectly and roll great. But they are plastic wheel sets so you can’t polish the wheel surface and plastic wheels tend to pick up a lot of dirt.

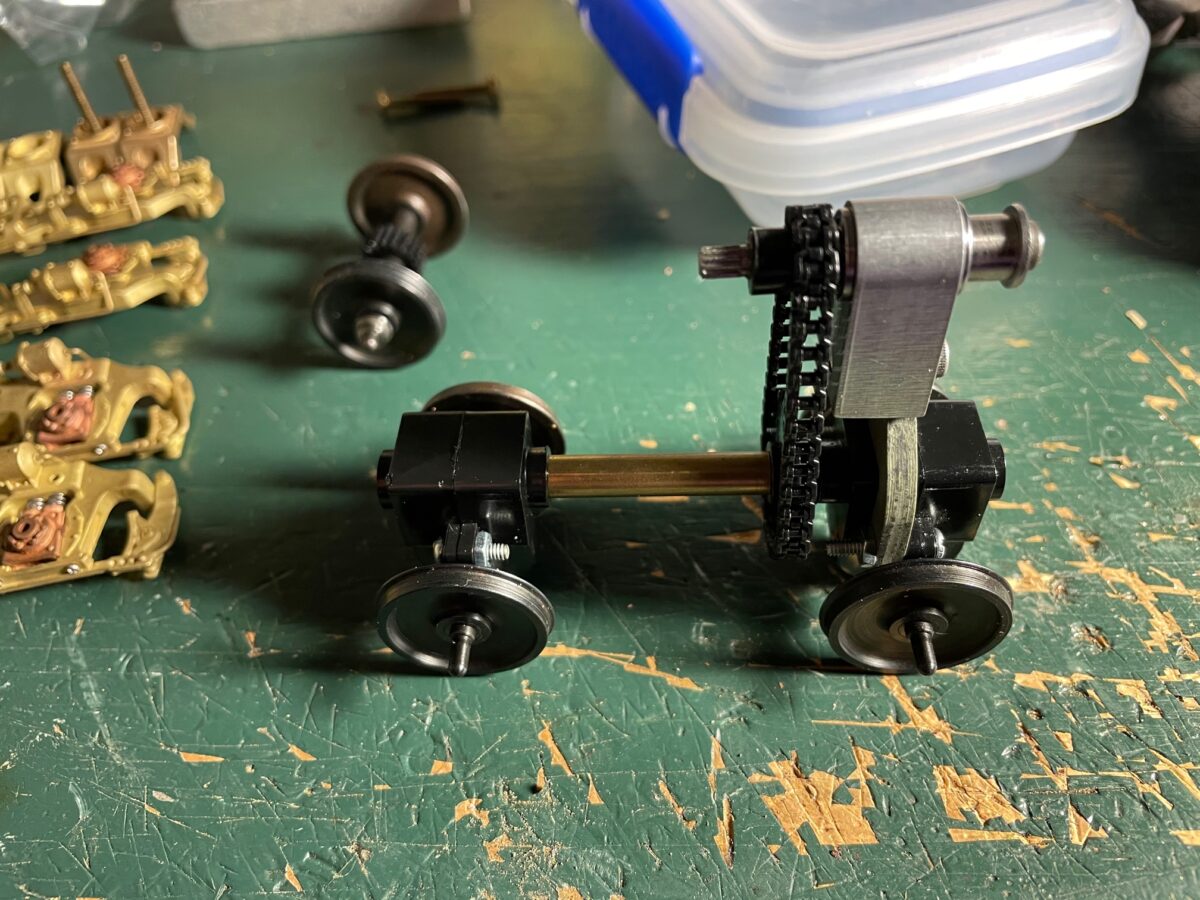
Having that truck in my hand and a having a clean workbench, led to pulling out a Protocraft wheelset to look at. Which led to measuring the wheelsets and then the next thing you know out comes the wheel puller and more mearuring to see if the wheels could be placed on the San Juan axels. Nope, they would need to be machined to fit properly, not a quick solution.

This led to thinking about adding a point to the ends of the Protocraft axels. Which meant the Shereline lathe came out onto the workbench. Which led to the question, how can I hold that tiny axel in the lathe?

I looked at trying to hold Protocraft axel in the chuck. Not the best of ideas because of all the erregular surfaces of the protocraft axel. Might have worked with a straight axle. Which led to should I make new axels? No, this is meant to be a simple solution. Which lead to finding my collets…. which lead to a whole other search. Turned out the collets were where they should be and I just looked right past them. That really wasn’t the best way (for my set up) to hold them either. Which led to thinking about a set up I’ve used to polish wheel treads using the chuck and a steady rest.

Now before the machinists in the crowd start rolling their eyes, I should remind you that I did not take metal shop in High School, I took art classes. And as a machinist, I turned out to be a good Graphic Designer.

Well it worked, but putting the wheels back on the axel turned out to be more to think about. They were is perfect gauge from the manufacturer and when the day started. A simpler solution was needed.

As you can see I found a simpler solution, leave the wheels mounted on the axels. The axel is held by the chuck, supported on the other end by the steady rest. The wheel treads get polished and a file is used to add the point on the axel.

Here is the before and after of the Protocraft axels. They now drop into the Intermountain truck and it rolls great.

I tried cutting the point but that put forces on the axel in this set up which caused it to move. If I had used a collet and just held the axel then that would have worked. But I didn’t need close tolerances on the point, I just needed a point on the end of the axel.

I also want to mention that I said in the last post that the workbench would not stay as clean as it was. It didn’t.

That worked so well, I built up ten pairs of trucks.
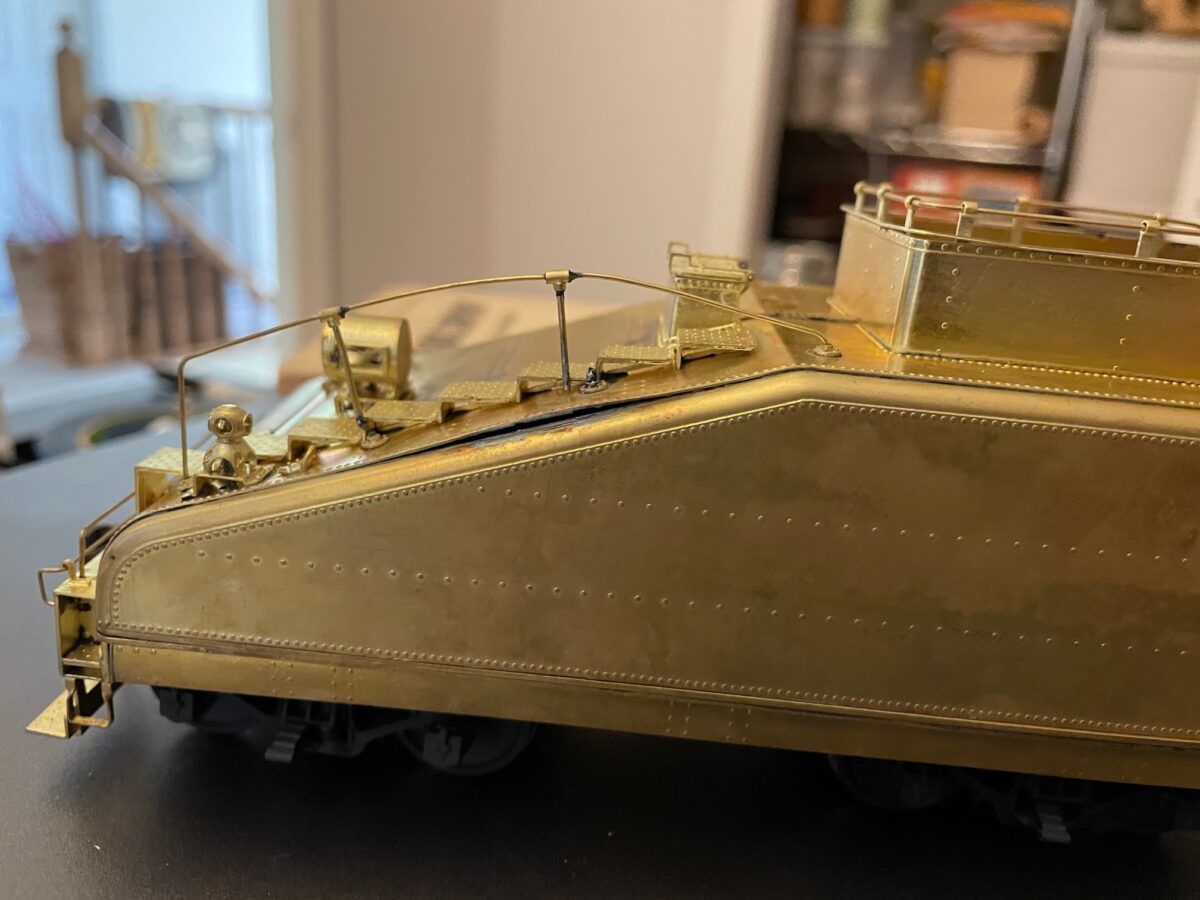
The imported trucks from Protocraft and RY Models are GREAT! I own more pairs of them than I want to admit. Sometimes, you just don’t want to put a $52 pair of trucks under a $20 freight car.

Putting away one Intermountain truck with San Juan plastic wheels led to this. But notice, I was good about putting away the lathe and I’m back to a clean workbench.
Now, what cars do I want to put these trucks under…..

Workbench Wednesday

I realize I haven’t posted much recently, it doesn’t mean I haven’t been working on anything. It really just means I haven’t had time to write about anything I’m working on.

Rather then just post images with no words, as some do very effectively. I thought I’d start a new on-going series about what’s on the workbench. I’ll try to write just a few words so there is a better chance of it getting me to post in a timely manor.

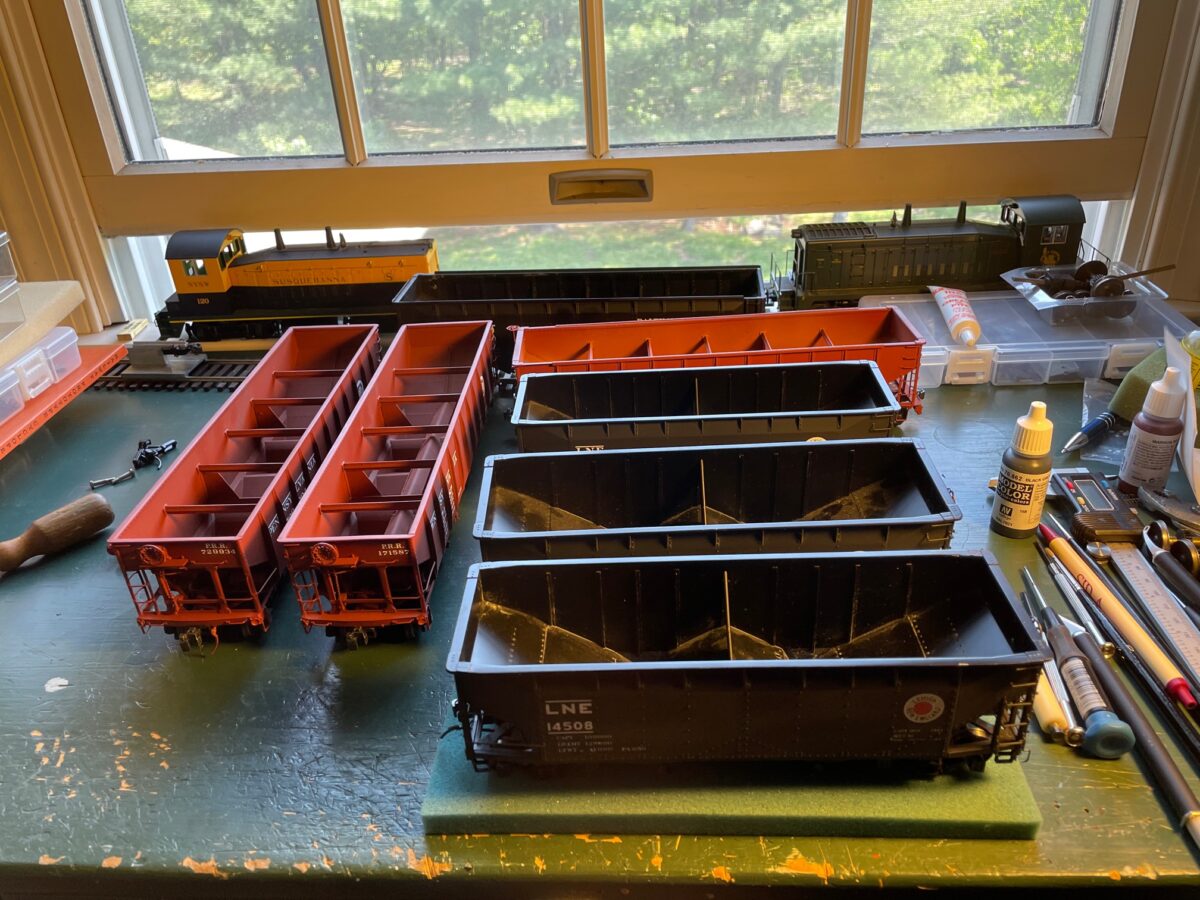
I’ll start this off with a simple image of the workbench today. It’s way too clean. I can guarantee it won’t stay this clean.

I have spent the last few days moving the desk, bookcases, drawing table and just about everything in my train room in an effort to make the space work better for me.

Just before I did start cleaning, I did manage to get some decals down on a PSC PRR H25. I had painted the car a long while back and it had sat on the shelf waiting to take the next step.

I used a set of Rich Yoder’s PRR H21a decals to letter the car. It still needs more work. The decals need to be over sprayed, air hoses attached and weathering done. But at least it’s no longer sitting with naked paint on the shelf. It most likely will be back here again as it progresses through the shop.

Something Is Just Not Right

Ever feel like something just isn’t right?
This image sums up this whole year.

I saw this section of track on the old Camden and Amboy in Cranberry, NJ last year. It appears they took out a turnout on the branch, but they didn’t replace it with anything. There is also a lot fresh ballast for what could be thought of as an abandoned section of railroad.

Kind of reminds you of a model railroad before someone installs a new turnout. But model railroaders usually ballast after they install the turnout.

On a positive note, I’ve been decorating some hopper cars recently. I’ll try to post some progress images in a few days.

Have I ever mentioned that I have a love-hate relationship with dry transfers. Maybe if they were a little fresher, they would work better. That’s the trouble with manufacturers going out of business, you can’t buy new products from them anymore. When the transfers work, they are great. When they act up, they can really get under your skin.

I also have to finish up a number of posts that are sitting here half finished. Makes this site almost feel like another form of model building, too many projects half finished in a box.

2019 Cleveland O Scale Show – November

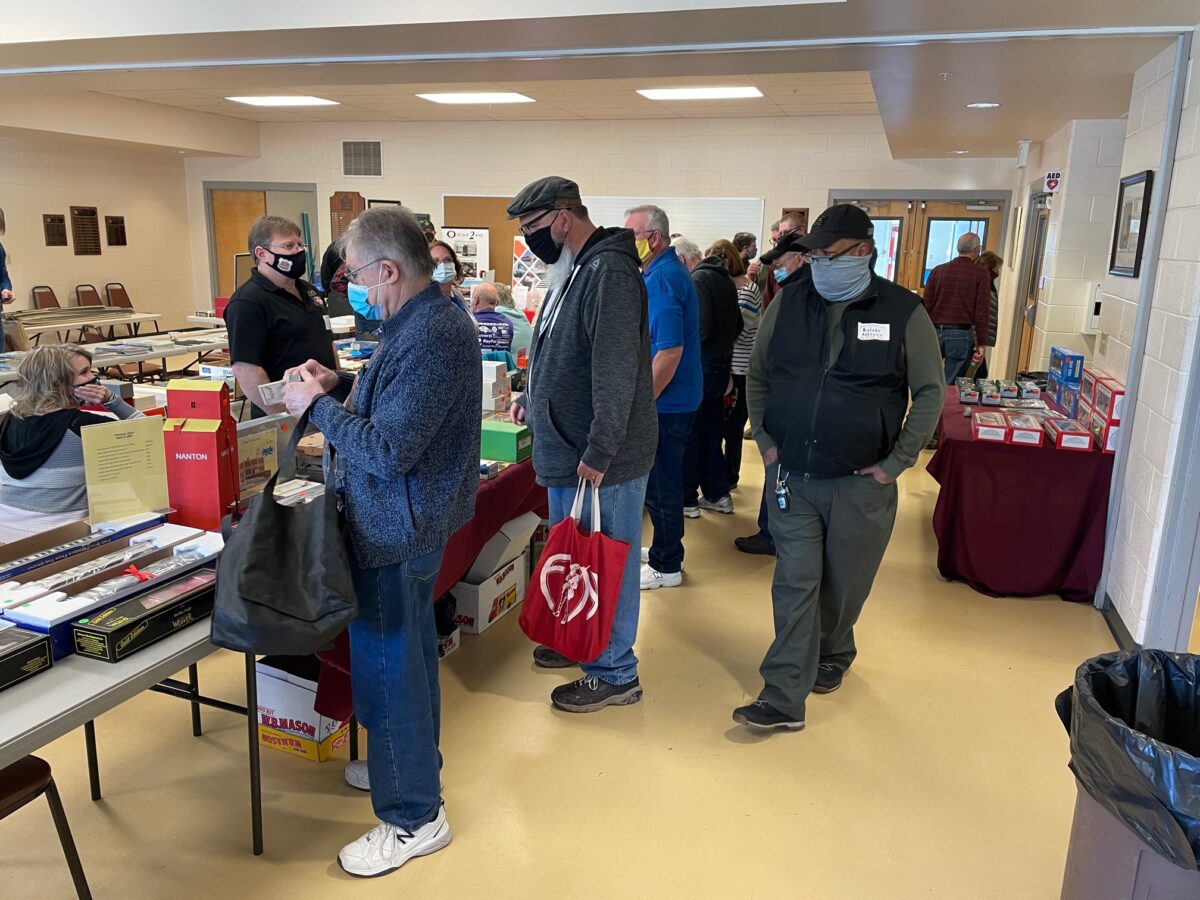
The Cleveland O Scale Show was held on November 2, 2019. I took a couple of extra days off from work this year so that I could makes some stops and explore a couple of towns both before and after the show. So you know that meant it was cold, windy and rainy on those days. It even snowed the morning of the show.

I did manage to go to the train show. It was the second year in their new location. I wasn’t able to attend in 2018, so this was a new experience for me.

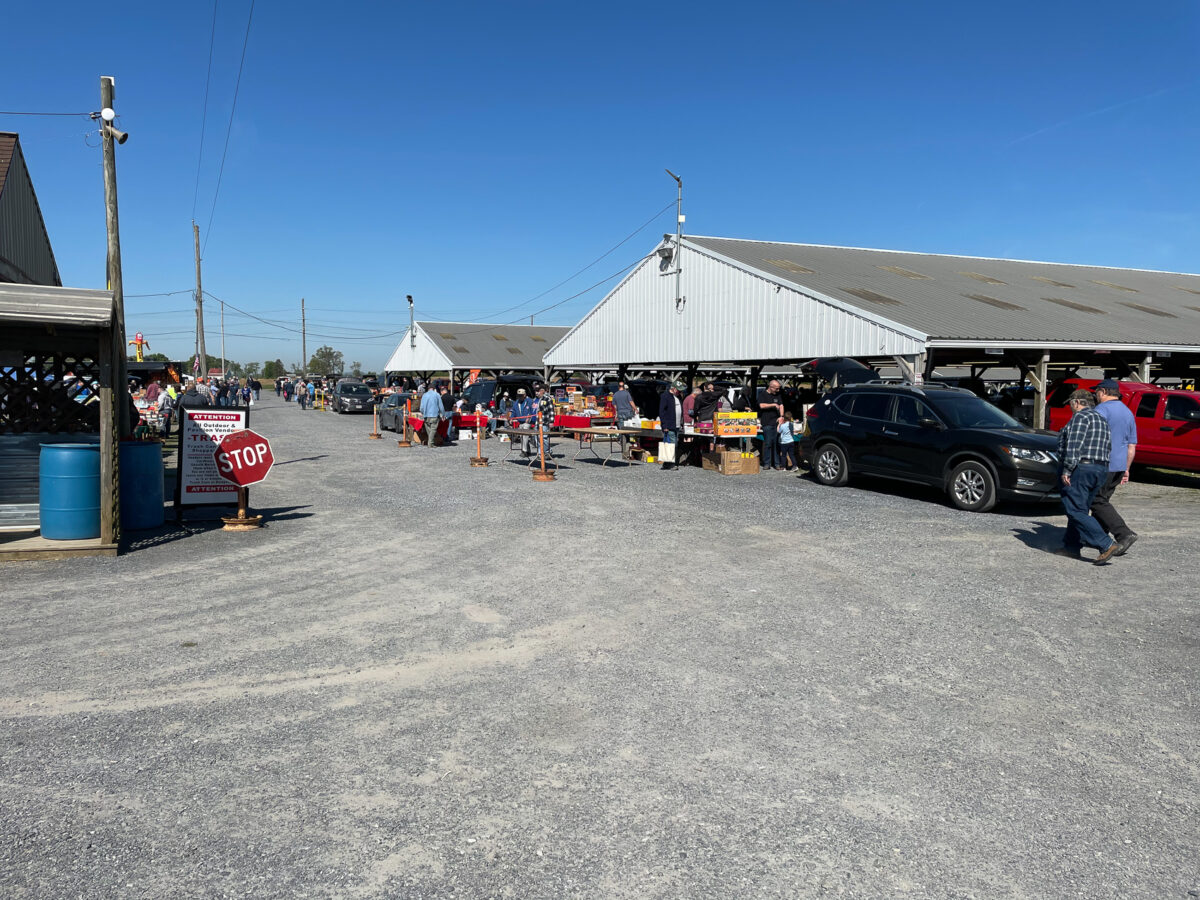
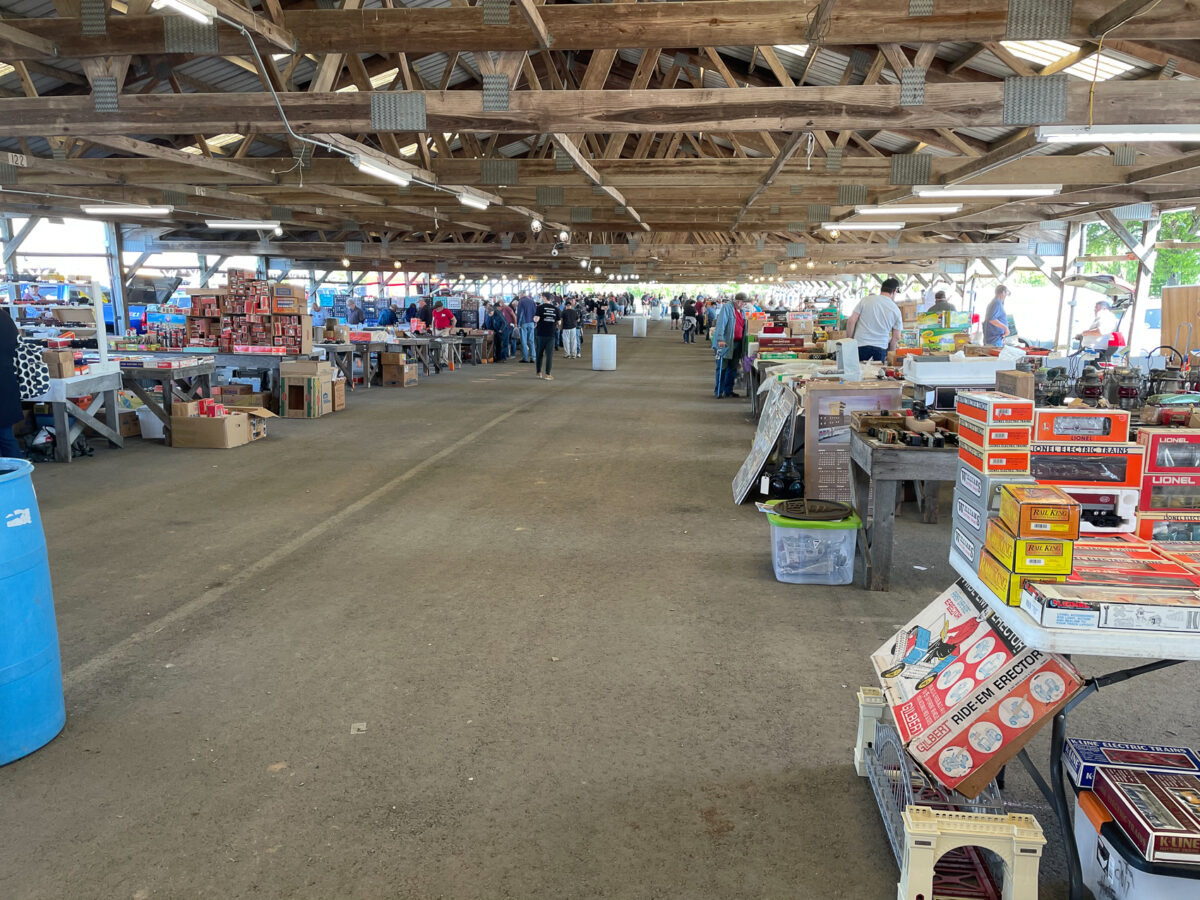
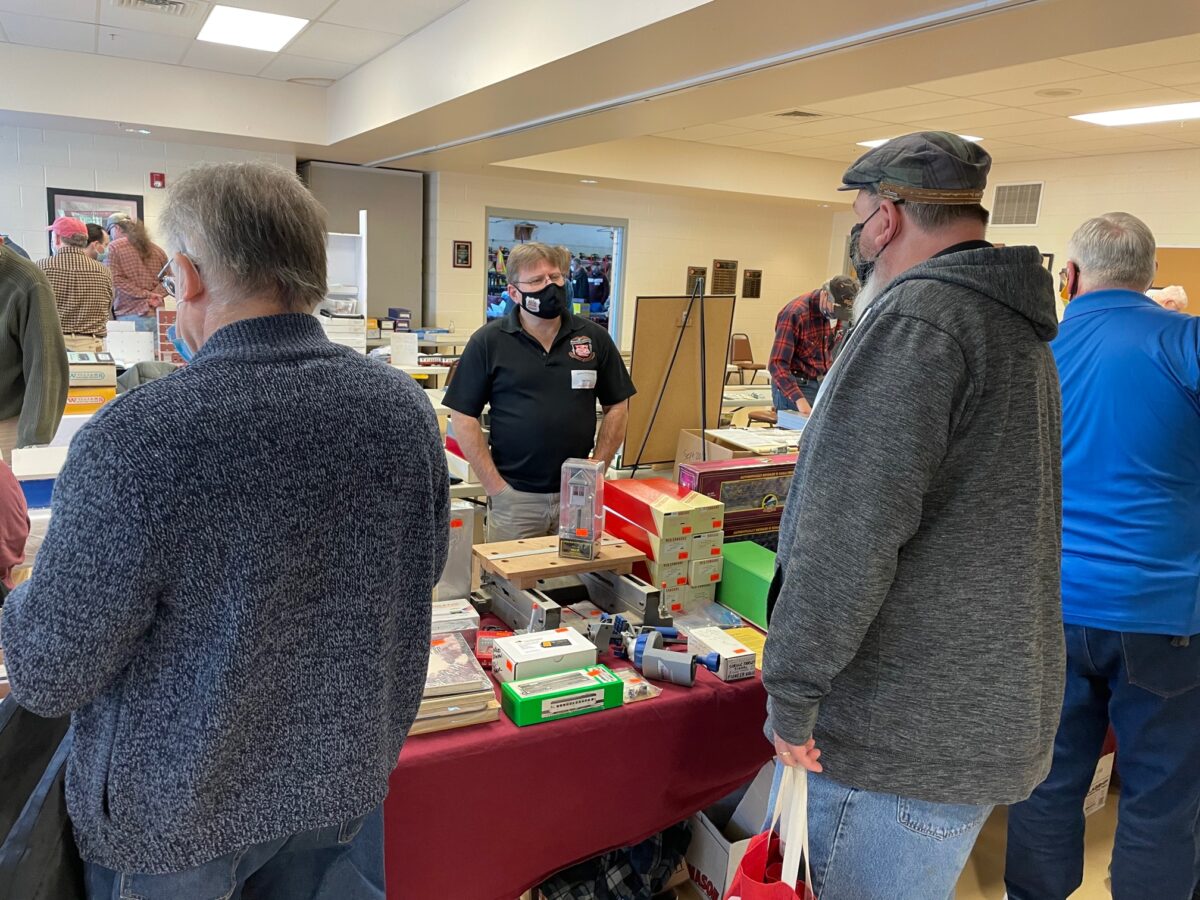
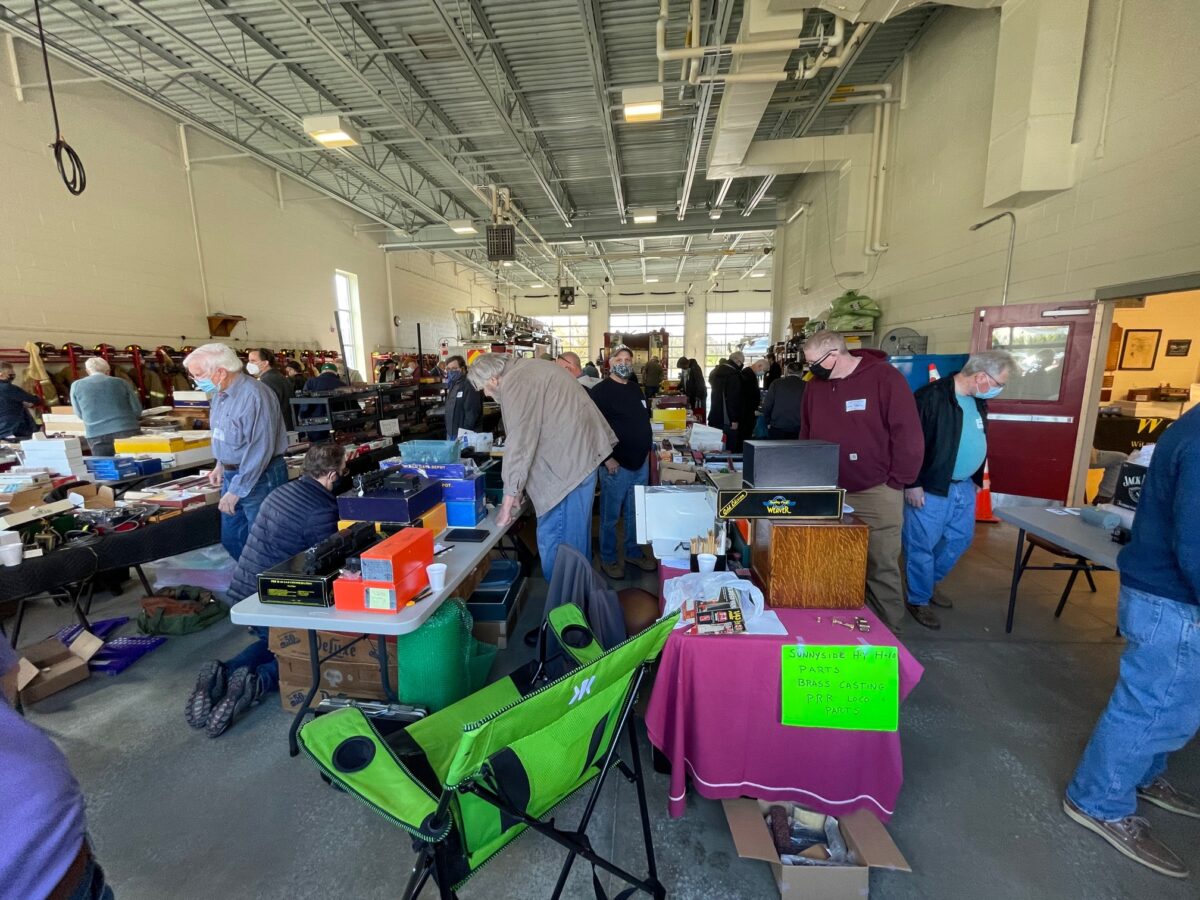
It is a large room. I think there were over 100 tables in the room. Not all the tables were filled but there was plenty to see and buy. There was also plenty of room to talk to people.

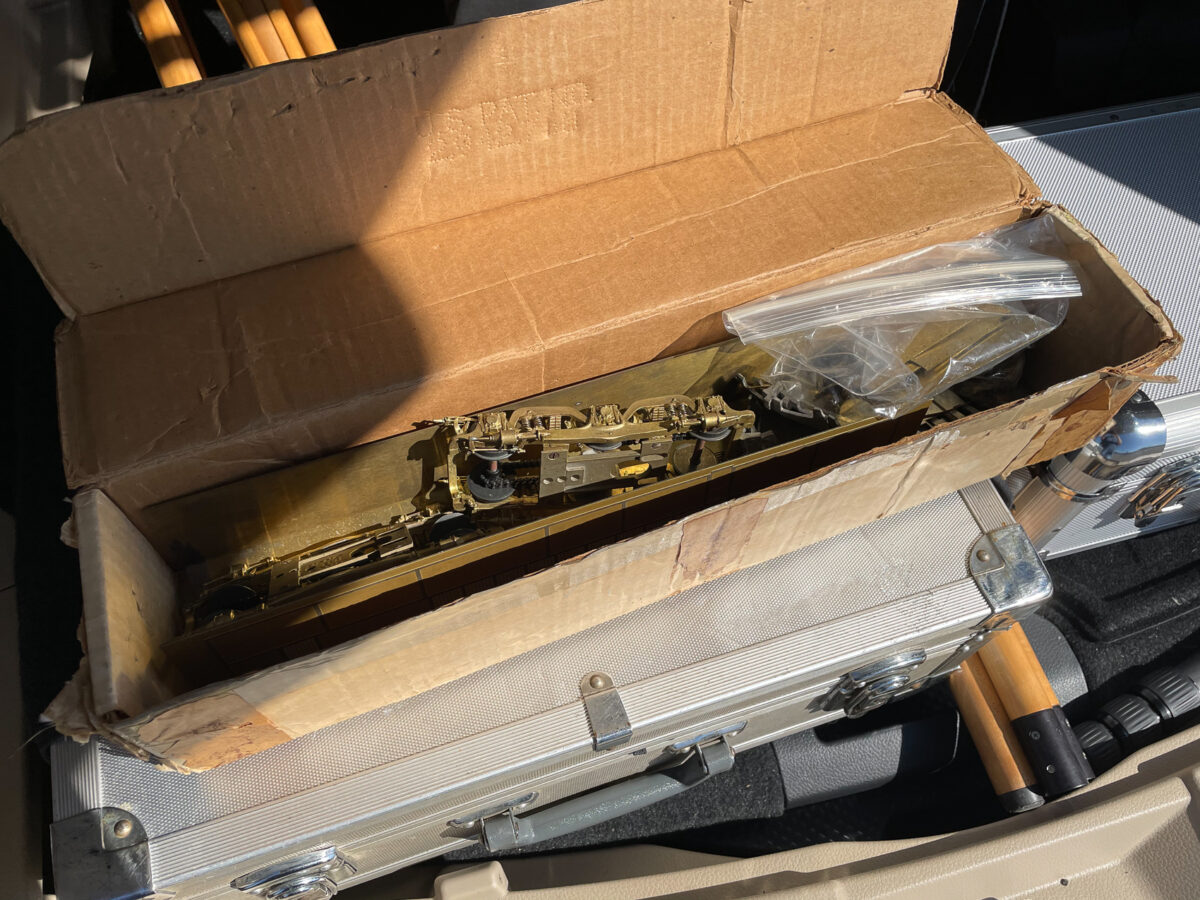
There wasn’t much at the show that was screaming to go home with me. One brass freight car and some parts. That had more to do with me not wanting to bring home more projects than the lack of things of interest. My project list is too long already just like so many other modelers.

I was shown this thing at the show……

It’s just a tool… A tool used to machine my Overland T-1 drivers to Proto48. Carl Jackson, who’s doing the conversion work for me brought this with him to the show to show it to me. It is a multi-purpose tool, used to do many different steps in machining the drivers. I just thought it was so cool. I understood about half of what Carl explained.

The real good news, Carl thinks he’ll have my T-1 ready to deliver at the Chicago show in March. I can’t wait!

I did see blue sky and a little brief sunshine on my drive home. I stopped in Buffalo on the Sunday and had the chance to visit the grain elevators. It was nice to finally see them. I even got to explore a little with the 5×7 camera before it snowed again.

2019 Strasburg O Scale Show – October

The Fall Strasburg show was today. It was a good too see everybody. Lots of stuff in the show.

Bob Heil was showing B&O passenger cars to try to drum-up some interest in Golden Gate’s newly announced Capitol Limited cars. The display models were built up from kits and not the production cars. They only way to order the observation car is as part of an eight car set. The problem for me (thinking about the B&O running to Jersey City) is the eight car set includes the dome car, which did not run into NY. And I’m not sure about the two unit diner cars either. That would make three of the eight cars in the set not running over the Reading rails from Philadelphia to Jersey City.

Rich Yoder had one of his LV cement gondolas at the show. They aren’t cheap, but they do look neat.

My friend Michael Rahilly was at his usual table selling Intermountain wheelsets, Kadee couplers and a host of other things on his table with the help of his daughter.

John Dunn and Rich Yoder put on another nice show. Lots of modeling stuff finding new homes and good conversations all around.

O Scale Train Auction

Maurer’s Auction held an auction today in East Earl, PA. The items being auctioned were from Lee Stabb’s estate.

Lee Stabb was a modeler from Reading, PA who passed away last year. Lee had a large railroad over his garage he used for his business. Here are some images of the railroad.

Lee was also a Weaver dealer at one time, I bought a new Weaver G1 from Lee a in 2018. There were a number of Weaver models that were brand new and other models that saw regular service on his layout.

Lee enjoyed a lot of the anthracite roads and models of those roads were scattered throughout the auction. A little something for everybody attending.

For the Reading fan, there were plenty of Reading models in the auction. There were four Wolfer T-1’s in the auction. They looked great, but I still like the Overland T-1’s a little better. Since I have a pair of the Overland’s, I stayed away from the Wolfer models.

There were couple of Weaver G1’s, an SGL G3’s, and a number of Weaver RS-3’s in the auction. There were also two sets of the five car passenger sets from SGL and also a couple of the add on cars.

Most people were taking notice of the kit-bashed N1’s and K1’s that were built from the old AHM IHB 0-8-0 plastic kits. I was told John Myers did the work kit-bashing these locomotives. They are nice models, but they sold higher than what I wanted to pay.

2019 Strasburg O Scale Show – April

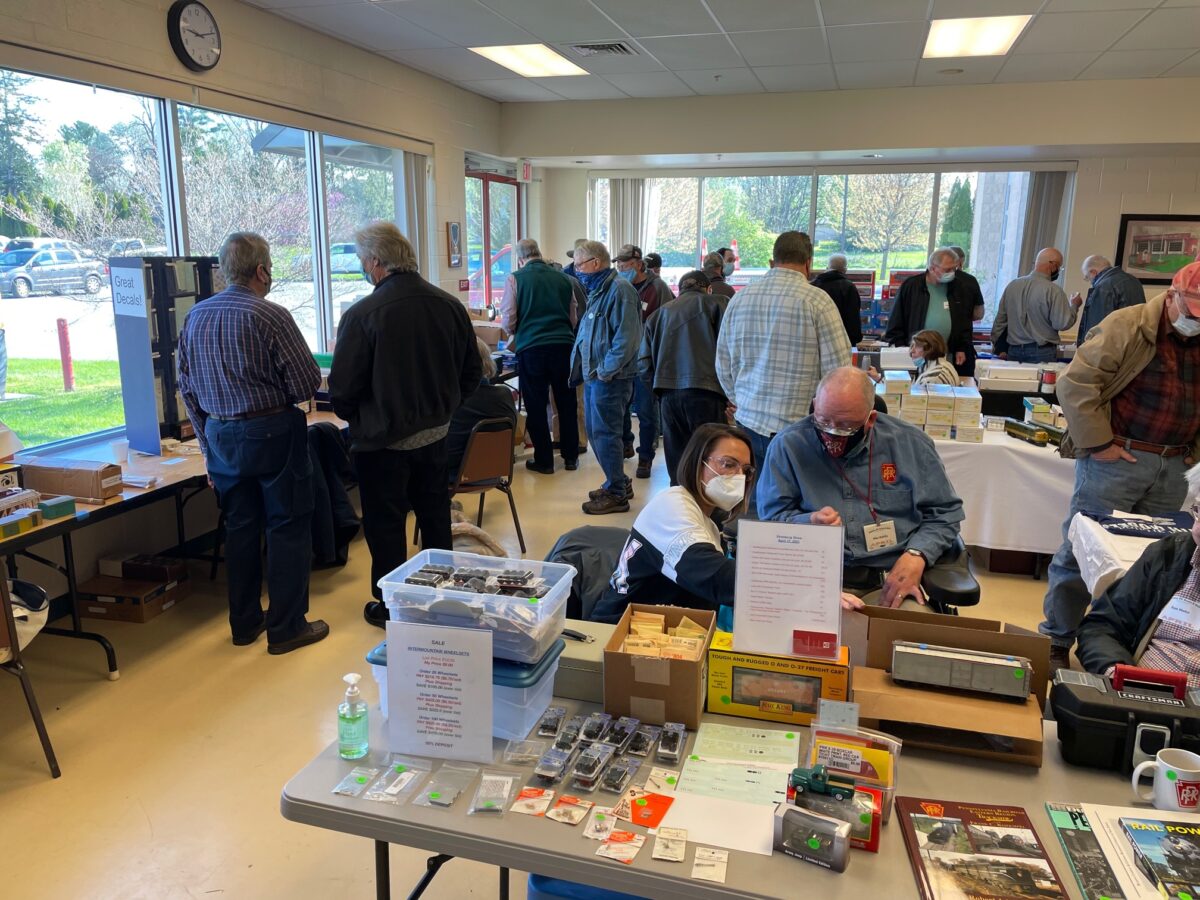
Today was the Spring Strasburg O Scale Show. Rich Yoder and John Dunn put on another fine show.

Most of my purchases were made prior to the show and I just picking them up at the show. The one big find was two pair of RYM Proto48 PRR trucks for $25 each.

There was a far amount of nice models for the Reading Modeler. I saw a Weaver Crusader locomotives and one set of cars. There was a Weaver G1 on a table. And I saw a pair of Reading T-1’s on different tables. One was an Overland import and the other was an assembled Wolfer model.

Lots of other things to look at also and some very good prices.  It was a nice show and I had many great conversations with different modelers throughout the show.

Jim Mucka was holding some track with too many rails on it.

Attalee Taylor seemed to have recovered from his encounter with the pickle car in Chicago.

It was good to see Michael Rahilly (yellow shirt) at his regular table at the show.

2019 Chicago O Scale Show

Just returned from the 2019 Chicago O Scale Show. Another great show!

There were some new models from new manufacturers at this show, as well as a host of used models and those from estate sales. I always think this show can’t get any better and it always does.

Let me start with a couple of new manufacturers. Bill Yancey has a new line called Modern Era O Scale. He is offering limited run kits of FMC boxcars in four versions. he also has decals available for the cars.

Next up is Ross Dando, his new business called Twin Star Models. His first offering is a resin kit of a Rock Island rebuilt 53′ flat car. The flat car is among the very best in fine pattern making. Gene Deimling wrote about the steps taken to develop the patterns for this car in his post “MODELING: Applying Technology to Model Making”

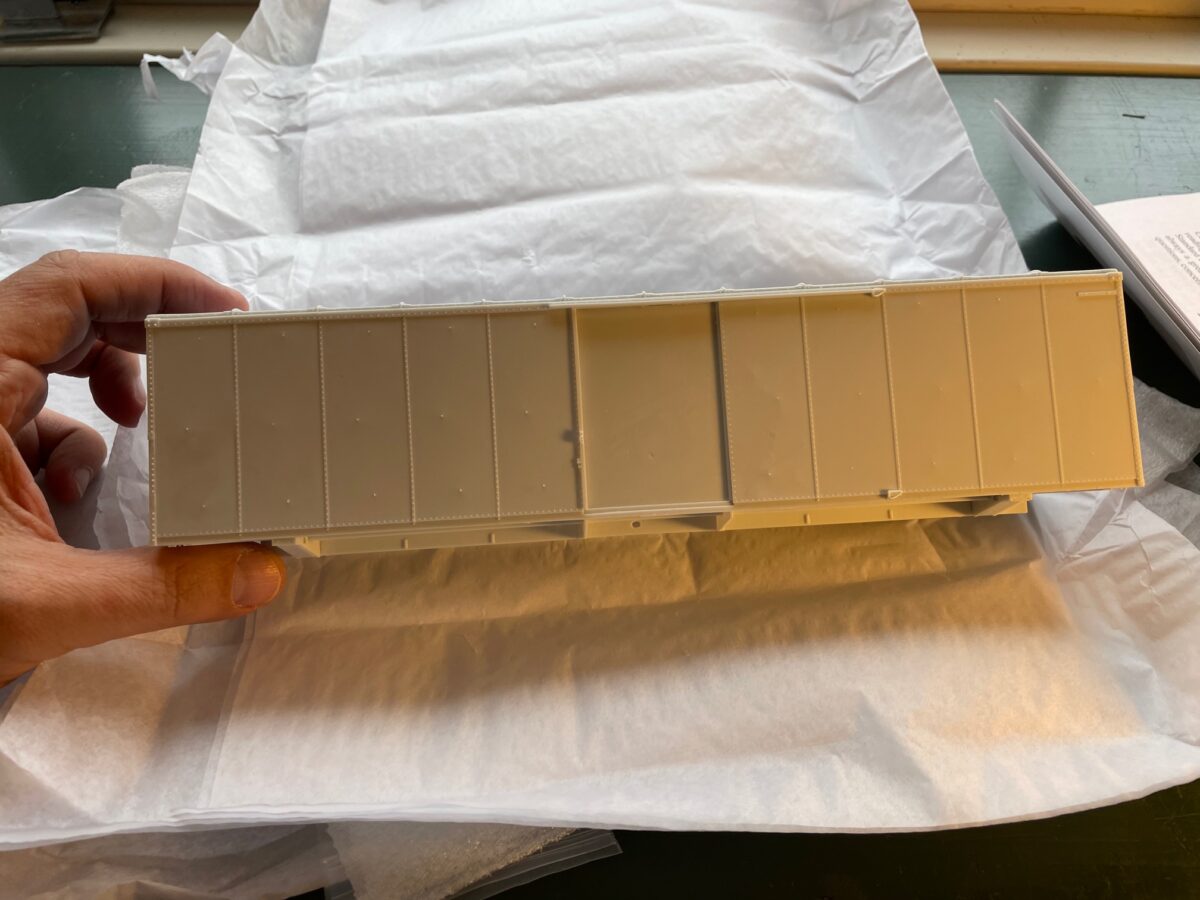
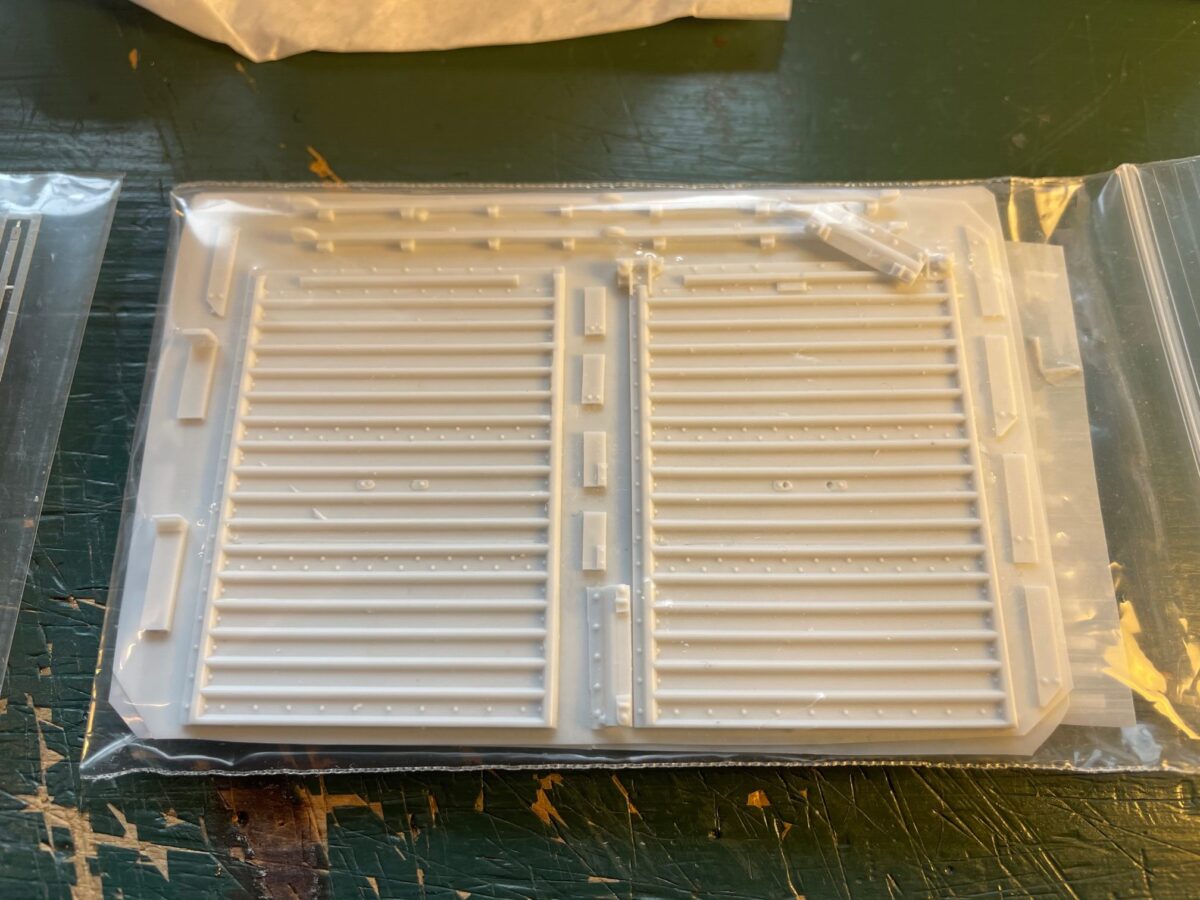
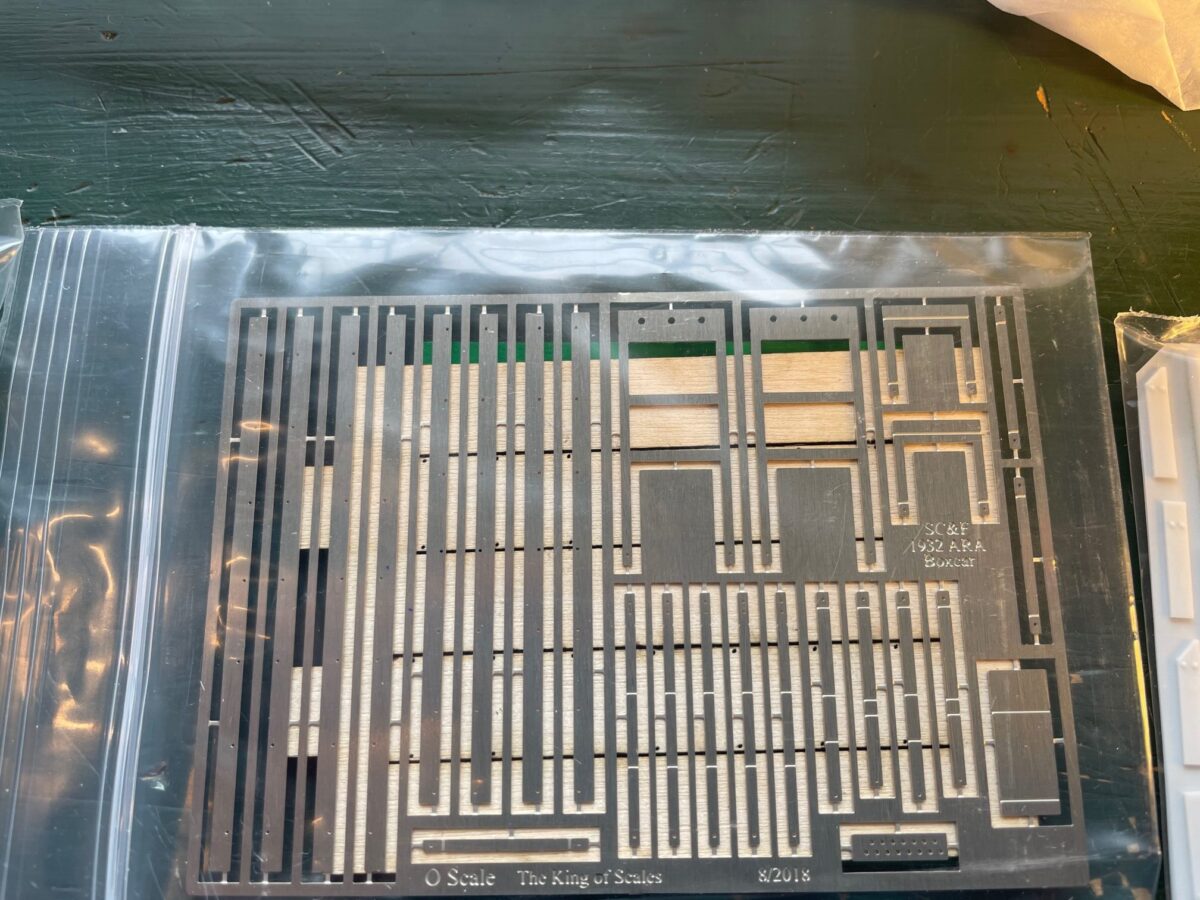
The castings for the kit were done by Jon Cagle, he is one of the best casters there is. Good to hear that Jon is still involved in kit making. Maybe he’ll release something new in his own company, Southern Car & Foundry.

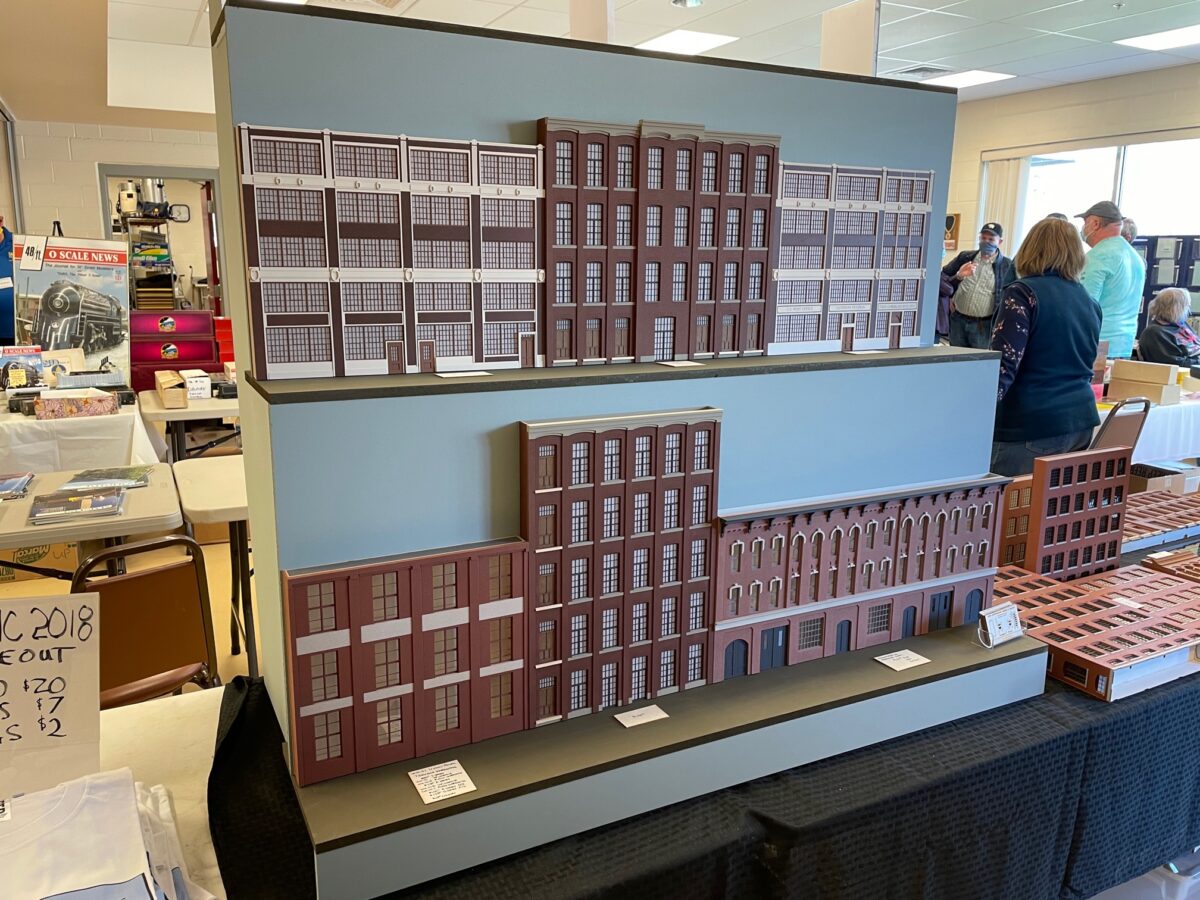
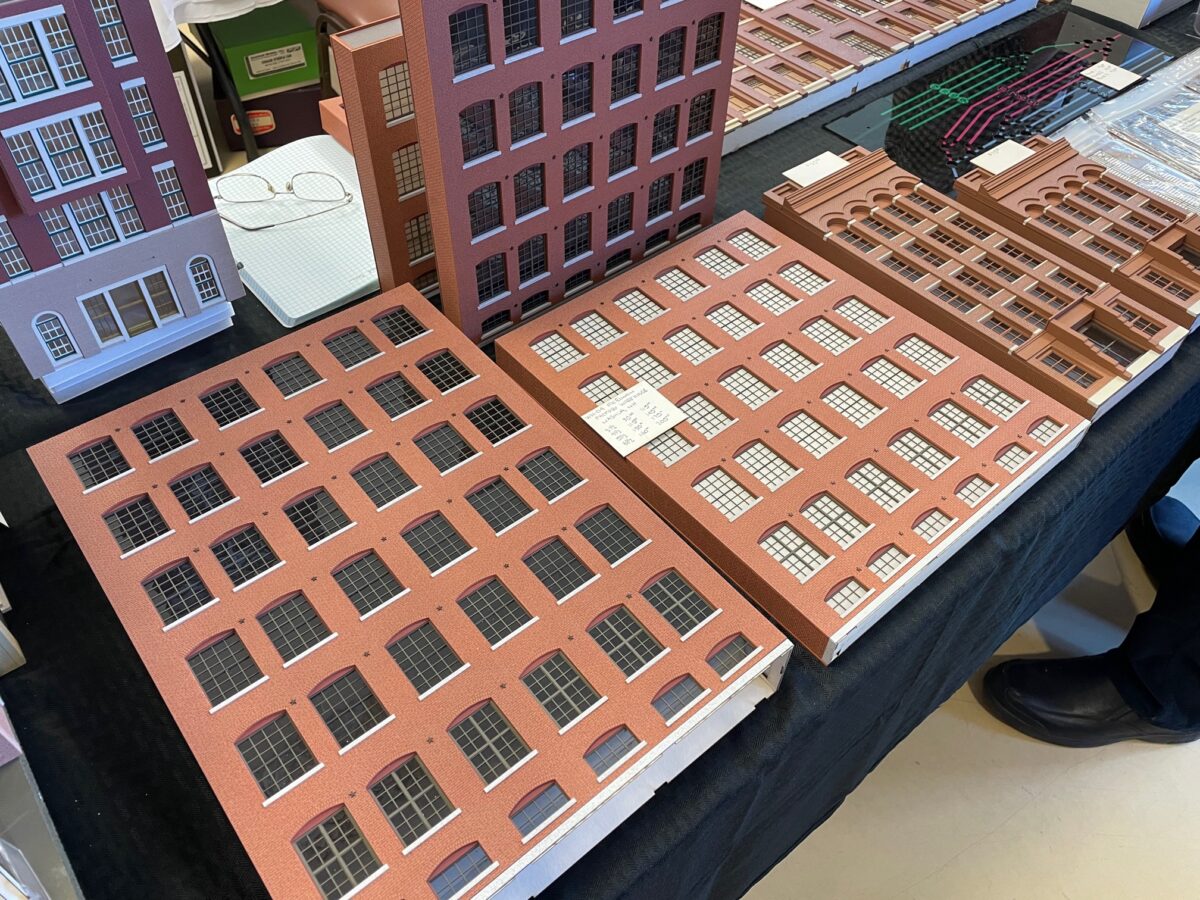
Altoona Model Works had a brewery series of models on display at the show. I really liked the size of the buildings. Freight cars should appear small next to large industries.

There was a Key B&O rebuilt EA on a table. I had to fight the urge to take this home. That would have clearly moved my focus to the Reading going through New Jersey. Still not sure I want to make that jump.

There were some great prices on brass freight car models including this PSC B&O W-2 hopper car with a price tag of $75 on it. Strange thing was it was still on a table late into Saturday. I didn’t check on it on Sunday.

You never know what might turn up on a table at Chicago. How about a box full of PRR H25 car sides from an American Standard kit they had advertised but never released.

This year I drove out with John Dunn. I had a great time and really enjoyed our time on the ride. After walking around the show on Saturday, John mentioned that he had found everything he was looking for at the show except an Overland Ferdinand Magellan observation car. Turns out, there was one on the table directly behind our table. Here he is taking a look at it.

Attalee Taylor was having a reaction to a certain pickle car. He just couldn’t put it down.

I did get out to visit a couple of the layouts that were on the tour. I’ll post more on the layouts soon.