WB: Drop-In Conversion Parts

“Drop-In Conversion Parts” that is such a nice phrase. It’s not always a reality.

If you read yesterday’s post you know of my troubles installing the NWSL conversion wheelsets into the Atlas O F3B. To recap the back to back of the ridge on the bushings needed to be at least 0.496″.
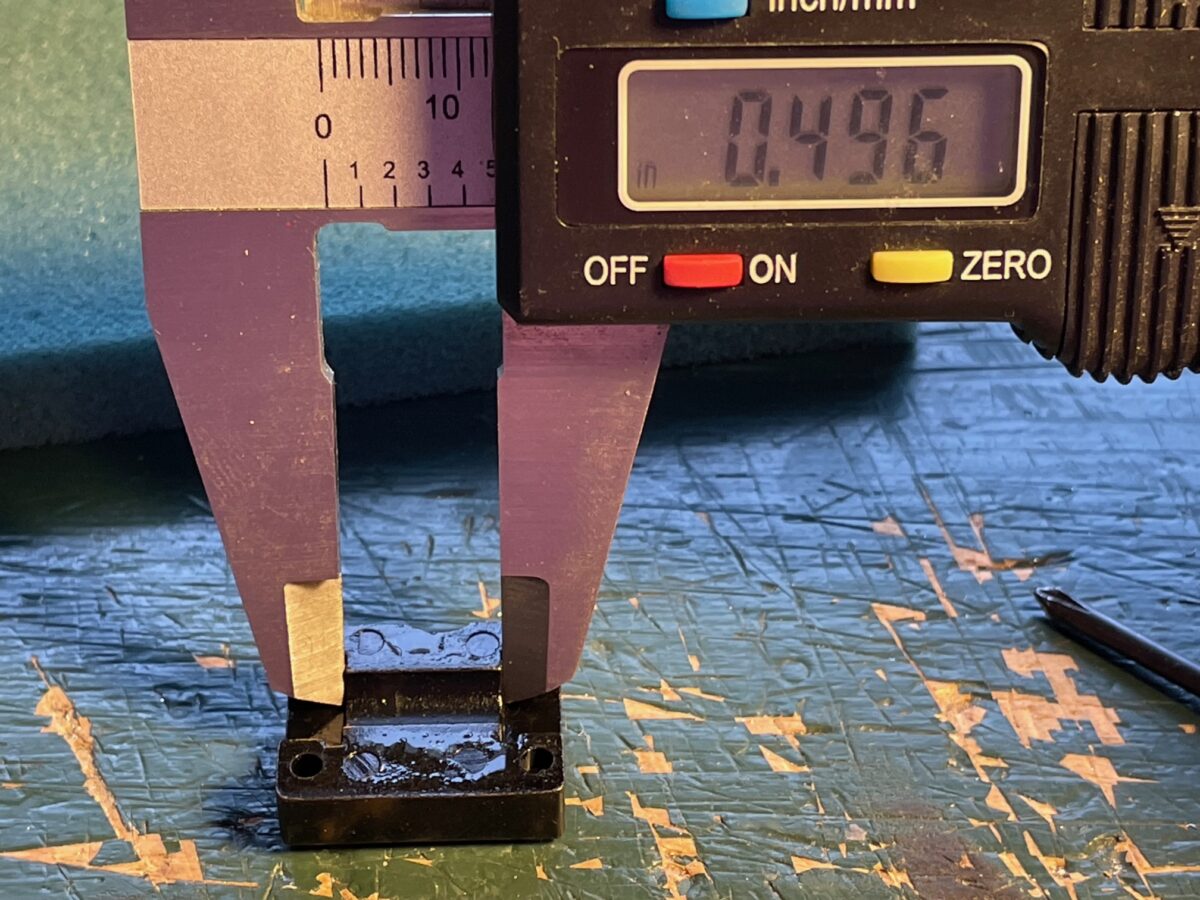
The NWSL parts had a back to back measurement of 0.488″ – 0.490″.
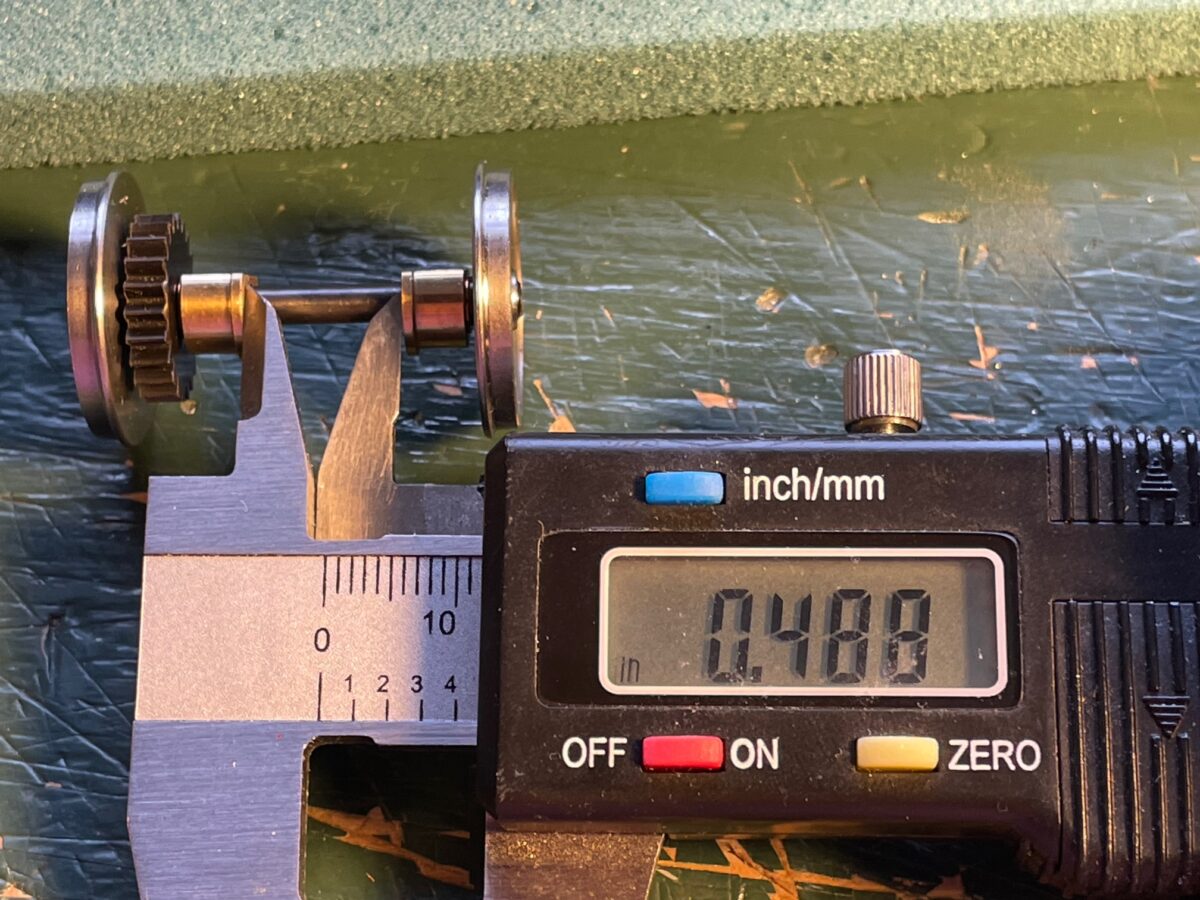
I know it’s only 0.006″ – 0.008″ difference but that is the difference of them fitting or not.
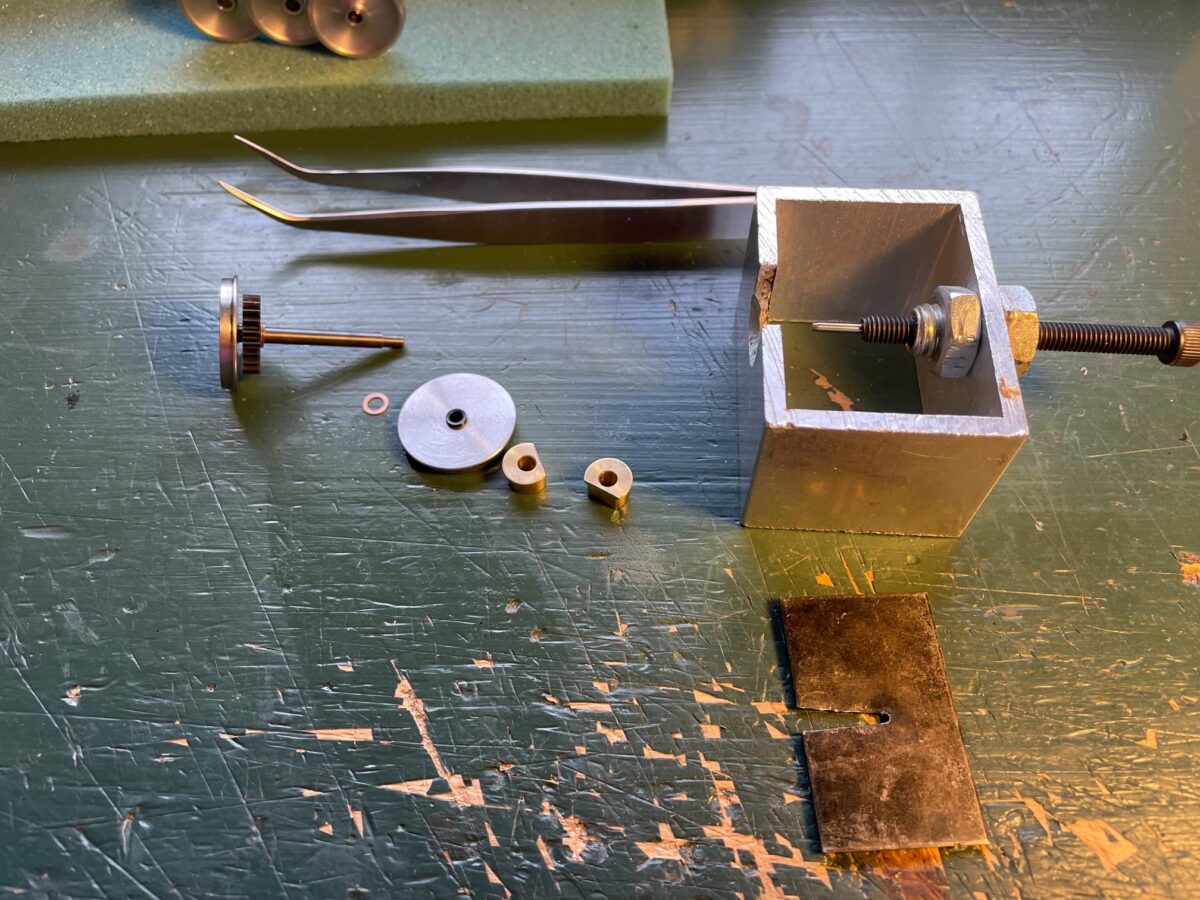
Time to disassemble the first axel.
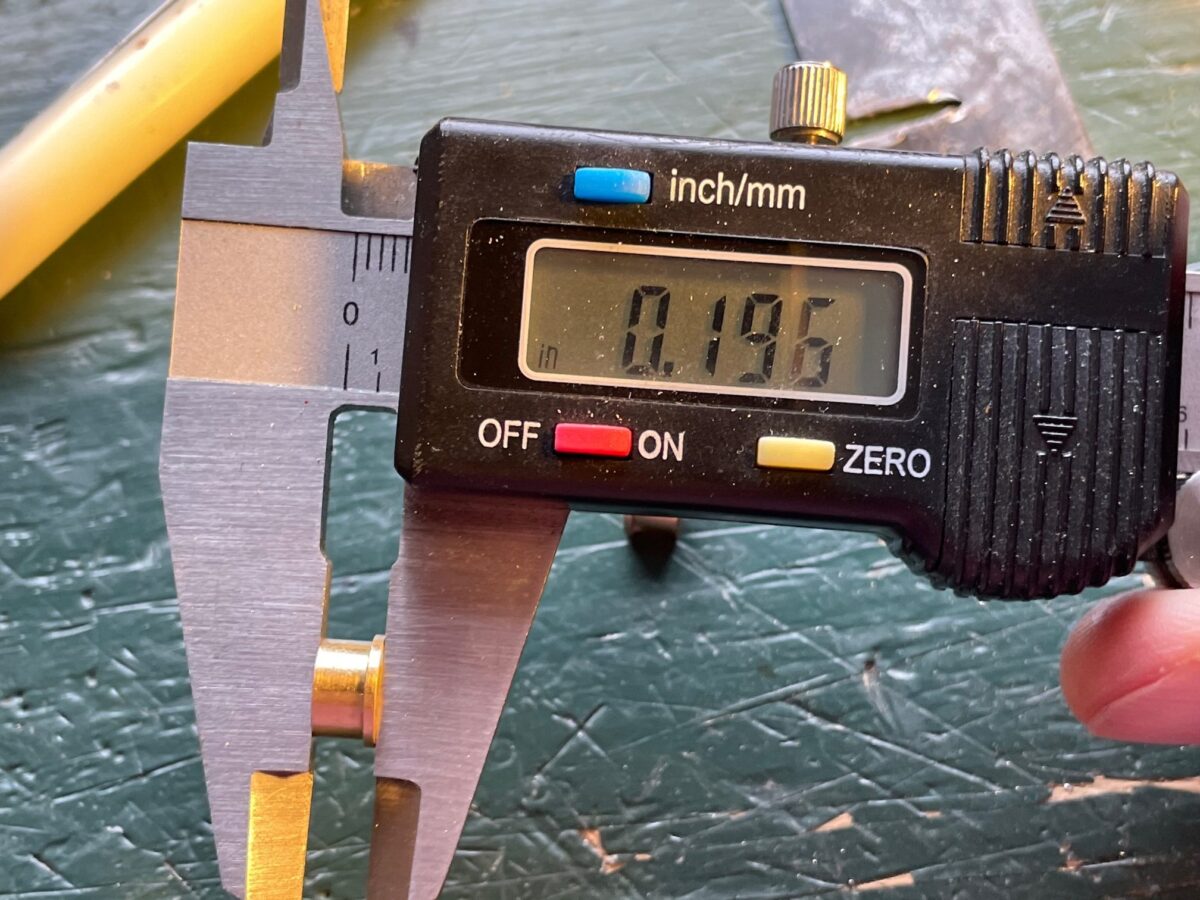
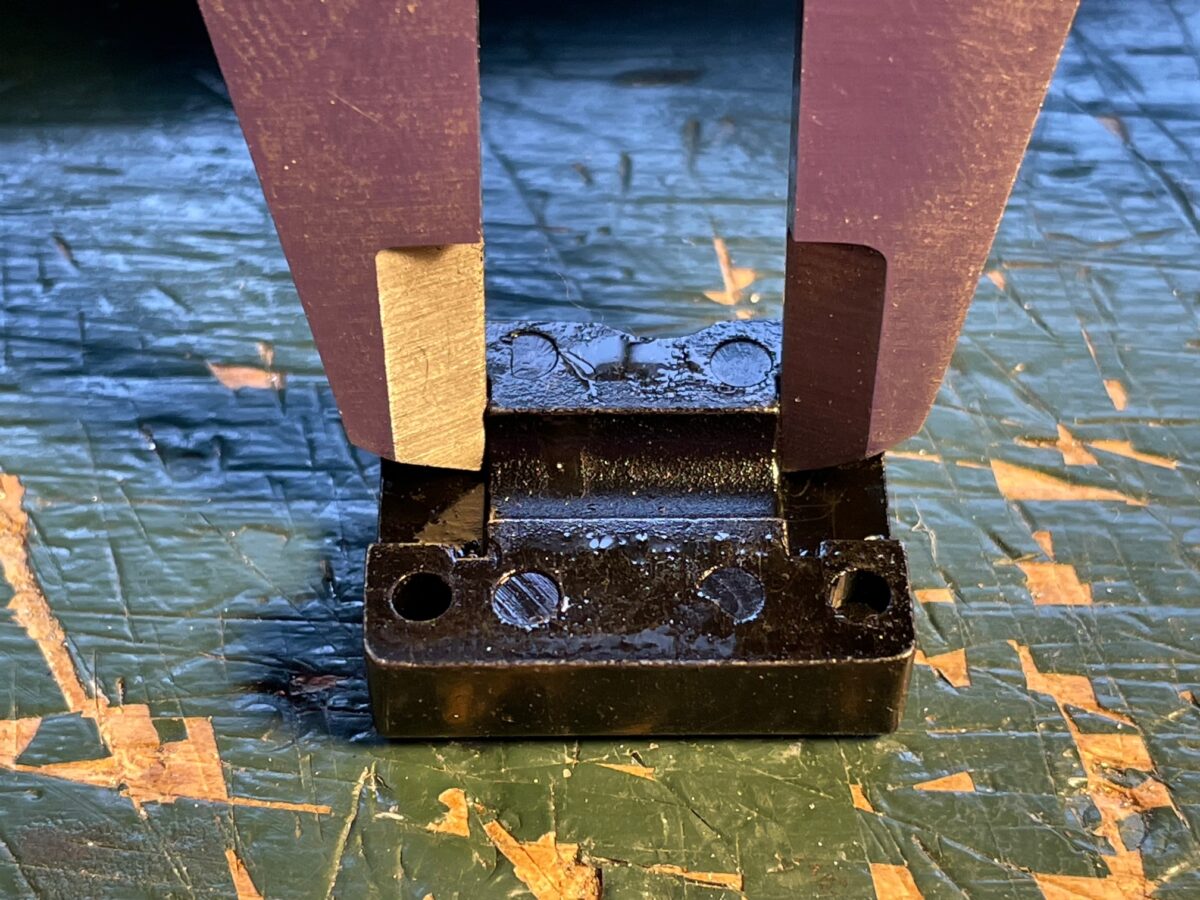
This was the before measurement for the bushing.
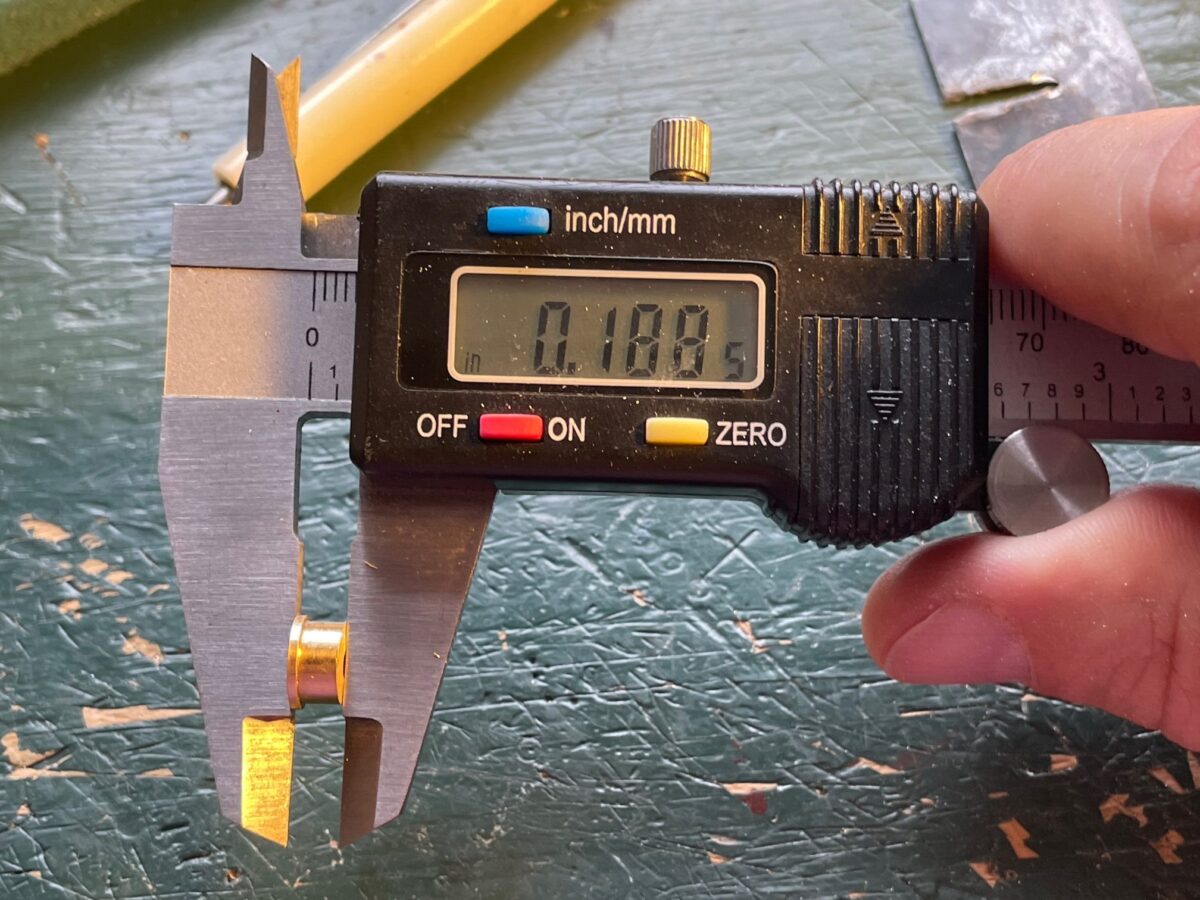
This is the bushing’s measurement after it went on a diet.
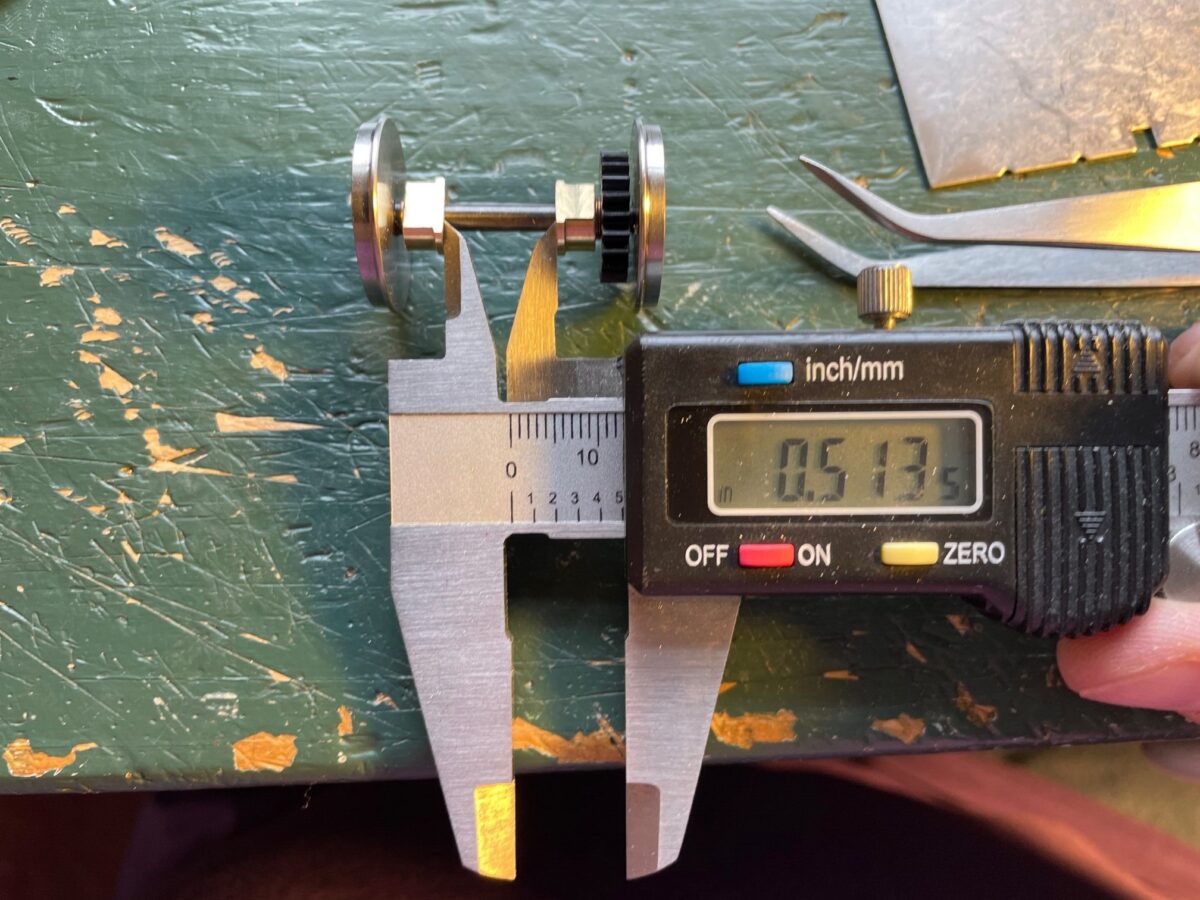
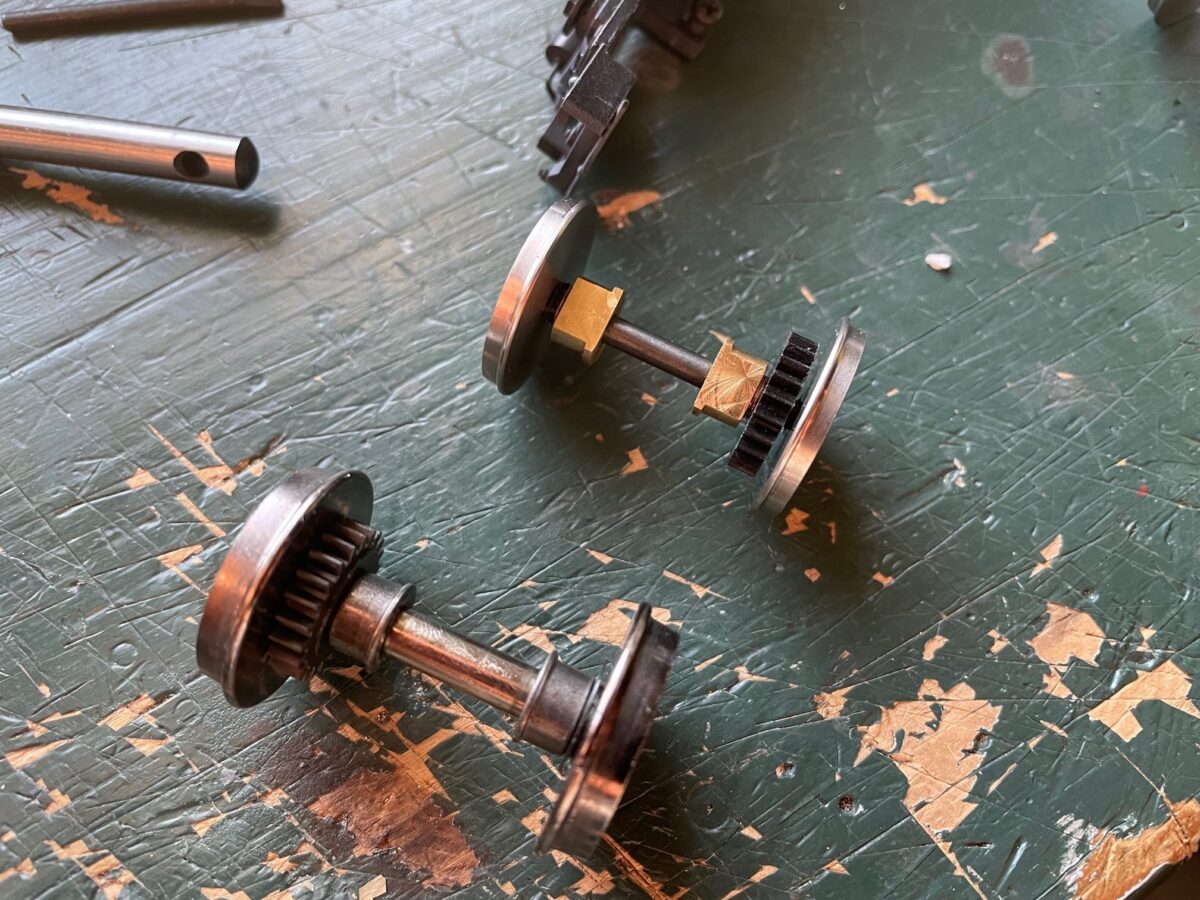
The new back to back measurement. And the most important thing….. They ACTUALLY were a drop-in fit into the grove on the top cover.
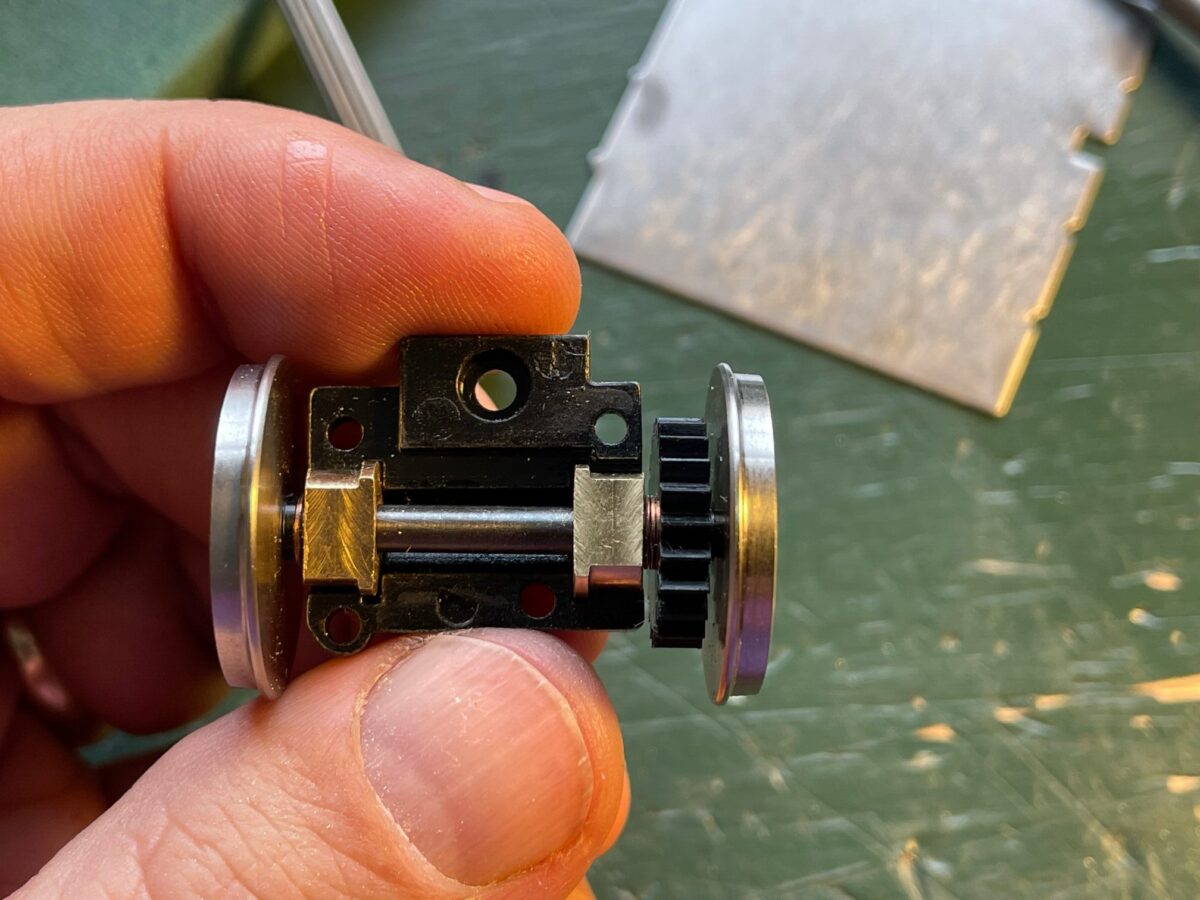
After modifying the two axels that didn’t fit, I had to open up the one truck where the axels did fit. I knew they were a very tight fit and just thought they would benefit from also being modified in the same manor.

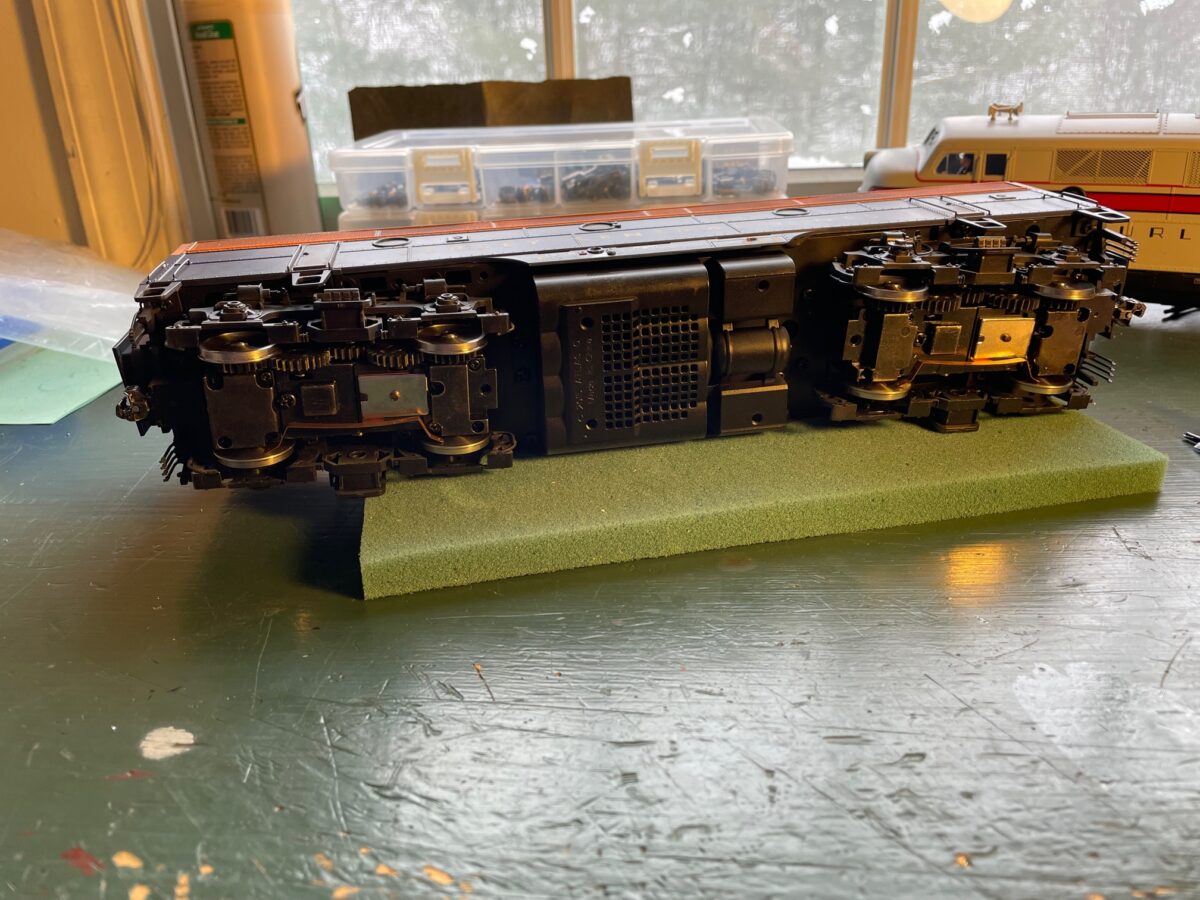
I am happy to report that this last photo shows all four axels modified and installed. Next time I work on this model, those side frames need to move a lot closer to the wheels, but that is work for another day.

Truth be told, it took about the same amount of time to write this post as it did modify the bushings to make the axels fit properly. So it really wasn’t a big deal at all.

I’m still bothered that the conversion parts did not fit as delivered from NWSL. I’ve been modeling in Proto48 since the early ’90’s, I know there is no instant gratification in Proto48. We have to actually work on our models.

What if I was a newcomer to Proto48, this experience would have been very discouraging. It could have easily made me question if modeling in Proto48 was worth the extra effort. Sometimes the newcomer to Proto48 needs some simple wins to give them the motivation to keep going and try more difficult projects. This type of Proto48 conversion should be one of those simple wins.

Thankfully, the remedy was painless.
WB: It’s Snowing Outside

Well it’s nasty outside this morning. Here in New Jersey we are experiencing a nor’easter moving past us just off the coast. They have blizzard conditions down at the shore. Just snowing and high winds here. I’m waiting for the snow to stop to go clear the walks later today. A great time to sit down at the workbench.

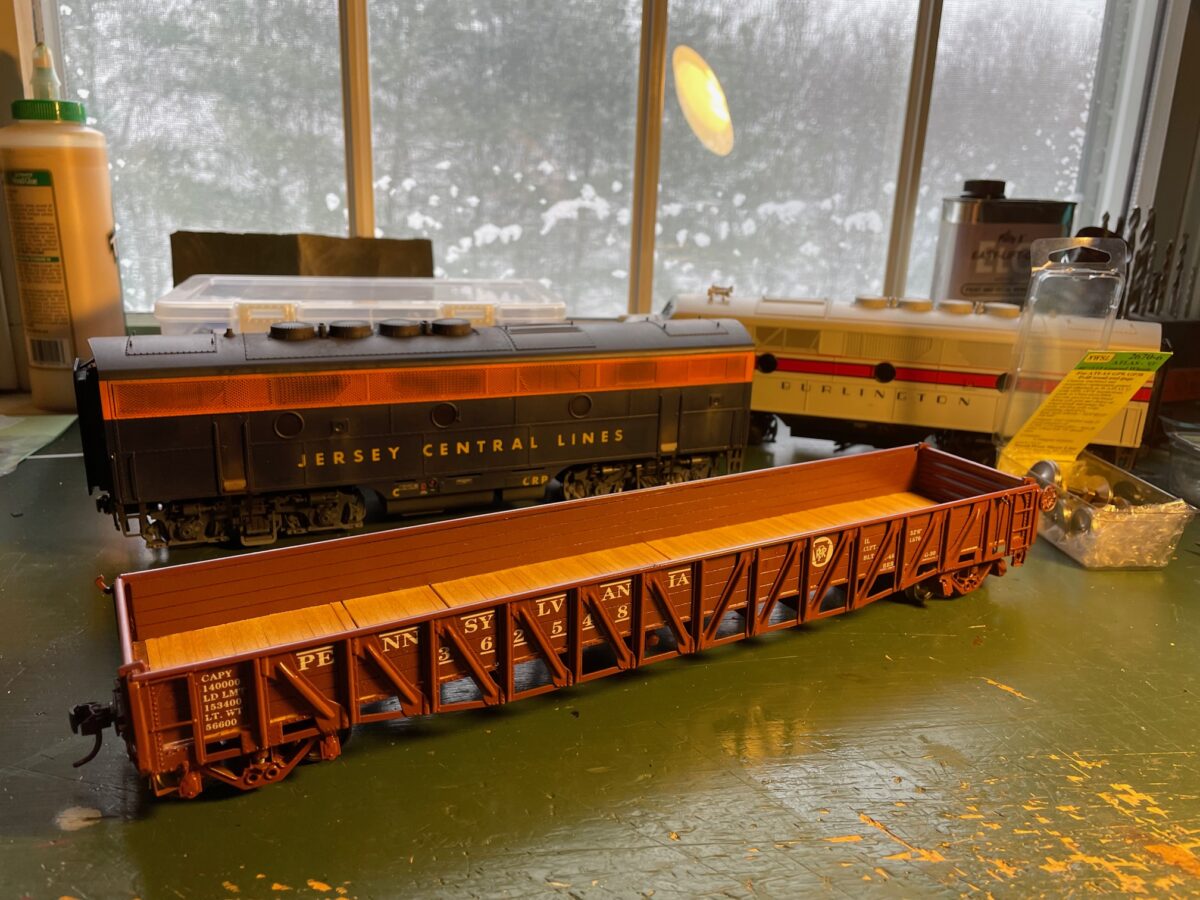
I had a friends model in to have the trucks repaired. That is his Pecos River Brass PRR G30 gondola sitting there on the bench. The springs came out of one of the trucks. It just needed to have the springs re-installed. Simple enough fix.

My friend wants to put this model out on the table at the Chicago show this year, so if you are looking for one of these fire off an email and I’ll pass it on to my friend.

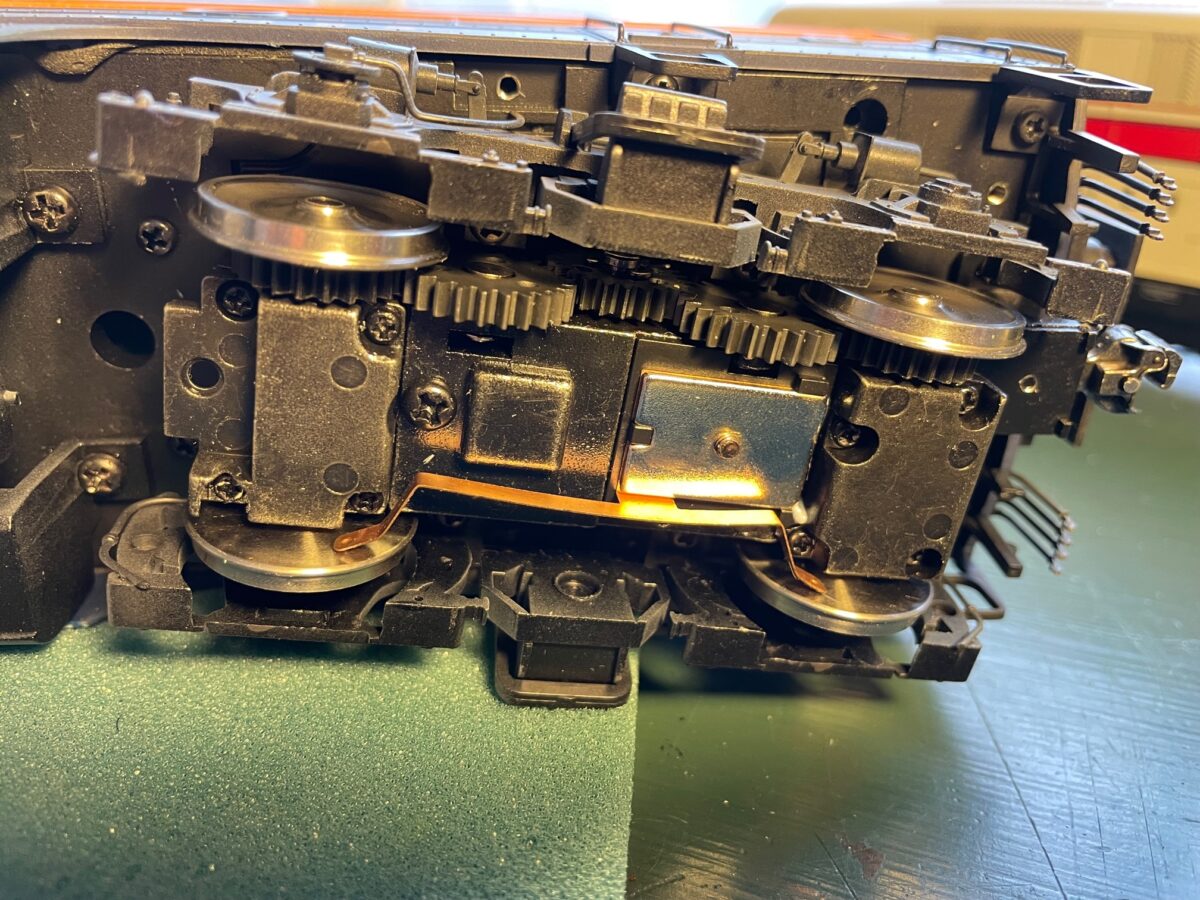
Behind the PRR G30, you can see what remains of this week’s small project. I picked up an Atlas O CNJ F3B dummy at the last Strasburg Show. I was able to aquire a drive donor (the CB&Q F3A), the swap of the two drives went easy enough. Only little hick-up was the position of the front step. The hole for the B-unit location needed to be tapped to allow me to mount the step into the position under the door.

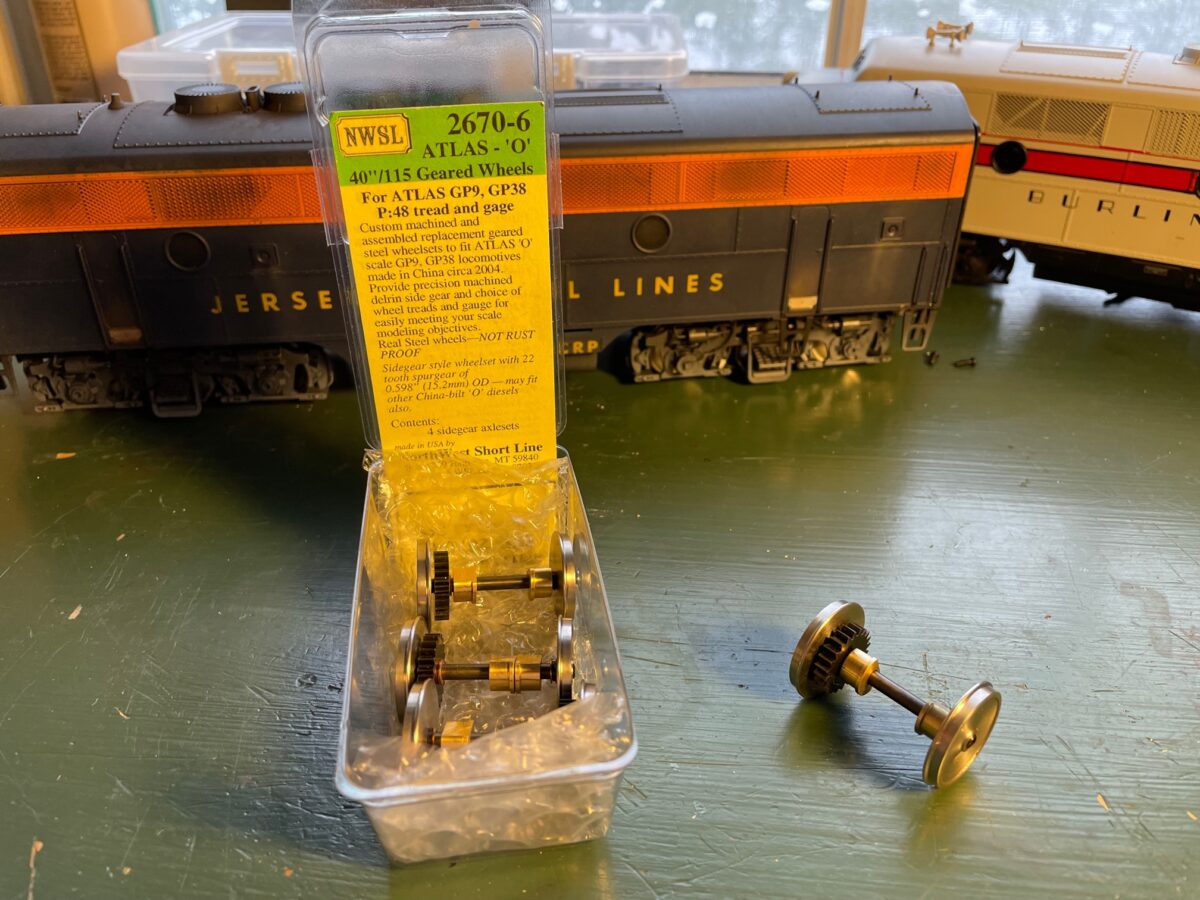
Since it was on the workbench still, I pulled out the conversion set I had purchased from North West Short Line for the Atlas O F3. The idea is that they are meant to be a direct replacement for the O Scale wheelsets.

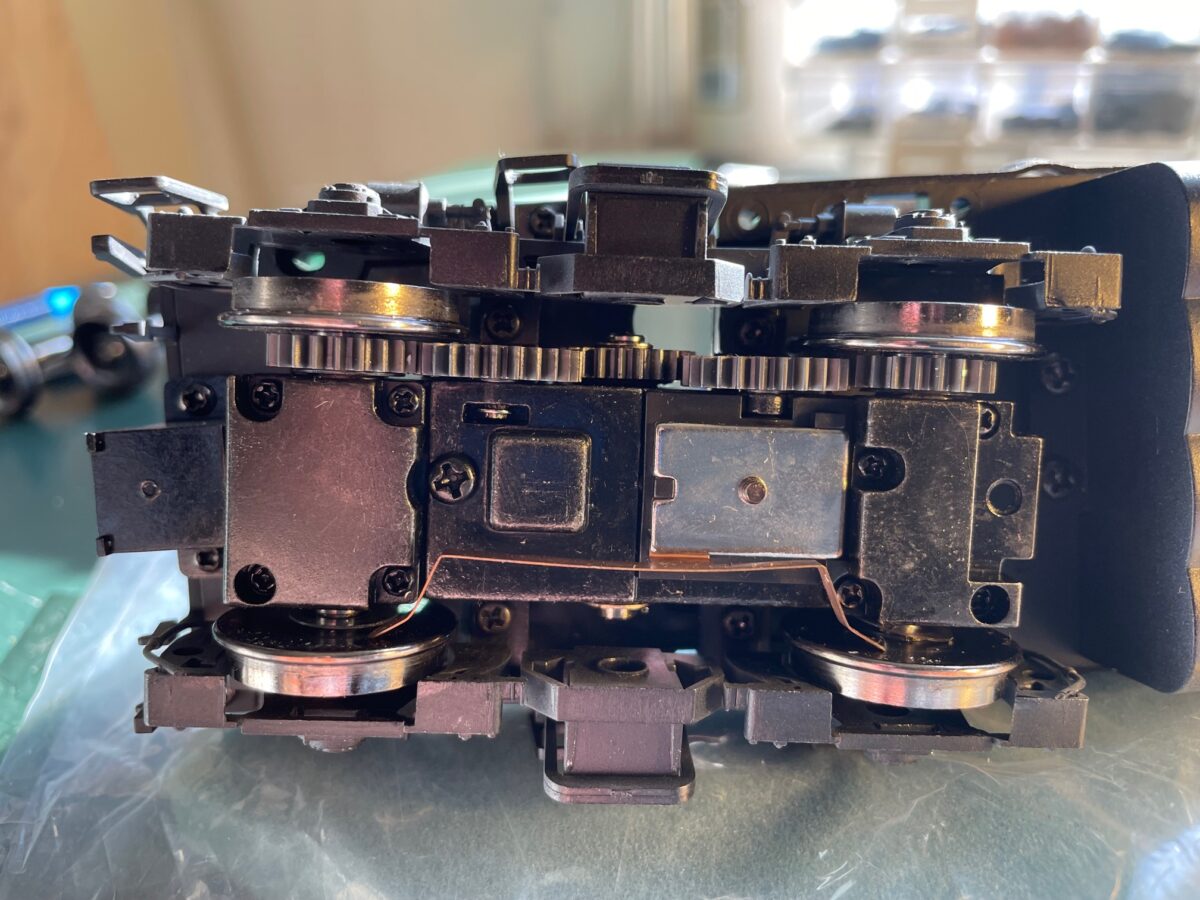
Take off four screws and the cover plate on each axel and replace the wheel set. Simple, Right?

Well it started out that way. You can see the replacement wheels installed on this truck. They were a little tight but I was able to get them into the truck. We won’t talk about the language used to help guide them into the truck.

The second truck was not as simple. The wheels didn’t fit.

Here you can see the axel cover removed from the Atlas truck. The two brass bushing are meant to fit into the grooves on the cover and also on the truck center.

The groove has a back-to-back distance of 0.496″.

But the bushings on the NWSL conversion wheels had a 0.488 back to back spacing. Looks like they are not so “drop-in” a replacement. There is no way these could EVER fit into that truck.

I can pull the non-geared wheel off, which will allow me to remove the bushings from the axel. Then I should be able to mill down the thickness of the bushings to give me the needed clearence. Then I’ll have to reassemble the axels again.

BUT this ALL should not be needed on what is supposed to be a drop in replacement part. At $64.95 USD (plus shipping) per conversion set they should work as a conversion set and NOT be a conversion PROJECT. I’m not a happy NWSL customer at this point.

For those that want to know. I have two sets of the NWSL Altas O F unit replacement wheelsets. Only two out of the eight axels I measured will actually fit into the Atlas O trucks.

Proto48, Ever Wonder Why?

Last night I was changing out wheelsets on a Weaver N5c cabin car. In about fifteen minutes, I had the trucks off, the three rail wheelsets out, new axels in place and the trucks re-instaled.

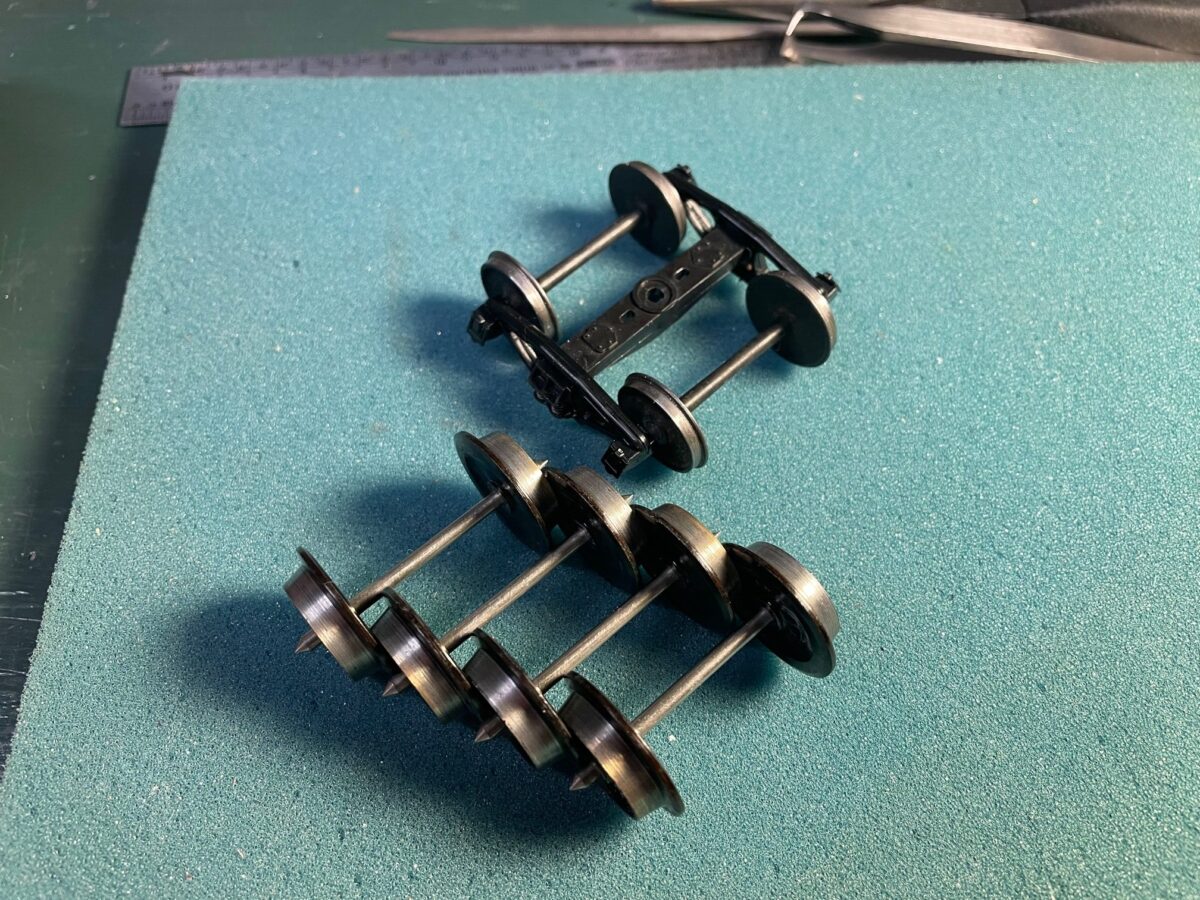
Afterwards, I had the old three rail wheels sitting on the workbench next to a Proto48 truck still on the workbench from working on the turnouts from the earlier posts.

Seeing the SIZE of the wheels next to the Proto48 truck explains it all for me. I know why I model in Proto48.

The funny thing is, most Proto48’ers look down their nose at the truck in the photo. It is a Red Caboose truck with no brake shoes and NWSL Proto48 wheelsets with no back of wheel detail installed. All that being said, the truck still looks great next to the three rail wheels and it rolls almost as good as the expensive trucks with roller-bearings on each axel.

You mileage may vary, and that’s fine. Enjoy the hobby.

WB: Some Progress

I have made some progress building the turnout. My biggest issue so far has been remembering at what angle to drive the spike without moving the rail.

But my check gauge has vanished into the dimension of lost socks. Can’t find that thing anywhere. So I ordered another from Right-O-Way today. I think this project is going to be put on hold until it arrives.

I did notice that Jay at Right-O-Way had posted on Facebook that they have Proto48 Code 125 Non-Weathered Flex-track in stock again. That good news.

WB: Not empty now

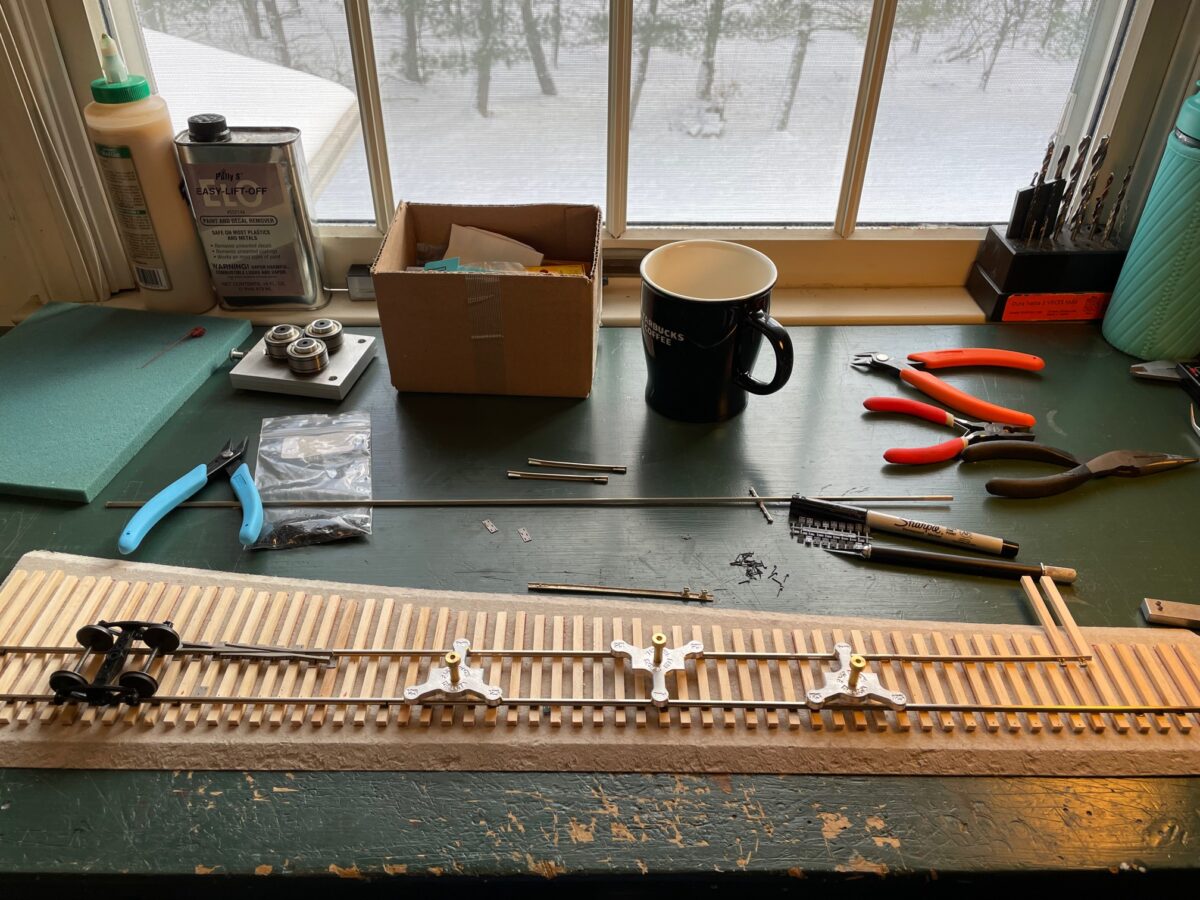
Well that didn’t stay clean for long.

And I know it’s Friday, so why the WBW post? I’m thinking it’s about to morph into an any day workbench category.

I brought back one of the five projects that were on the workbench at the same time. It is much easier to work on one project without the other projects competing for attention or space to work.

I thought I’d try to remember how to build a turnout. It’s been way too long since I built my last one. It is amazing how much you forget.

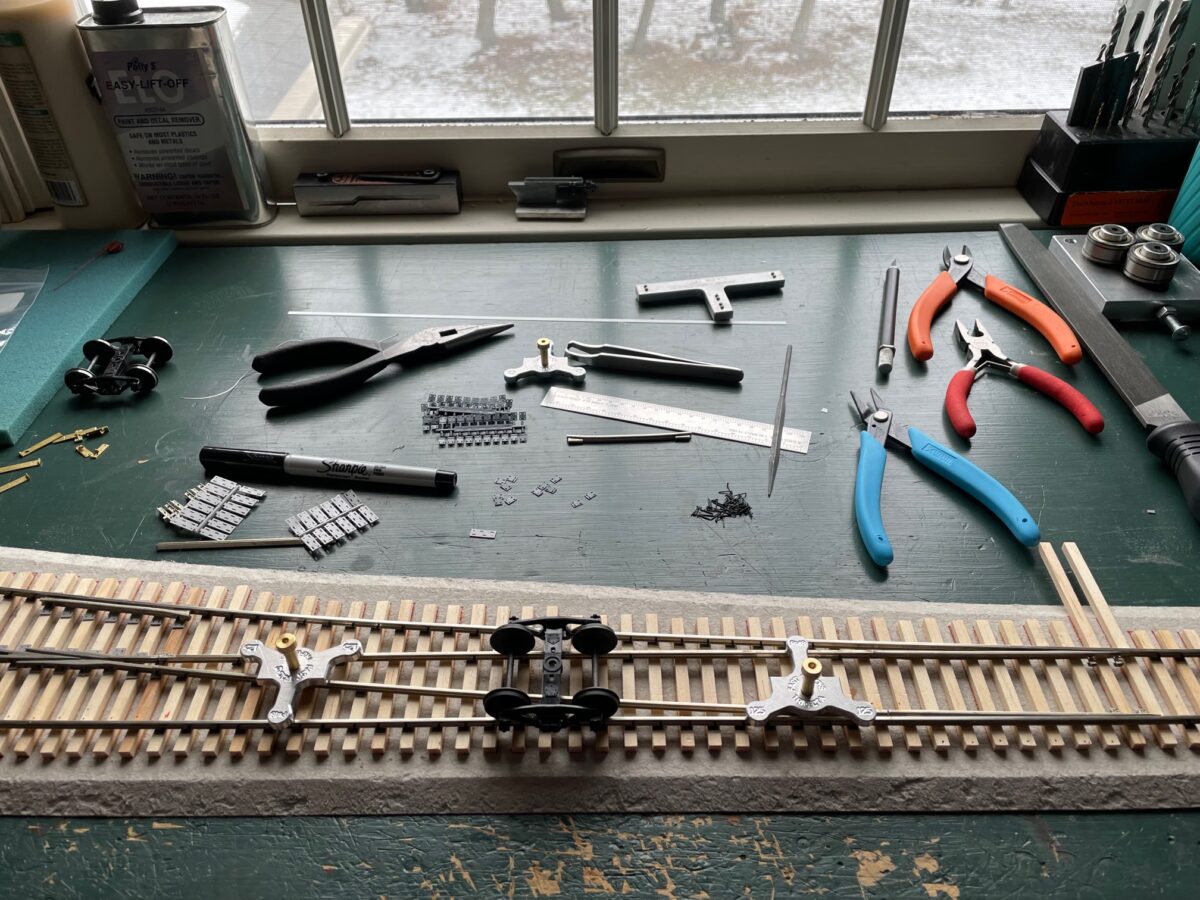
Last Fall, I ordered some turnout blocks from Central & Western HomaRoad Supply. They are nice, dust free and a nice smooth surface to work on. I used one of Jim Cantner’s turnout templates to position the ties. Then I started building….. after a few starts and stops, I began to remember how much I’ve forgotten about building a turnout. Thankfully spikes can be pulled up and rail adjusted.

In the photo you can also see three new Trifecta Proto48 track gauges from Fast Tracks. They are a nice clean machined part and fit the Micro-Engineering railhead very well. I’m using American Switch and Signal castings for a number 8 turnout, which are now available through Right-O-Way and Micro Engineering code 125 rail for this build.

Progress has been much slower on this turnout than I would like. But it has been fun.

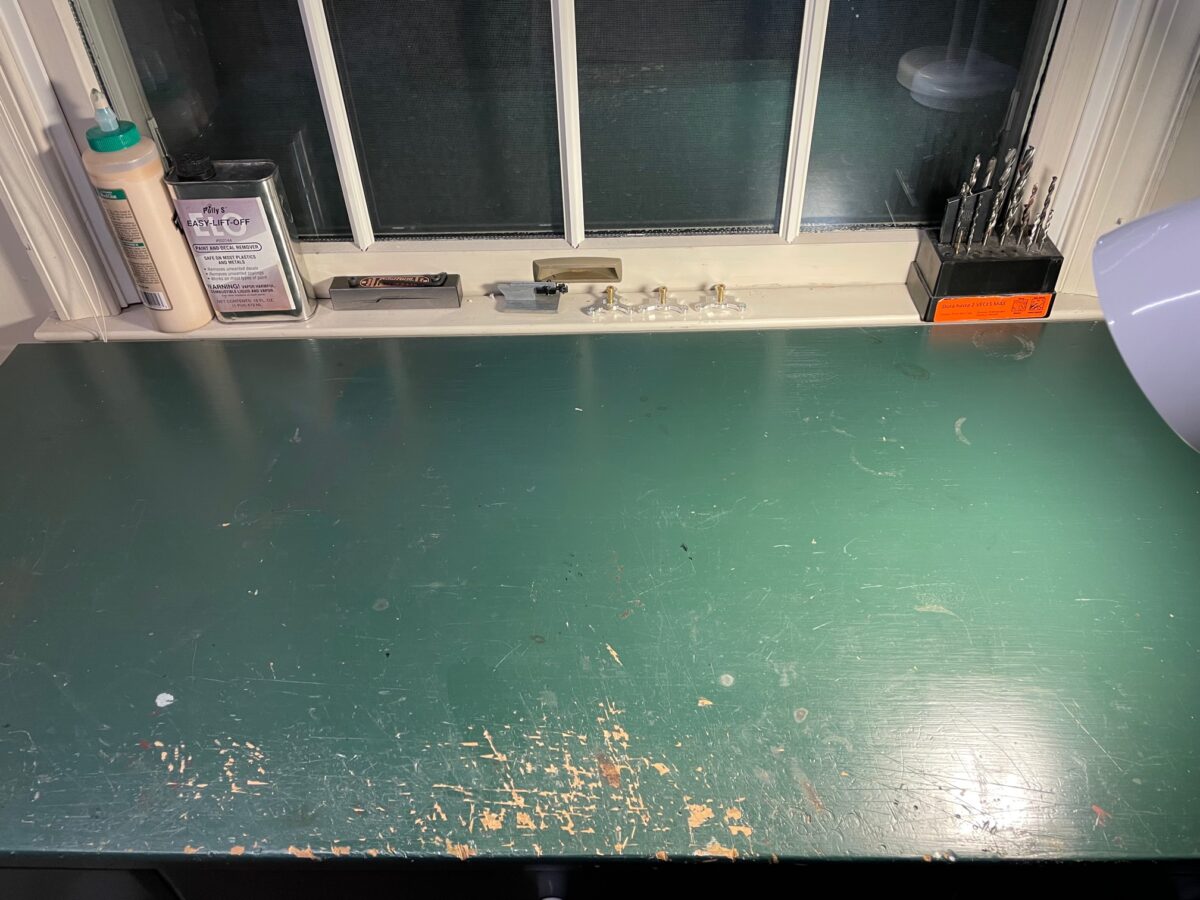
WB: Back to a Clean Workbench

I know it’s not Wednesday but The biggest thing I have been working on recently is cleaning the workbench again. It’s taken a couple of weeks, but I finally got it clean. I had at least five projects going on at the same time on the workbook all fighting for space and attention.

But with the start of a new year, I thought it would be good to start the year with a clean workbench. There is snow in the forecast for the morning, so I’m hoping I get a chance to start to clutter it up again real soon.