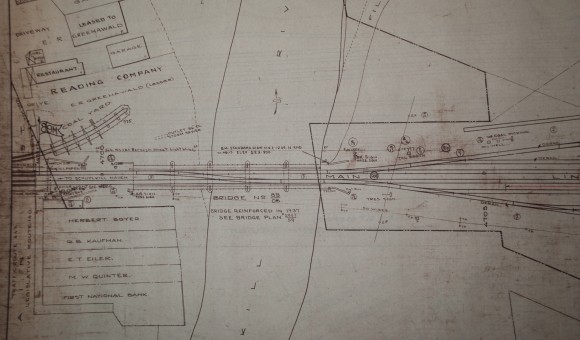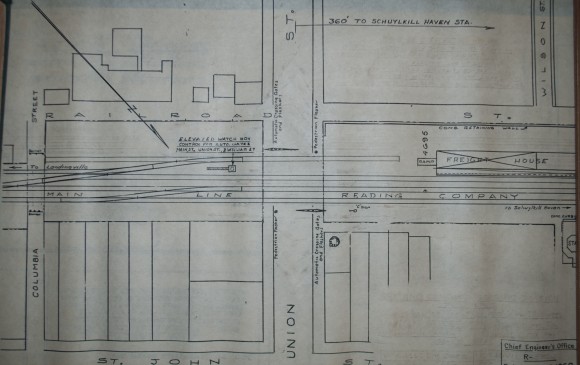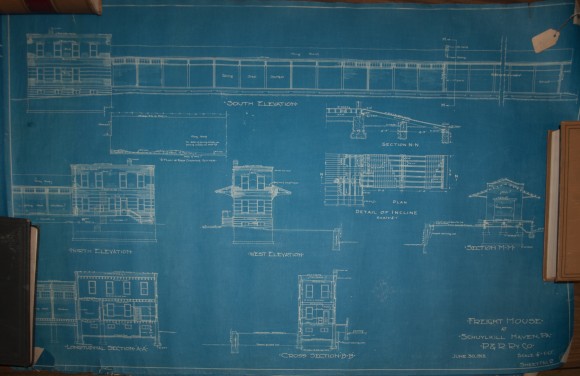
I had the pleasure this week of spending a day off from work at the Reading Railroad Heritage Museum. I went looking for answers to some questions as always. Some of the questions have been answered, most of the answers just spark more questions. I’m glad research of the prototype is one of the things I enjoy in the hobby, your mileage may vary.
If you have read this blog for a while, you know, to say I’ve had trouble picking a location to model is an understatement. O scale offers the modeler a chance to see the details they are adding to their models, but is also requires a different approach to modeling on the layout then some of the smaller scales offer.
I’ve had to work through the ideas that were influenced by the smaller scales. I’m now fully embracing the idea that you need to be closer to the models with O scale and that some of the towns in my modeling area, no matter how interesting, are either just too big for my space or require too much compression to fit into the space I have to model within.

This Spring, I started looking at Schuylkill Haven. It is still in my area but it is over on the “mainline.” I had some questions about the track arrangements in town. These are now answered. I had questions about the freight house and station area, these too are now answered. So now it’s time to get back to the benchwork and the layout.


Hi George, my name is Kevin. Your photos are excellent!! I am also modeling the Mahanoy and Shamokin Division. I know that you are also modeling this. I am still working on situating some areas, and wondering how you were able to fit it all in? Do you have any photos of your benchwork and maybe a track plan of your layout. I am looking at a couple options and was wondering how you layed everything out? Any information would be greatly appreciated. Thank you, Kevin
Kevin,
The easy answer to your question is I couldn’t fit everything in. The longer answer is I fit what I could fit.
You didn’t mention what scale you are modeling in. That makes a huge difference is what can be fit in. When I first started looking at the Shamokin Division I wanted to try to do the whole thing. Then came reality. I would be lucky to do one of the four climbs and that would be with a double deck railroad. Life and the hobby budget have help guide my layout design. As new models arrived the set the date for my modeling. When an Overland T-1 joined the roster last Spring, they have also set the location. These did not venture above Tamaqua during my modeling period but they did go into Saint Clair on a regular basis. The other thing that some early designs were not taking advantage of what O scale has to offer in it’s size and visible details. They were more taking after the thought of HO layouts.
I have focused my modeling on Schuylkill Haven and the lower yard area in Cressona. I could not fit all of the division into an O scale layout but I feel I can fit more of the feel of the division with equipment, buildings and the regional details by reducing the overall scope of the focus. I will be posting some more layout images in the next month or so to show the progress.
Thanks,
George
Thankyou very much for your information.I also have a question regarding the model of your Reading HTn hopper car.I would like to add several of these to my hopper fleet.Where did you cut and splice the two cars together to make them one car?Can you show on a picture or tell where you made your cuts and how you pieced it together? Any input on this would be greatly appreciated.Thankyou George Kevin Eisenhart
Kevin,
I built that car from two Intermountain USRA Hopper cars. Not sure if you’re in O scale but if you in HO or N they have the USRA cars also.
I cut one car done the middle on the center rib. Then I cut away the side from bolster rib to bolster rib. I set the two end that remained so they would be 39 feet apart and sized the top sill to fit. Then I filled in with a sub-side to make the car solid.
I punched the needed rivets on an .o10 sheet of styrene and glued it down as an overlay on the sides.
The Ribs were built from two styrene strips. the rivets were punched in the .010 styrene again oversized and they were trimmed down to width. They were then glued to the sides. The ribs were shaped from .040x.060 styrene and glued down the middle of each location. I used a company diagram which called out the spacing in actual feet and inches. I believe there is a copy of it on the Alphabet site.
The rest was simple just stretching the frame and building the rest of the car as normal.
I’ve had a number of questions about the car since I’ve built it. I plan to build a half dozen more this winter. I’ll post about them in the next couple of weeks. Right now I’m having too much fun with the new Protocraft Couplers.
Take care,
George
THANKYOU VERY MUCH FOR THE INFORMATION GEORGE.I LOOK FORWARD TO SEEING THESE. KEVIN